Asus gives a personalized gaming experience with their Firmware, and here is how to remap buttons on Asus ROG Ally.
Asus offers an exceptional gaming experience with its gaming devices, which is true for the ROG Ally. As compared to other consoles like Nintendo Switch, the Armoury Crate earns ROG Ally an additional advantage by giving more customization options with joystick controls and lighting colors. Similarly, here is how you can remap controls on Asus ROG Ally.
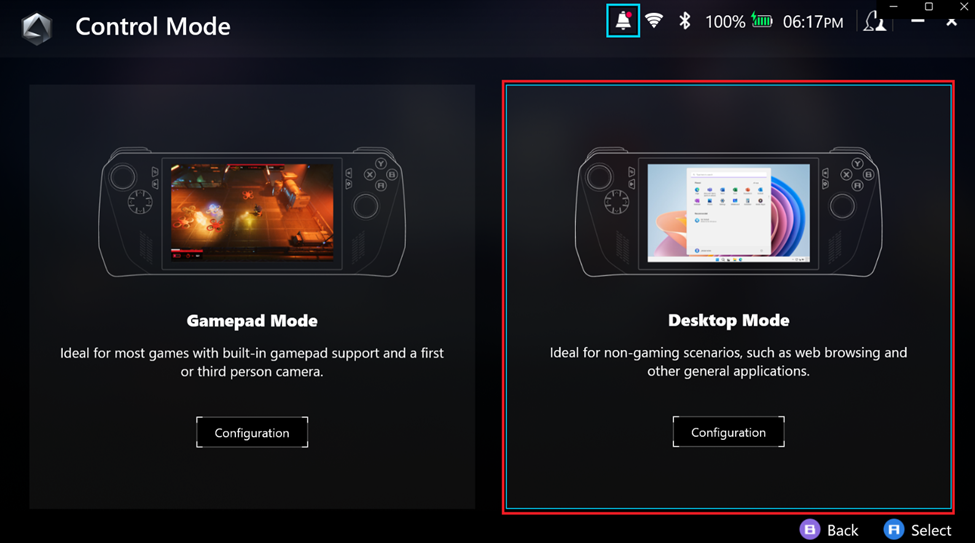
To remap buttons on Asus ROG Ally, set the Control Mode to ‘Auto’ from the Command Center. After doing so, go to Settings in Armoury Crate and tap Configure button under the Control Mode. Select Configure either Gamepad Mode or Desktop Mode to change button mapping.
To explain things more thoroughly, we have written a detailed guide on remapping buttons on Asus ROG Ally by following a step-by-step method. We will discuss various methods to help you understand what type of controls you can set on each configuration.
Remapping Buttons on Asus ROG Ally
Here we have mentioned a step-by-step guide on remapping buttons on Asus ROG Ally for the Gamepad Mode.
- Press the Command Center button and set the ‘Controller Mode’ to ‘Auto.’
- Close the Command Center and open Settings on Armoury Crate.
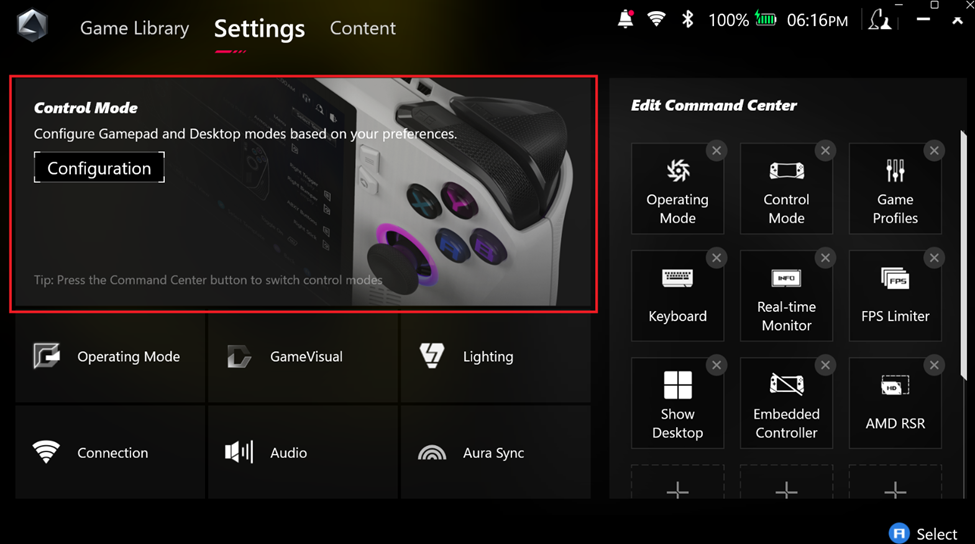
- Tap ‘Configuration’ under the Control Mode tab and ‘Configure’ under Gamepad mode.
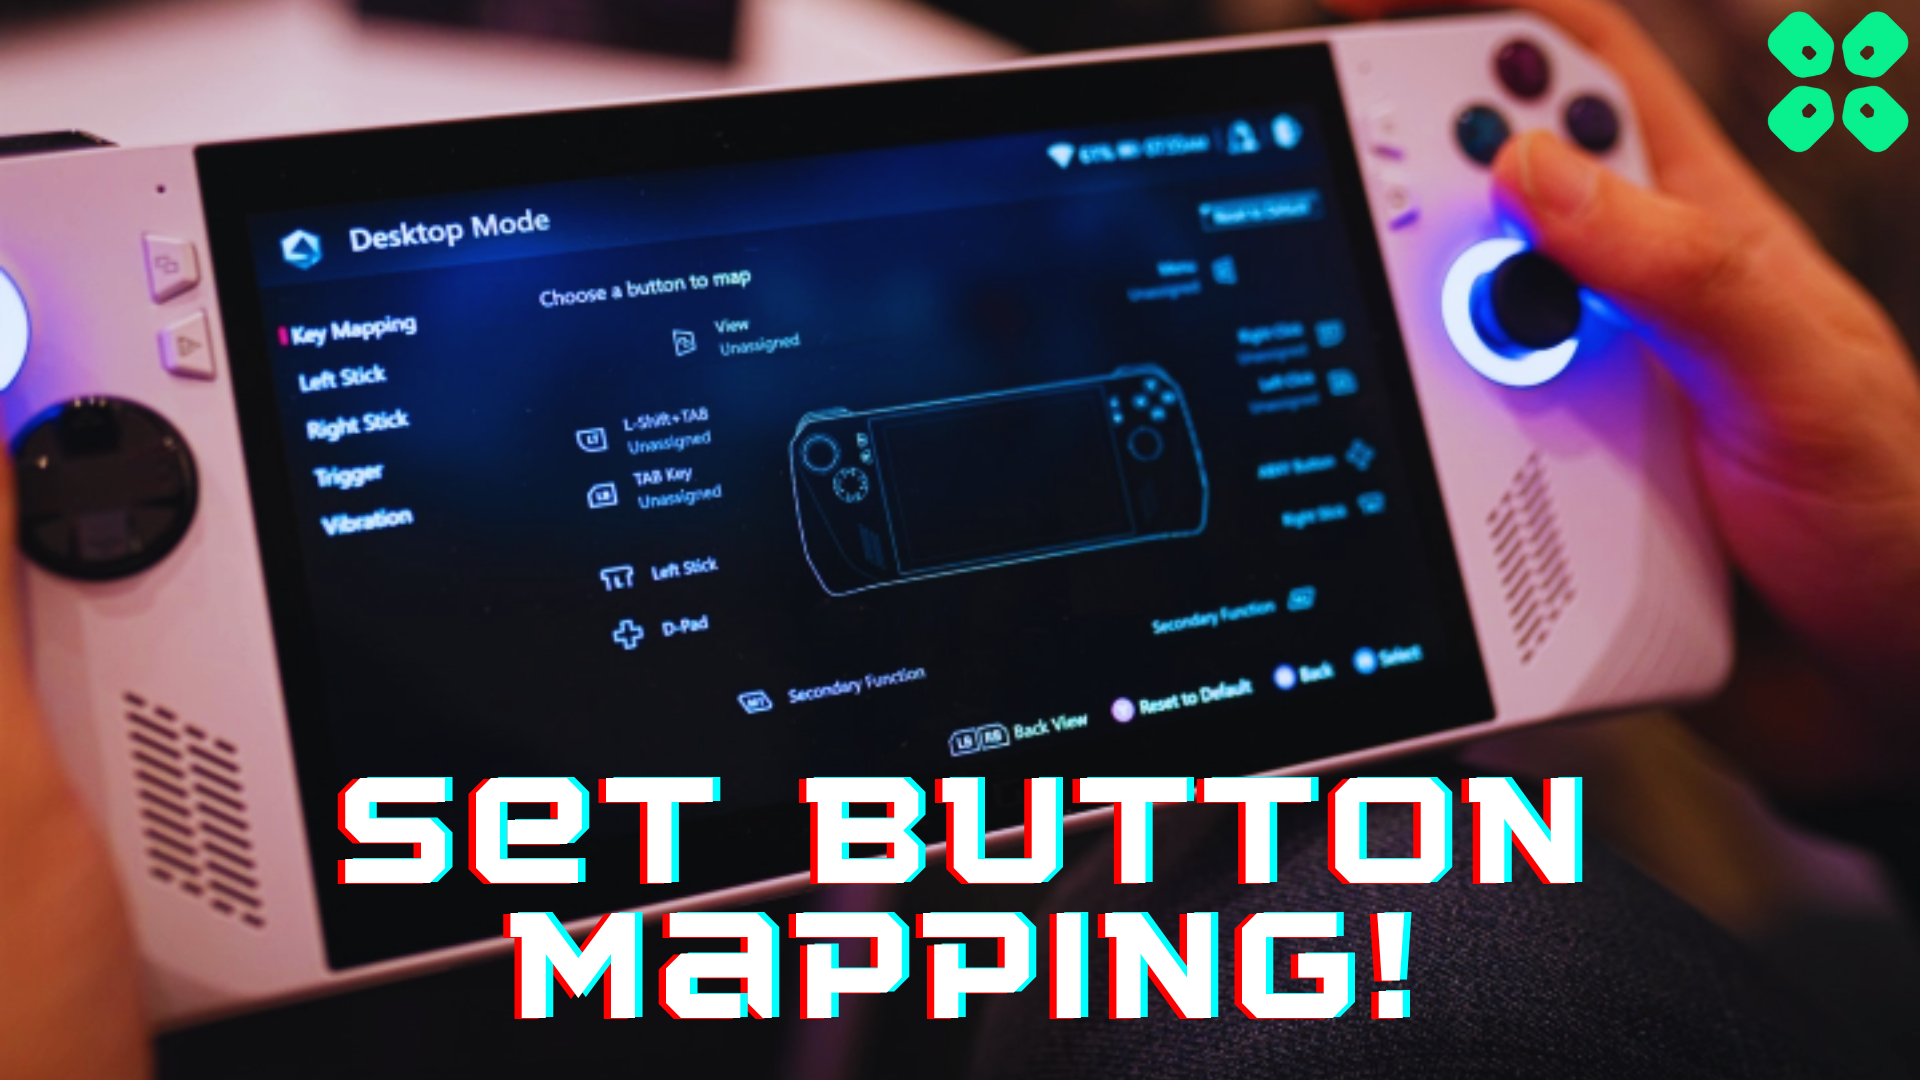
- Tap the ‘Key Mapping’ section and tap on the touch screen to select the button you wish to remap.
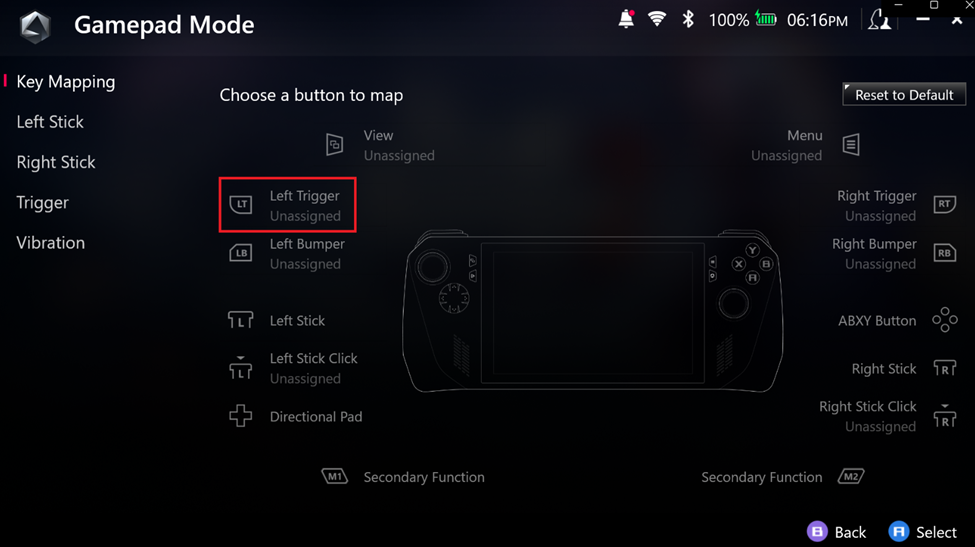
- You can assign a primary or secondary function to each button.
- Select either a primary or secondary function and then assign them a function from the Action, Keyboard, Numpad, Mouse, or Combine Keys category.
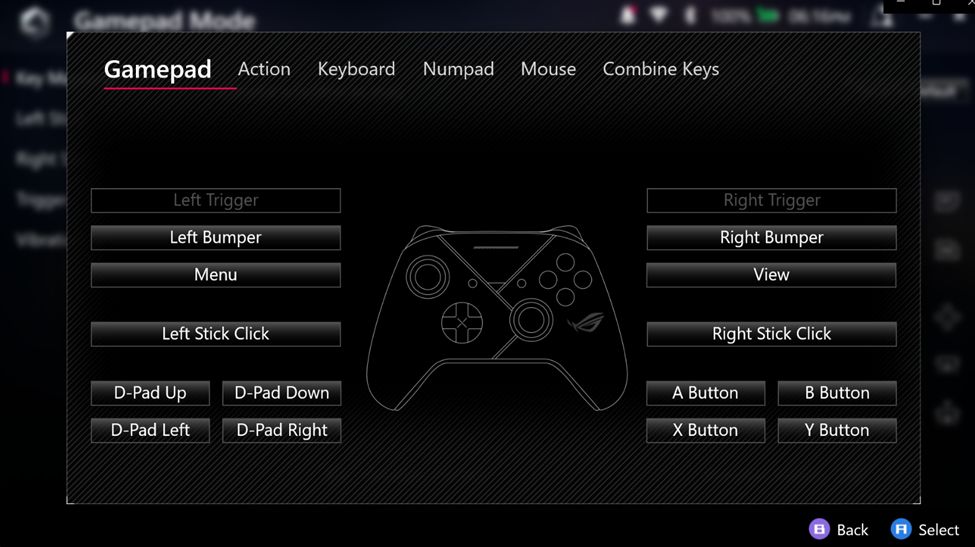
- You can perform step #6 again on any of the buttons and assign them primary or secondary functions.
- Press the ‘B’ key to save and exit once you’re done with button mapping.
Again, go to Settings and configure the Desktop mode by following the steps mentioned above.
Final Words
Customizing your gameplay experiences enhances the performance and gives you a familiar feeling of controls like the PlayStation or Xbox Controller. Asus ROG Ally’s Armoury Crate SE enables you to change button mapping for every control on the d-pad. Hopefully, our guidelines were helpful enough to guide you on personalizing controls on ROG Ally.