Have you switched ON your computer system, and the display output says ‘No Signal’ even if you have set everything up correctly? We all have been there when we are trying to set up a new PC when you have to go through the trouble of connecting every cable while setting up a PC from the start.
If your computer turns on but the monitor says no signal, check if the HDMI or VGA cable is connected properly on both ends. If you have installed a dedicated GPU in your computer, connect the HDMI or VGA cable in the GPU ports instead of the PC port to resolve the no-signal issue on the PC.
Moreover, check your monitor settings to see if you have selected the right display output in which your cable is connected to the computer since display screens have more than one display output option and ports. To help you resolve the computer turns on but the monitor says no signal issue, we have written this comprehensive guide with tried and tested solutions. So, let’s get right into it!
Can You Use Motherboard HDMI With Graphics Card?
You can use the available ports on your GPU to set up a second monitor. Just keep in mind that your graphics card only has a display port and a DVI port, so your second monitor needs to have those ports too.
But don’t worry if your monitor or TV doesn’t have those ports – you can still use the HDMI port on those devices with your GPU by using a display port to HDMI cable.
One thing to remember, though, is that if you plan on using two monitors simultaneously, your motherboard’s BIOS should fully support the feature of using multiple displays simultaneously. Some motherboards will automatically enable this option, but it’s still worth checking in the BIOS settings.
To enable multi-monitor support for your motherboard, just go to your BIOS settings and enable the “onboard video” option under graphics configuration. Remember that enabling this may result in slightly lower performance depending on your motherboard.
How To Fix Motherboard HDMI No Signal
Let’s get to the fun part – fixing the annoying problem! Here are five simple steps you can follow to solve the issue without any hassle:
Step 1: Make sure your system has an integrated graphics card, aka iGPU. This is important because motherboards don’t have the ability to process videos on their own. The CPU’s integrated graphics card powers every video output port on the back of the motherboard. To check if you have an iGPU:
- Open up the Start menu.
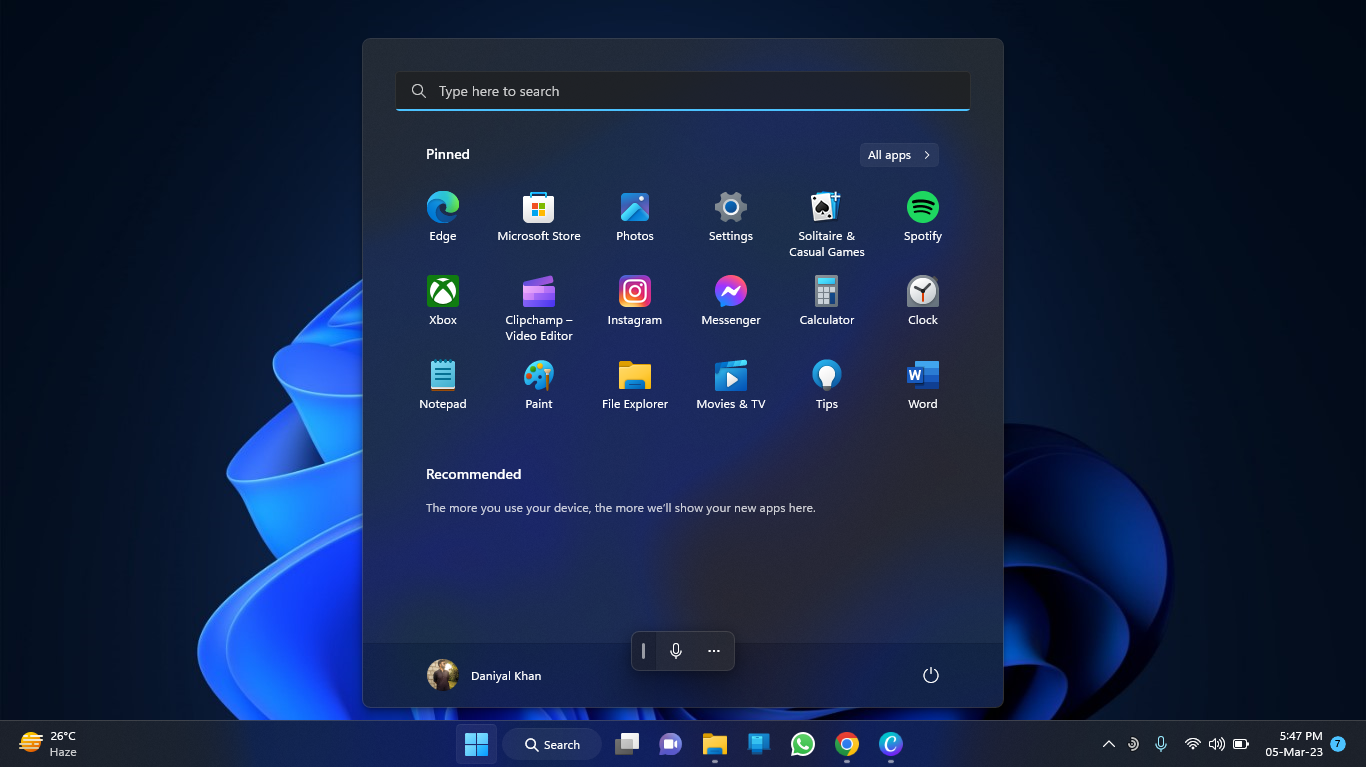
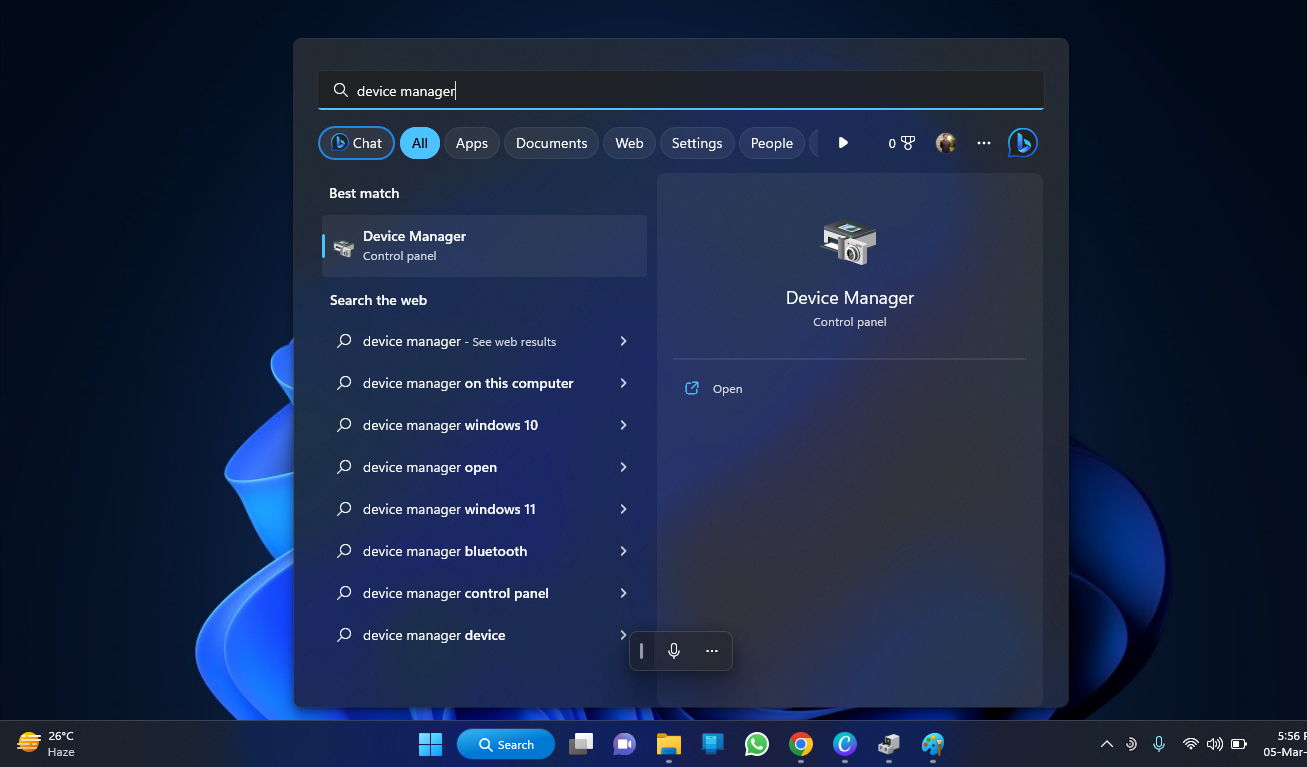
- Search for Device Manager and click on the first result.
- Double-click on the Display Adaptors option to expand it.
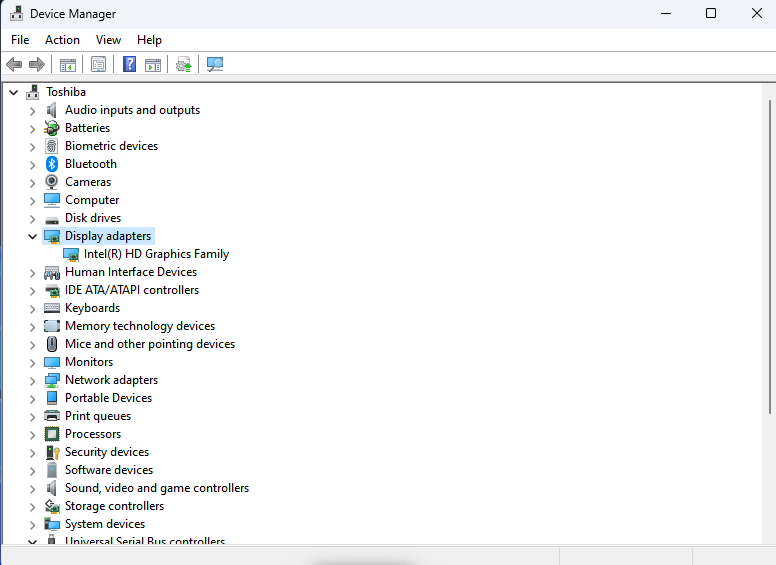
- If you see an iGPU here, you’re good to go! If not, you may need to upgrade your CPU to one that has an integrated GPU.
Step 2: Check your cable connections. Make sure your cables are firmly plugged into the correct ports and that your monitor or TV is turned on and set to the correct input.
Step 3: Update your graphics card drivers. Go to the manufacturer’s website and download the latest drivers for your GPU.
Step 4: Check your display settings. Right-click on the desktop and select Display Settings. Make sure the correct monitor is selected and that the resolution and orientation are set correctly.
Step 5: Reset your BIOS settings to default. Restart your computer and enter the BIOS settings. Look for an option to reset the settings to default and save changes before exiting.
That’s it! Follow these steps, and you should be able to fix the issue without any trouble.
Here are the ways to fix the motherboard HDMI no signal Issue:
Fix #1: Enabling HDMI In BIOS
Here are some steps you can follow to fix the no-signal error you might be getting when using your integrated graphics:
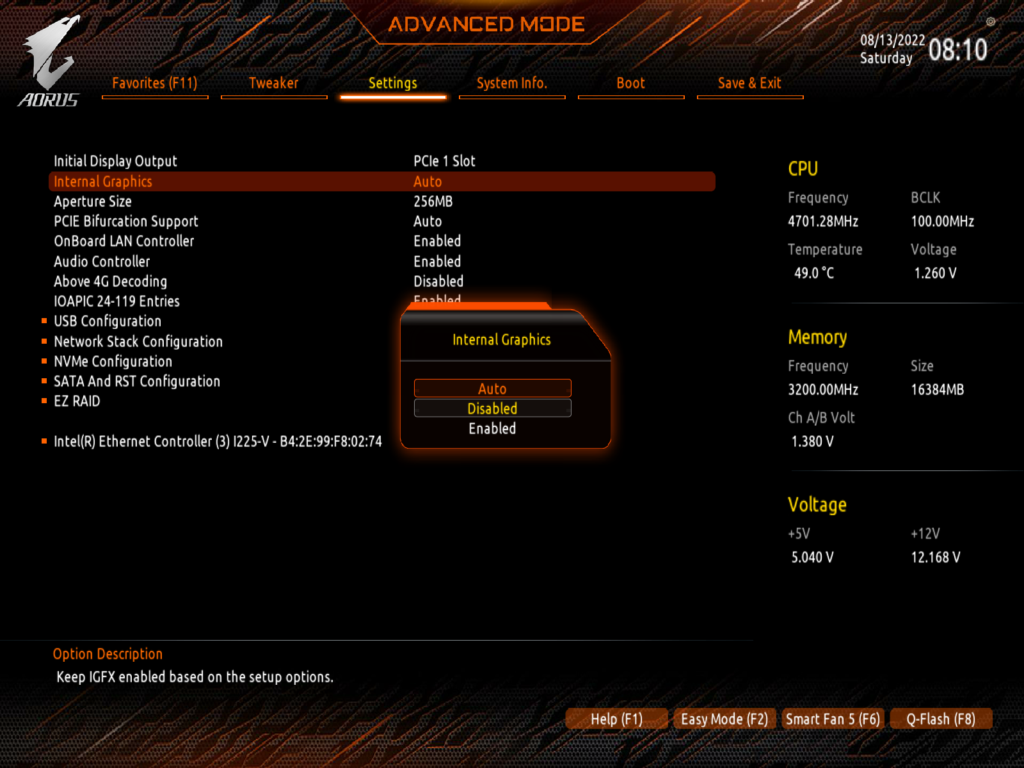
- Go to your BIOS settings and enable the integrated graphics option. This option may have different labels on different computers.
- To access BIOS, turn off your system completely and turn it on again while pressing the Esc key repeatedly until you see a menu appear. Look for the key next to BIOS settings and press that on your keyboard.
- Once you are in BIOS, look for a setting like “Enable iGPU” or “Enable Multi-GPU support” and turn it on. Save and exit after you are done.
- If you still face the same issue even after enabling the option in BIOS, try updating your integrated graphics drivers and then enabling the option in BIOS.
Fix #2: Check The HDMI Cables
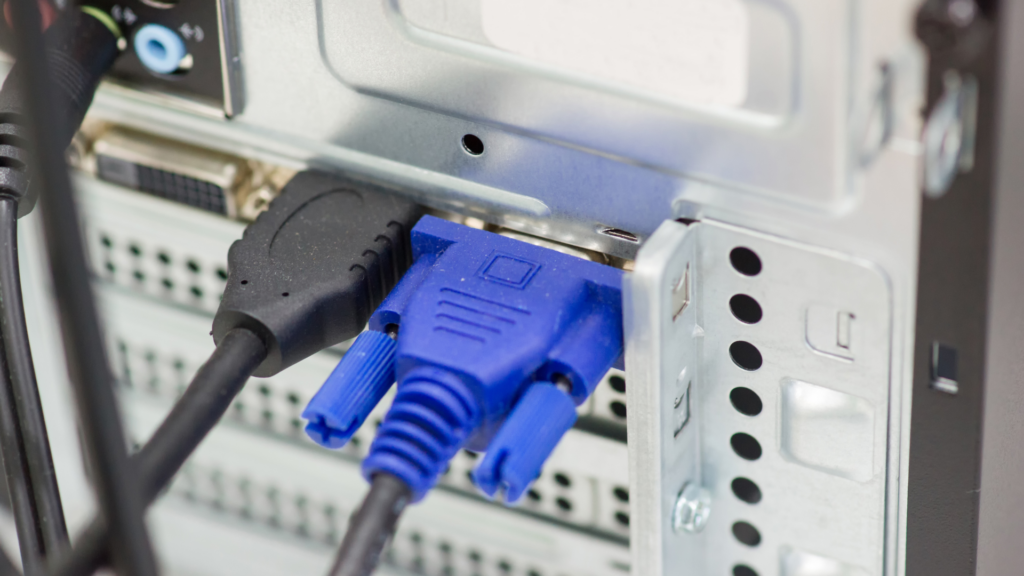
After enabling the integrated graphics option in BIOS, the next step is to check if your HDMI cable is working properly:
- Connect your HDMI cable to a friend’s computer and see if it works.
- If you have access to multiple HDMI cables, try using two or three different cables to see if the results are different. This will help you determine whether the cable or something else is the issue.
Fix #3: Turn On The Monitor And Computer In Opposite Order
If you turned on the monitor before the computer and that caused the “no signal” error try doing the opposite. First, turn on the computer and then turn on the monitor or external device that you’re using for HDMI. Note that when I say “monitor,” it could also refer to a TV if that’s what you’re using.
Fix #4: Update Your Firmware
To update the firmware on your TV, follow these steps:
- Check the manufacturer’s website for the latest firmware version available for your TV model.
- Download the firmware update file and save it to a USB drive.
- Insert the USB drive into your TV’s USB port.
- Turn on your TV and navigate to the settings menu.
- Look for an option called software update or firmware update and click on it.
- Select the option to update via USB and wait for the update to complete.
- After the update is done, unplug the USB drive and restart your TV.
- Connect the HDMI cable and check if the issue has been resolved.
Note: Not all TV models have firmware updates available, and even if they do, it may not necessarily fix the no signal error. However, it’s still worth a try, as it has worked for some users in the past.
Conclusion
Computer Turns On, But Monitor Says No Signal issue can be a shocking moment since you might think your display has gone out of order. But in most cases, it is just an issue with the HDMI or VGA connection to the port or the display output difference.
Hopefully, this guide has helped you to reconnect your monitor with the right display output to resolve the Computer Turns On But Monitor Says No Signal problem. If you are still having trouble with the troubleshooting, let us know in the comments, and we will respond with the best solution for you.