The ROG Ally comes with 512GB storage, enough for many games. But if you want to expand your game library or SD card reader is not showing up on rog ally, then replacing the SSD is the go-to option.
Sure, you can use a microSD card for extra room, but the best part? You can also upgrade Ally’s built-in SSD storage by just replacing it.
Here are 5 SSDs we recommend you for Rog Ally
Here’s how you can do it.
Step 1: Preparing Your Materials
Before you start with the SSD replacement process, you’ll need the following items:
- A size 0 Phillips head screwdriver
- A thin piece of plastic, such as a guitar pick
- The latest BIOS software
- Your new SSD compatible with ROG Ally (a compact 2230 M.2 NVMe drive)
As it’s recommended so we will be reinstalling Windows as well which is actually factory resetting. If you want to keep your current data, you can clone your drive using an external SSD enclosure.
Step 2: Dismantling Your Asus ROG Ally
- Firstly, drain your battery to 25% or below and remove any microSD cards.
- Then, position your Ally face down on a soft surface and use your screwdriver to unscrew the six screws on the backside – three at the top, and three at the bottom. Keep the screws safe in a small container.
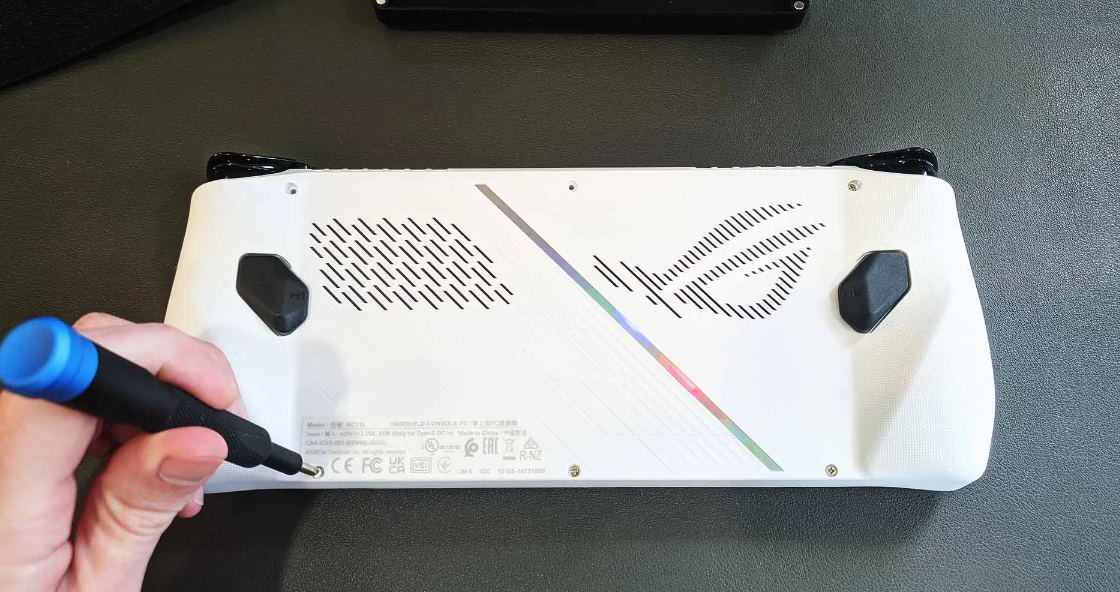
- The bottom middle screw is a captive Pop-open screw that won’t fully unscrew, but it helps to lift the bottom cover off the case.
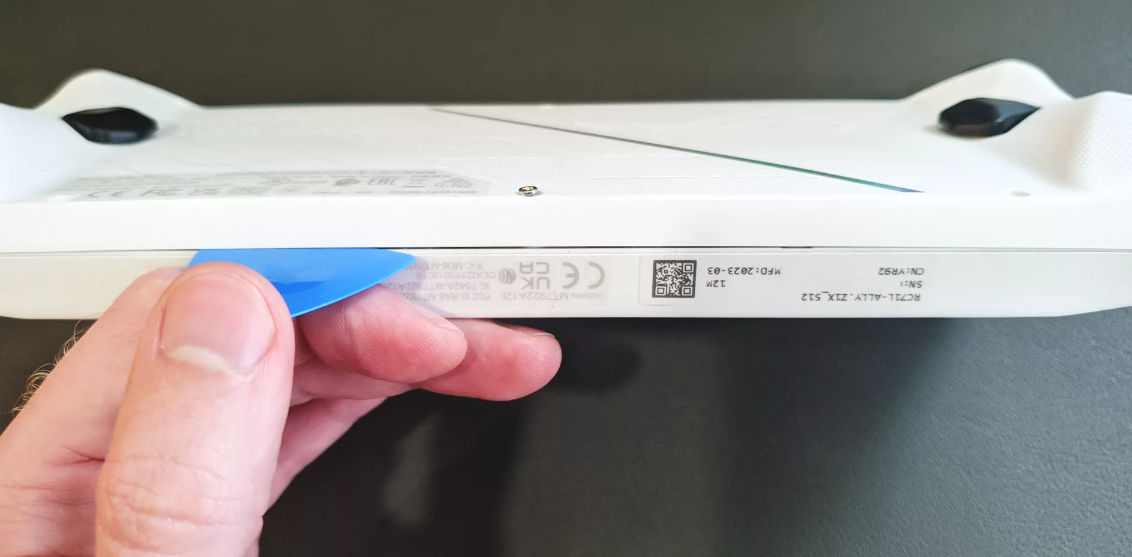
- If the bottom panel doesn’t come off easily, you can use your guitar pick to unclip the case. Slide the guitar pick between the two panels along the case’s length to unclip it. Set the back panel aside.
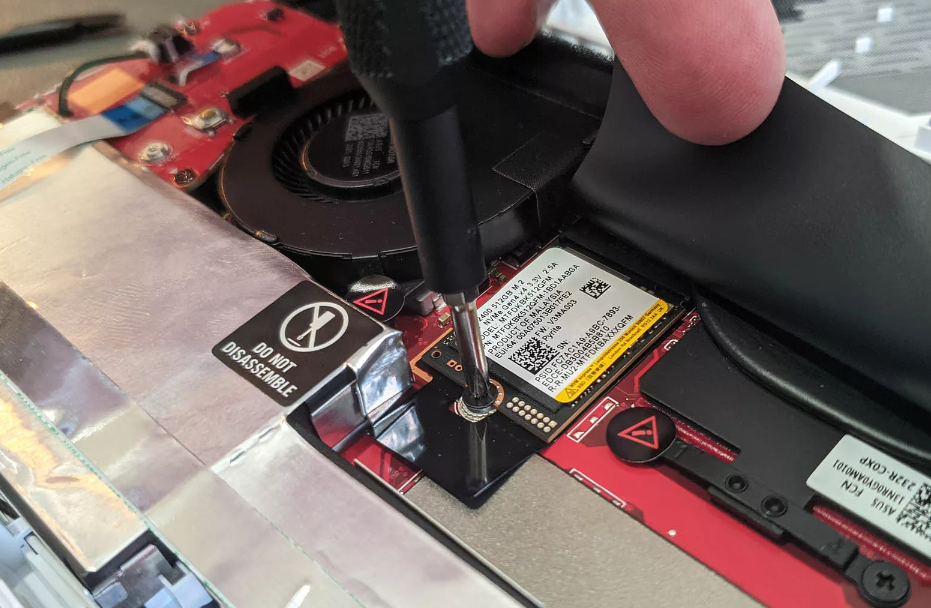
- For safety, disconnect the battery by lifting the black flap between the fans. Use a spudger, pry tool, or your guitar pick to slide the metal retaining clip back, then pull the battery connector upward and out of its socket.
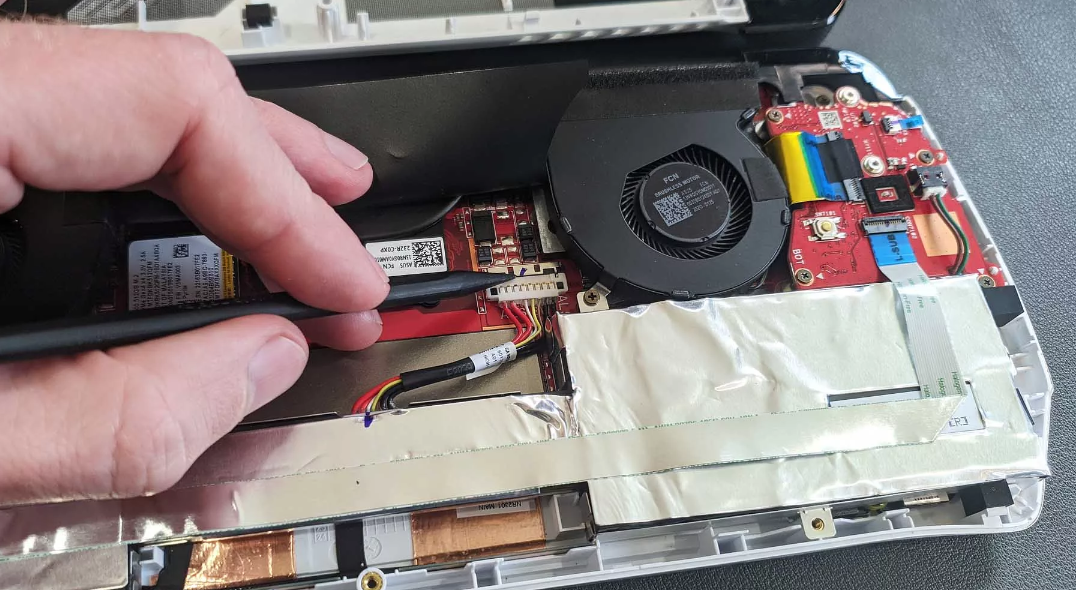
- You’ll find the SSD under the black flap between the fans. Remove the screw securing the drive, gently pull the SSD out, and insert your new SSD. Secure it with the same screw.
- Once you’re finished, reconnect the battery and close the device. Make sure all clips snap back into place and all screws are reinserted
Step 4: Reinstalling Windows using ASUS Cloud Recovery
- Once your device is securely assembled, remove any SD cards and connect your Ally to a power source using the provided 65W charger.
- Start the device by holding the volume down button and pressing the power button simultaneously to boot into the BIOS menu.

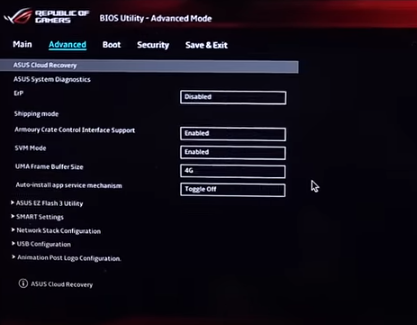
- From the BIOS screen, press the Y button to exit the EZ mode
- Then navigate to the Advanced tab. Here, select the ASUS Cloud Recovery option and press A to initiate the process.
- You’ll need to connect to a Wi-Fi network to start the download, which might take a while and involve multiple reboots.
- Allow your Ally to complete the download and installation of the image. Upon completion, you’ll have the opportunity to set up your Ally as if it were a brand-new device
Hope you loved the guide and if you got any questions just let us know in the comments section below