
Get the best of PC gaming in the portable handheld console form factor by installing Battle Net on Asus ROG Ally with these easy steps.
Asus ROG Ally has topped the charts by beating Steam Deck and Nintendo Switch to become the best handheld gaming consoles with its Windows compatibility. The hardware on this console itself is powerful enough to run many AAA games without lagging.
Speaking of the game’s library, we gamers are always restricted by platform compatibility while being stuck to a specific set of games. But with the Asus ROG Ally, the possibilities are endless. Besides Steam Games and Xbox games, you can also install Battle Net on Asus ROG Ally to extend your gaming library by installing by following these easy steps.
Installing Battle Net on Asus ROG Ally
Before installing Battle Net on Asus ROG Ally, make sure that you have installed the latest BIOS update on ROG Ally to avoid installation issues on Windows.
- Open Windows Mode on Asus ROG Ally and download Battle.net for Windows via a web browser.
- Open the Battle.net.exe file from the downloads folder to begin the installation setup.
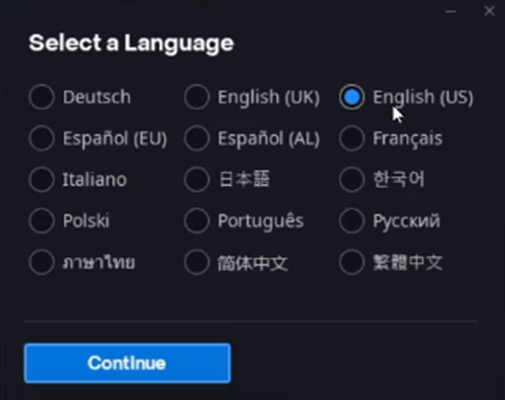
- After running the Battle.net Setup.exe file, select the language and tap ‘Continue.’
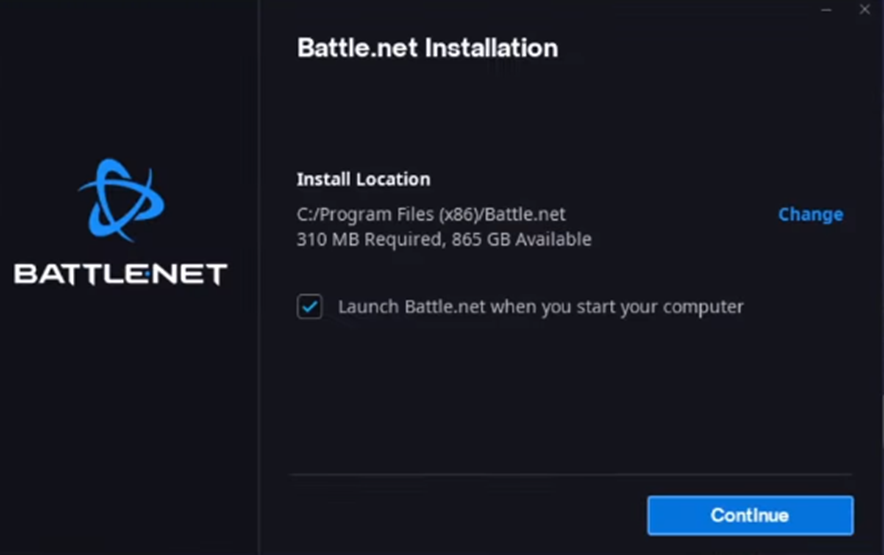
- Mark the Launch Battle Net checkbox and tap ‘Continue’ to begin the installation.
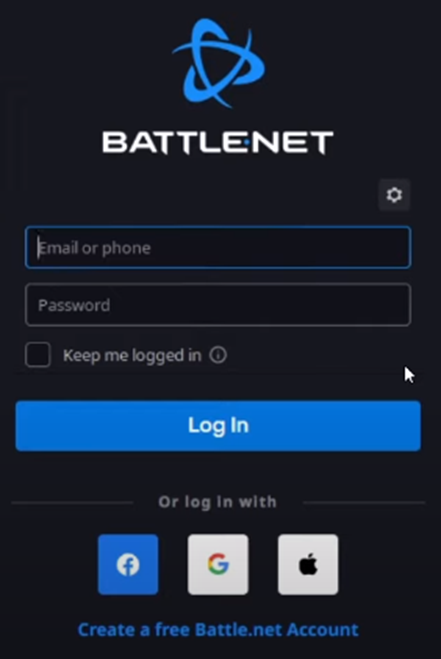
- Enter your login credentials to sign in with the Battle Net account or create an account by selecting the ‘Create a free Battle Net account’ option.
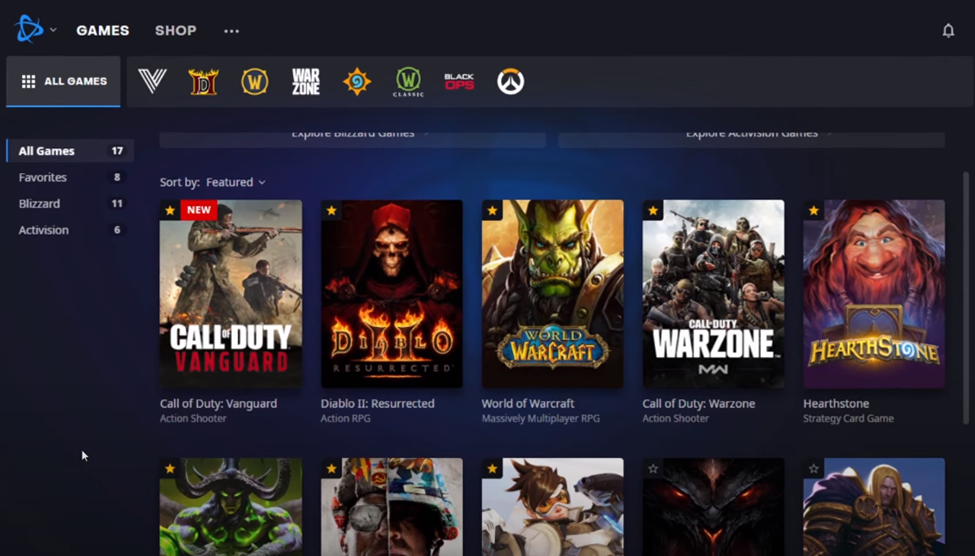
- After signing in, you will find your games library in the Battle Net application, and you can go to the Shop tab to search and download new games.
Final Words
Getting the best console and PC gaming in one reliable handheld form factor is as good as possible. Besides Battle Net on Asus ROG Ally, you can also install the EPIC games or any other game launcher that is downloadable on Windows 11. Hopefully, our guidelines were helpful enough to guide you well.