When it comes to controllers then the Asus ROG Ally offers flexibility in controller options, it can connect to both wired and wireless controllers, and the Nintendo Switch Pro Controller is one of them.
We’ve already seen how you can connect an Xbox controller, a PS5 one, and a PS4
So, to quickly connect your Nintendo Switch Pro Controller just follow the steps in the guide below
How to connect Nintendo Switch Pro Controller With Asus ROG Ally?
To connect:
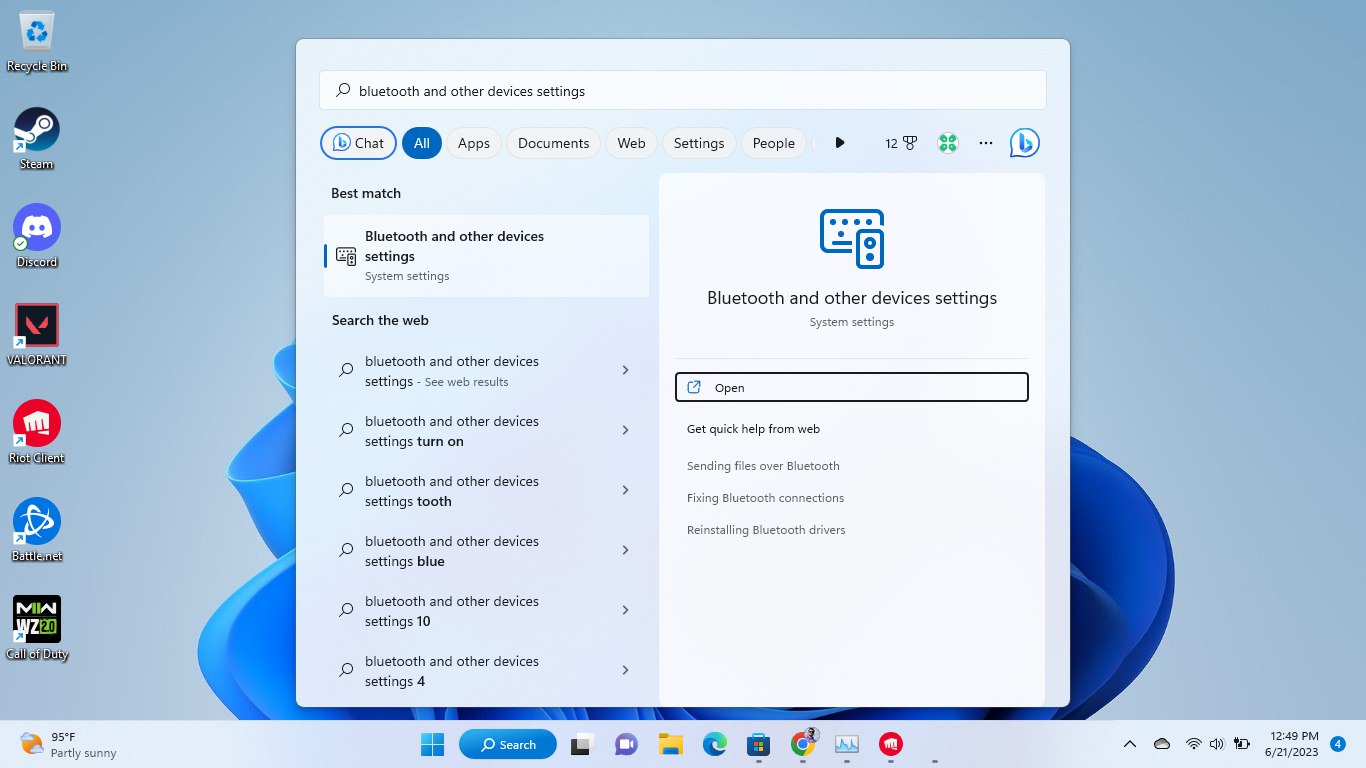
- Tap on the Windows icon
- Search for Bluetooth and other device settings
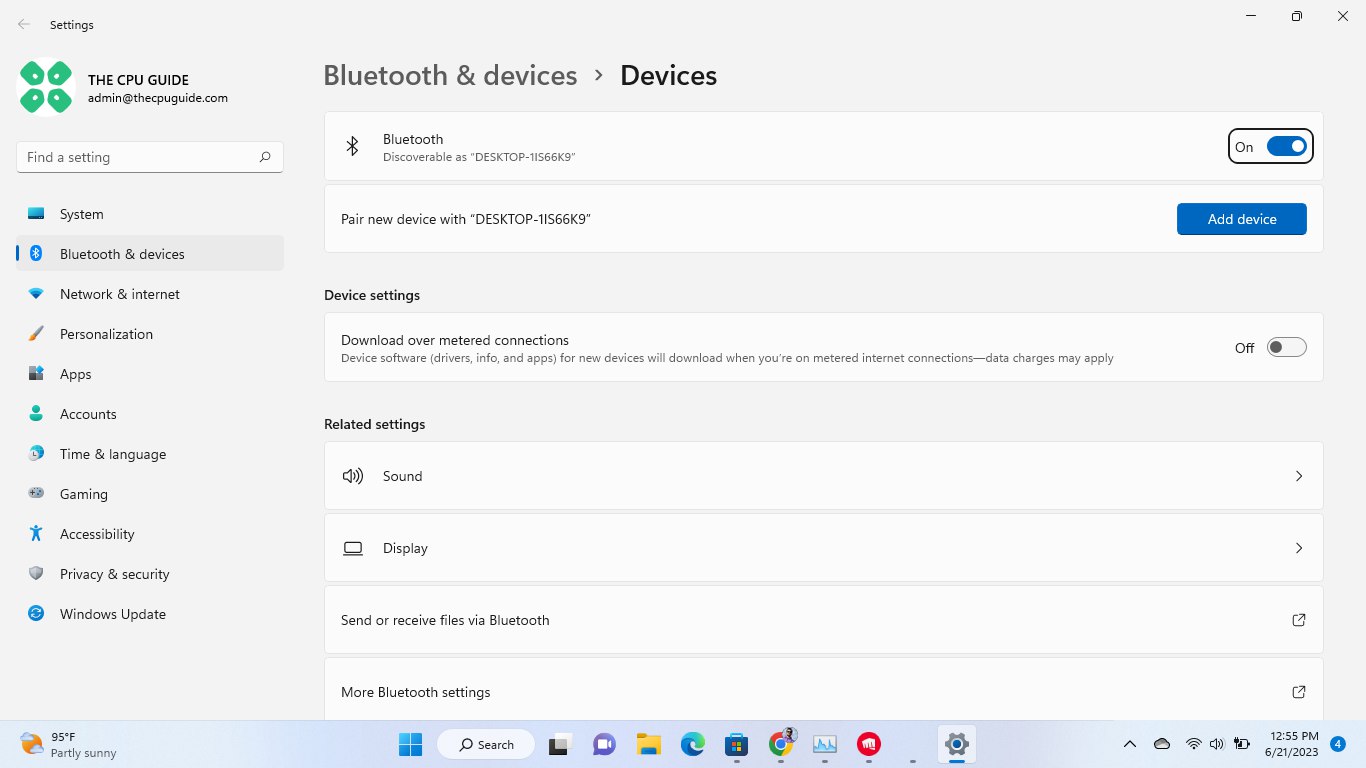
- Tap on the Add Device option
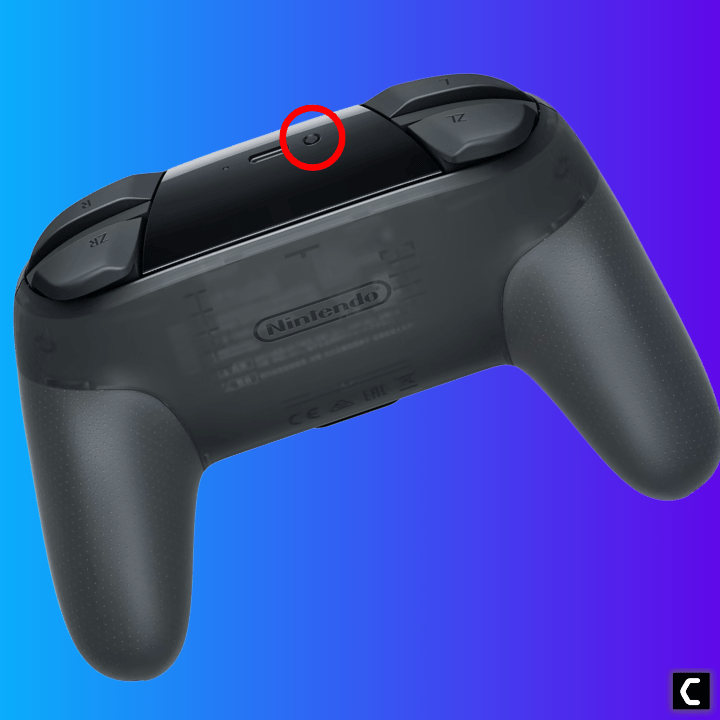
- Hold down the Switch Pro Controller’s pairing button (located next to the USB-C charging port)
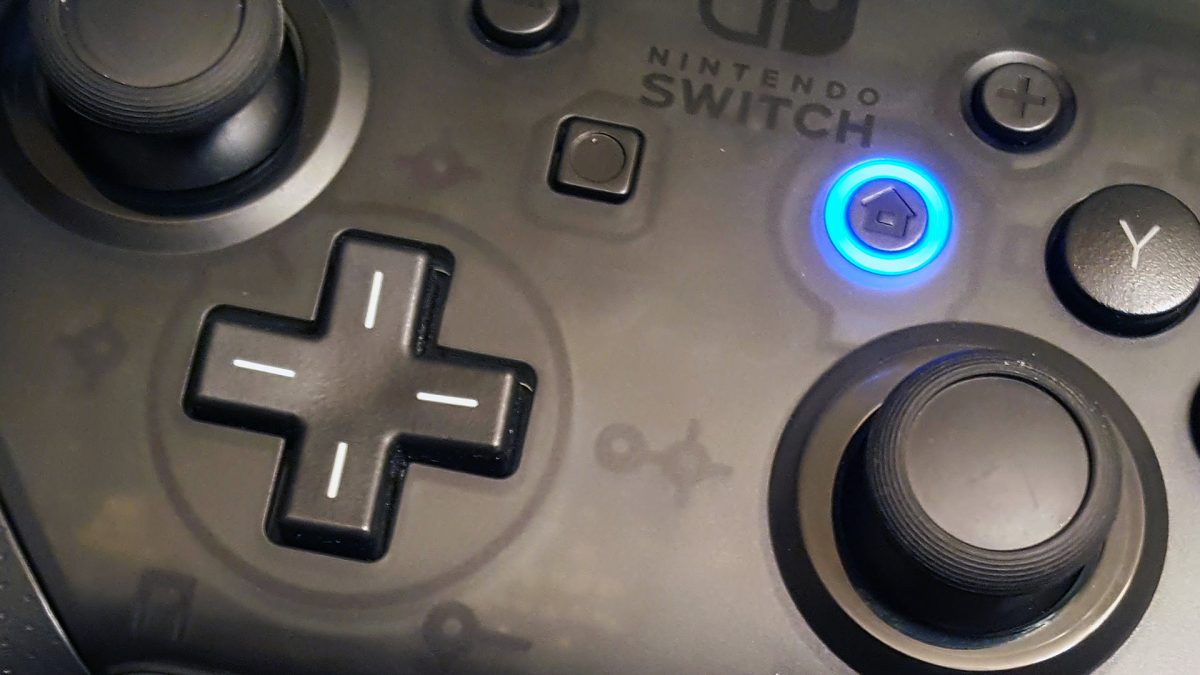
- The Pro Controller will appear on the Add a Device window. Click on the Pro Controller icon to connect. The home button on the Nintendo controller will indicate that it’s connected with a blue light.
How to Connect Nintendo Switch Pro Controller With Asus ROG Ally via Wire
Here we have mentioned the steps to connect Nintendo Switch Pro Controller Controller via Steam on Asus ROG Ally, and you’ll have to access Steam via Windows 11 after plugging the Nintendo Switch Pro Controller into the console using a USB cable.
- Plug your Nintendo Switch Pro Controller into your ROG Ally using a USB cable.
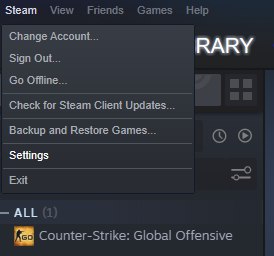
- Click on “Steam” in the upper left corner of the Steam window and click Settings
- Click on “General Controller Settings.”
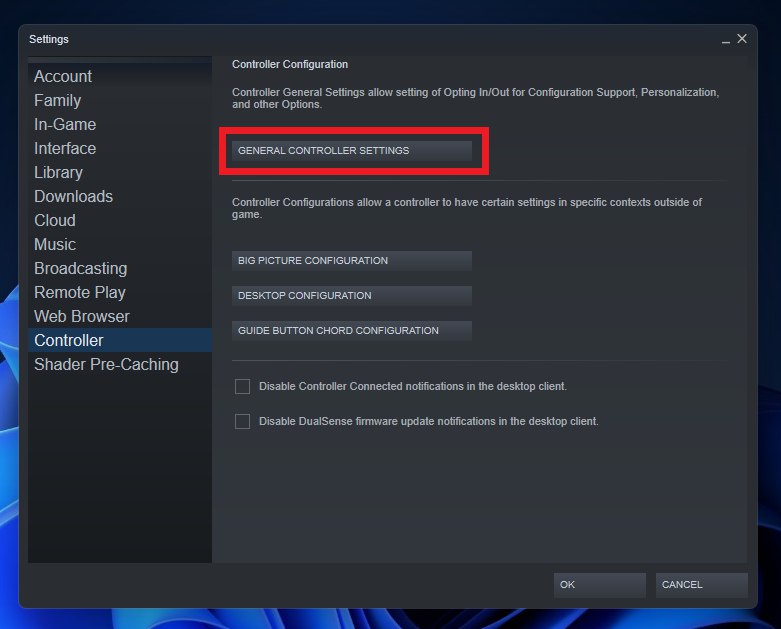
- In the “Controller Settings” menu, make sure the “Switch Pro Configuration Support” option is enabled.
- Click on the “Nintendo Switch Pro Controller“
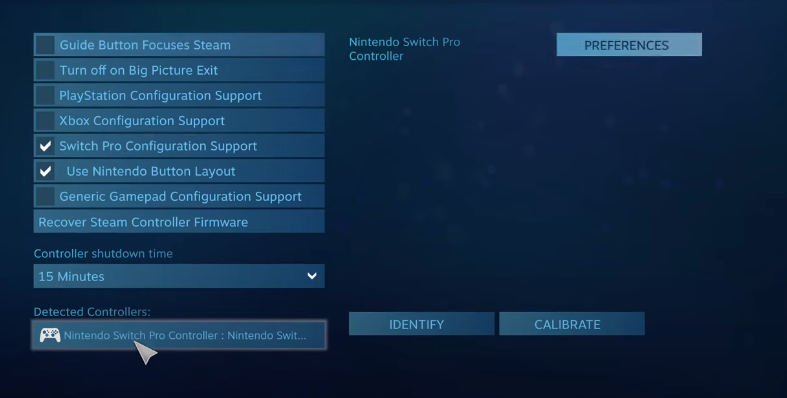
- Once the Nintendo Switch Pro Controller is added, you should see it listed in the “Detected Controllers” section. Select it and click on “Calibrate.”
- Follow the calibration prompts to configure your Nintendo Switch Pro Controller for use with your ROG Ally.
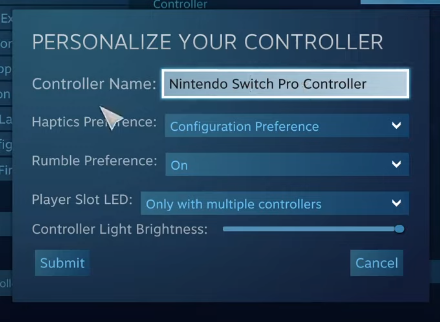
- Once your Nintendo Switch Pro controller is connected and calibrated, you can use it to play games on Steam.
Hope this helped you and if you got any questions just let us know in the comments section below.