Skyrim Won’t Launch?
Are you experiencing Skyrim launches for 5 seconds and you don’t even see the launcher Skyrim?
Don’t worry about it!
To Avoid further corruption in files,
We bring you the best working solution with Skyrim player
Before going to a detailed solution let’s have quick look at the FAQs of Skyrim Won’t Launch?
Why does my Skyrim keep crashing?
Skyrim keeps crashing due to number of reasons which are detailly explained later in this article experience
How do I stop Skyrim from crashing?
To Stop Skyrim from Crashing/Skyrim Won’t Launch,
you can start with restarting your PC, then updates driver uninstall the game this help you to eradicate the Skyrim crashing
Why is Skyrim not launching?
Skyrim not launching due to multiple reasons but most found ones are the outdated graphic drivers or the corrupt file installation. when the file is not updated and installed in game. when you try to launch the game, the game will crash.
Best Video Guide For Skyrim Won’t Launch
Solution 1: Restart the Game
The simplest solution of all time is to restart your game.
Whenever you encounter Skyrim an Infinite loading screen and any game bug. you should restart the game before applying any further solutions.
Solution 2: Check for Windows Update on Windows 11
For PC players, the outdated window is another big hurdle towards Skyrim. You have to update the windows to have an updated patch that will align with GPU updated drivers and eventually the Skyrim Won’t Launch will stop.
So, here is how you can update your Windows 11 OS:
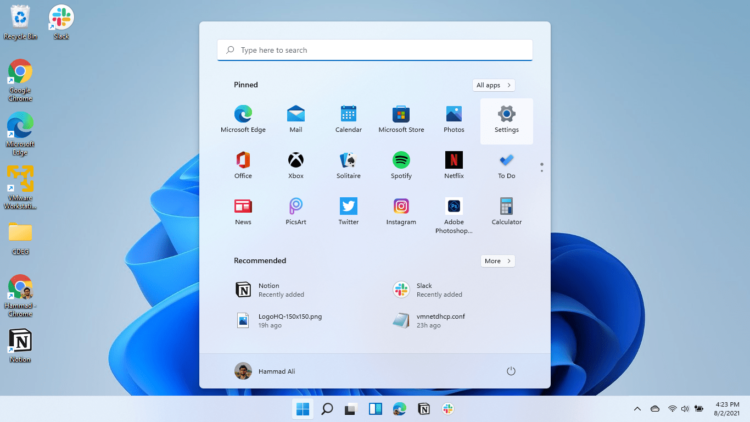
- Click on the Windows icon
- Click on the Settings icon and a new window will pop up
- Select Windows Update from the left menu
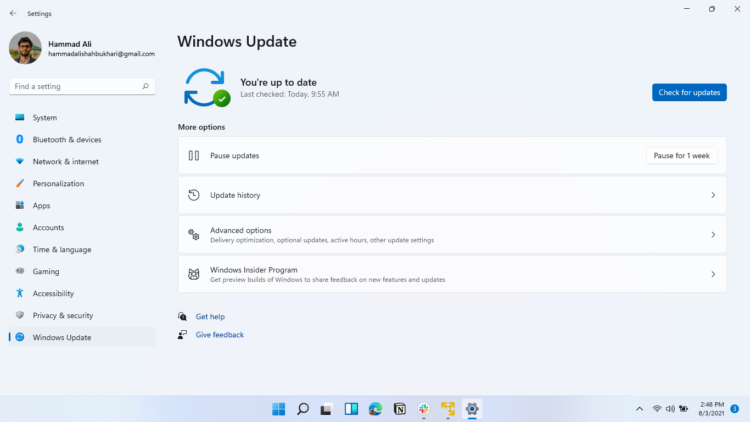
- The new window will pop up
- Then click on Check for updates button.
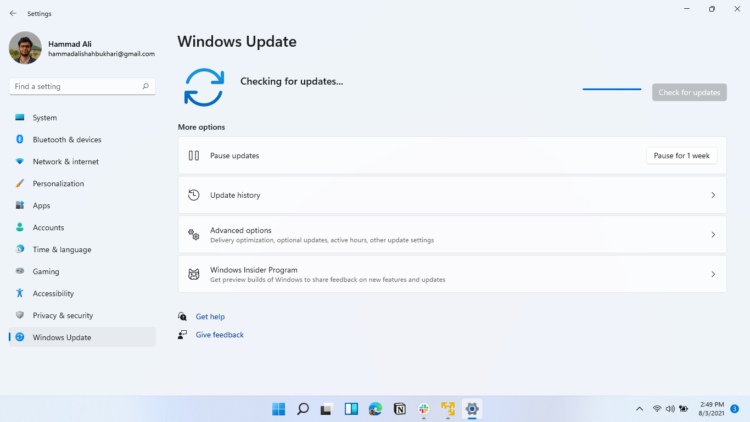
- If there is any update it will start updating the PC
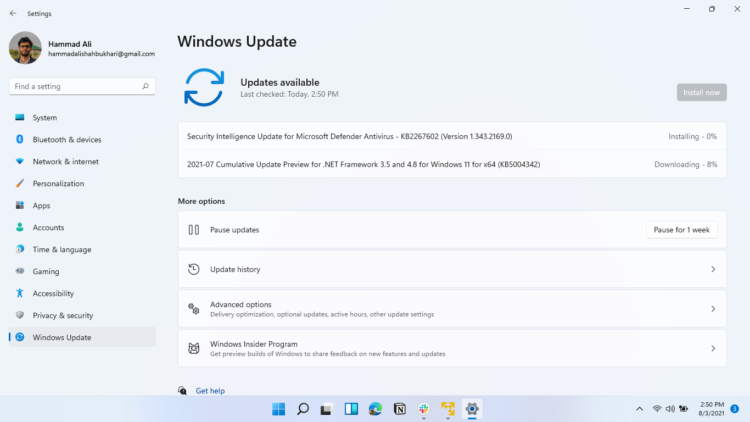
- It will take some time to update Windows OS and after that, you can restart your PC.
Solution 3: Update Sound Card Driver thorough Device manager
Here are how you can do it,
- Click on the Search icon
- Type Device Manager
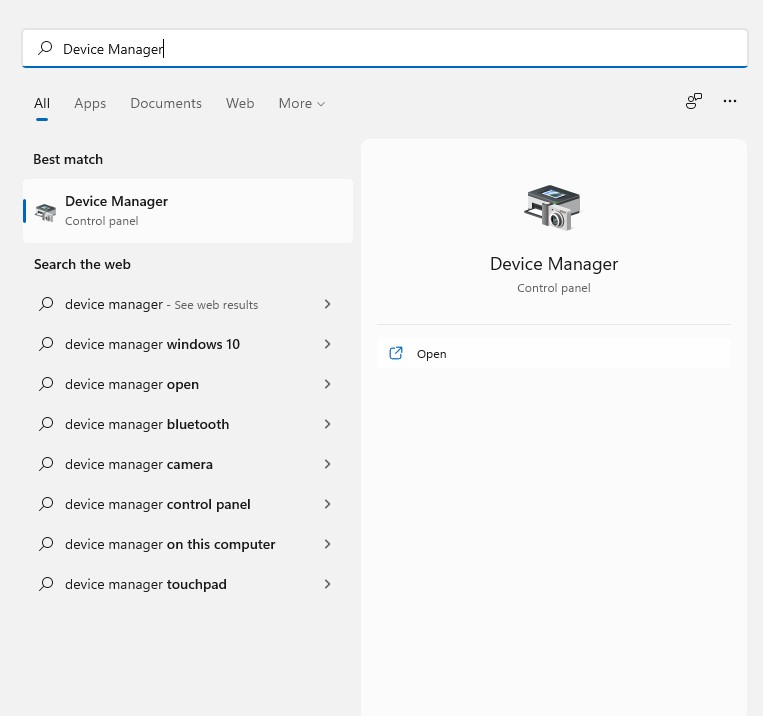
- Click to open Device Manager
- Then select the Display Adapter
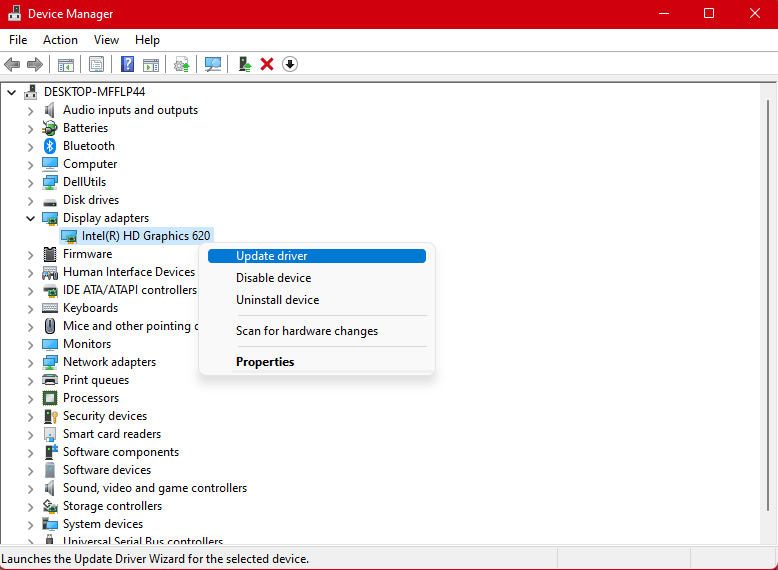
- A further menu will open
- Find your video driver
- Click right on the sound card name
- Click on the updated driver
The driver will update automatically.
Solution 4: Check for Driver’s Updates of GPU/Video Card to Skyrim Won’t Launch
One of the main and highlighted issues is the GPU drivers are outdated when our video card has outdated drivers it’s unable for GPU to go align with the update/modern gaming experience and eventually cause Skyrim won’t Launch,
So, we recommend updating the video card drivers. Giving you direct links to Main GPU making companies
Solution 5: Uninstall Mods To fix Skyrim Won’t Launch.
Mods aka modification in-game which done by players to enhance their gameplay.
But sometimes some mods start causing Skyrim Infinite loading screen,
But we can’t identify any mod by name due to changes in regions.
You have to delete the mod one by one and check the game is working after deleting one mod and repeating until the last mod.
if the game starts without an Infinite loading screen, then this error is caused by the mod you installed
Solution 6: Try Reinstall Skyrim.
Reinstalling Skyrim will help you eradicate any unknown error that is occurring due to some cache that is not erasable or some bugs which is not traceable but still causing Skyrim Infinite loading screen
- Uninstall Skyrim game
- Restart your computer
- Reinstall the Skyrim
- Now relaunch the Skyrim
Hope this will solve your Skyrim Infinite loading screen.
Solution 7: Contact Bethesda Support
If the above solution didn’t work out so it’s better to contact Bethesda Support
Tell them the whole scenario you facing

Bethesda Support will help to solve this Skyrim Won’t Launch.
Hope this will help to solve the Skyrim Infinite loading screen
Dmitiriy’s Solution
In our comments @dmitiriy has a suggested solution that seems workable where documents library being linked to OneDrive can be causing problems with accessing files needed for Skyrim to run. They suggest unlinking the PC from OneDrive, setting the default location for the Documents folder, using the registry editor to fix any access denied errors, and manually copying over any files that were not automatically moved to the new default location.
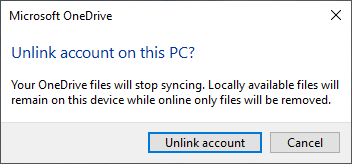
- Open OneDrive and select “Settings” from the menu.
- Click on the “Account” tab and then click “Unlink OneDrive” to disconnect your PC from OneDrive.
- Open File Explorer and navigate to “This PC > User > [Your User Name]”.
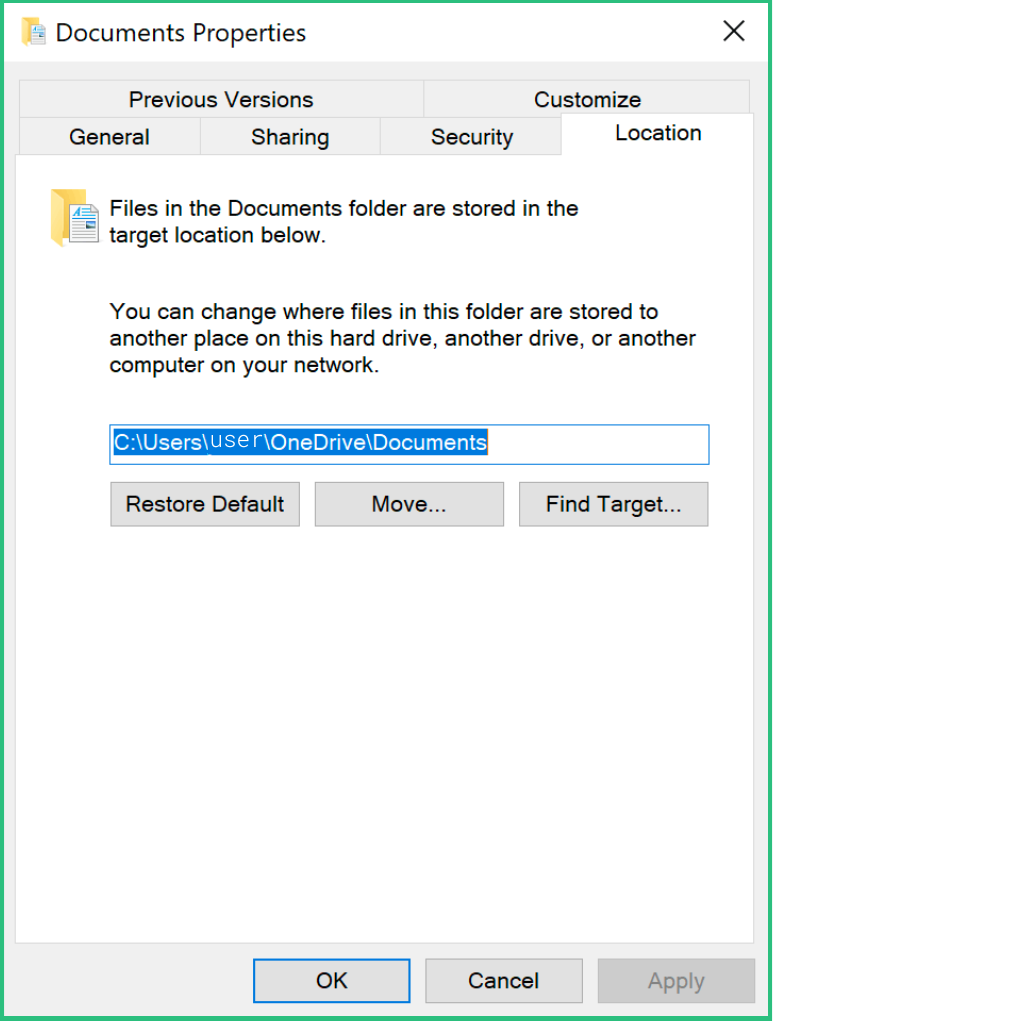
- Right-click on the “Documents” folder and select “Properties”.
- In the “Properties” window, select the “Location” tab.
- Click the “Restore Default” button and then click “OK”.
- If prompted to move existing files to the new location, select “Yes”.
- Restart your computer.
- Open File Explorer and navigate to “This PC > User > [Your User Name] > Documents”.
- If necessary, copy the contents of the “OneDrive > Documents” folder and paste them into the “Documents” folder.
- You can now delete the “OneDrive > Documents” folder or use it as a backup.
Share your experience down below in the comments section.