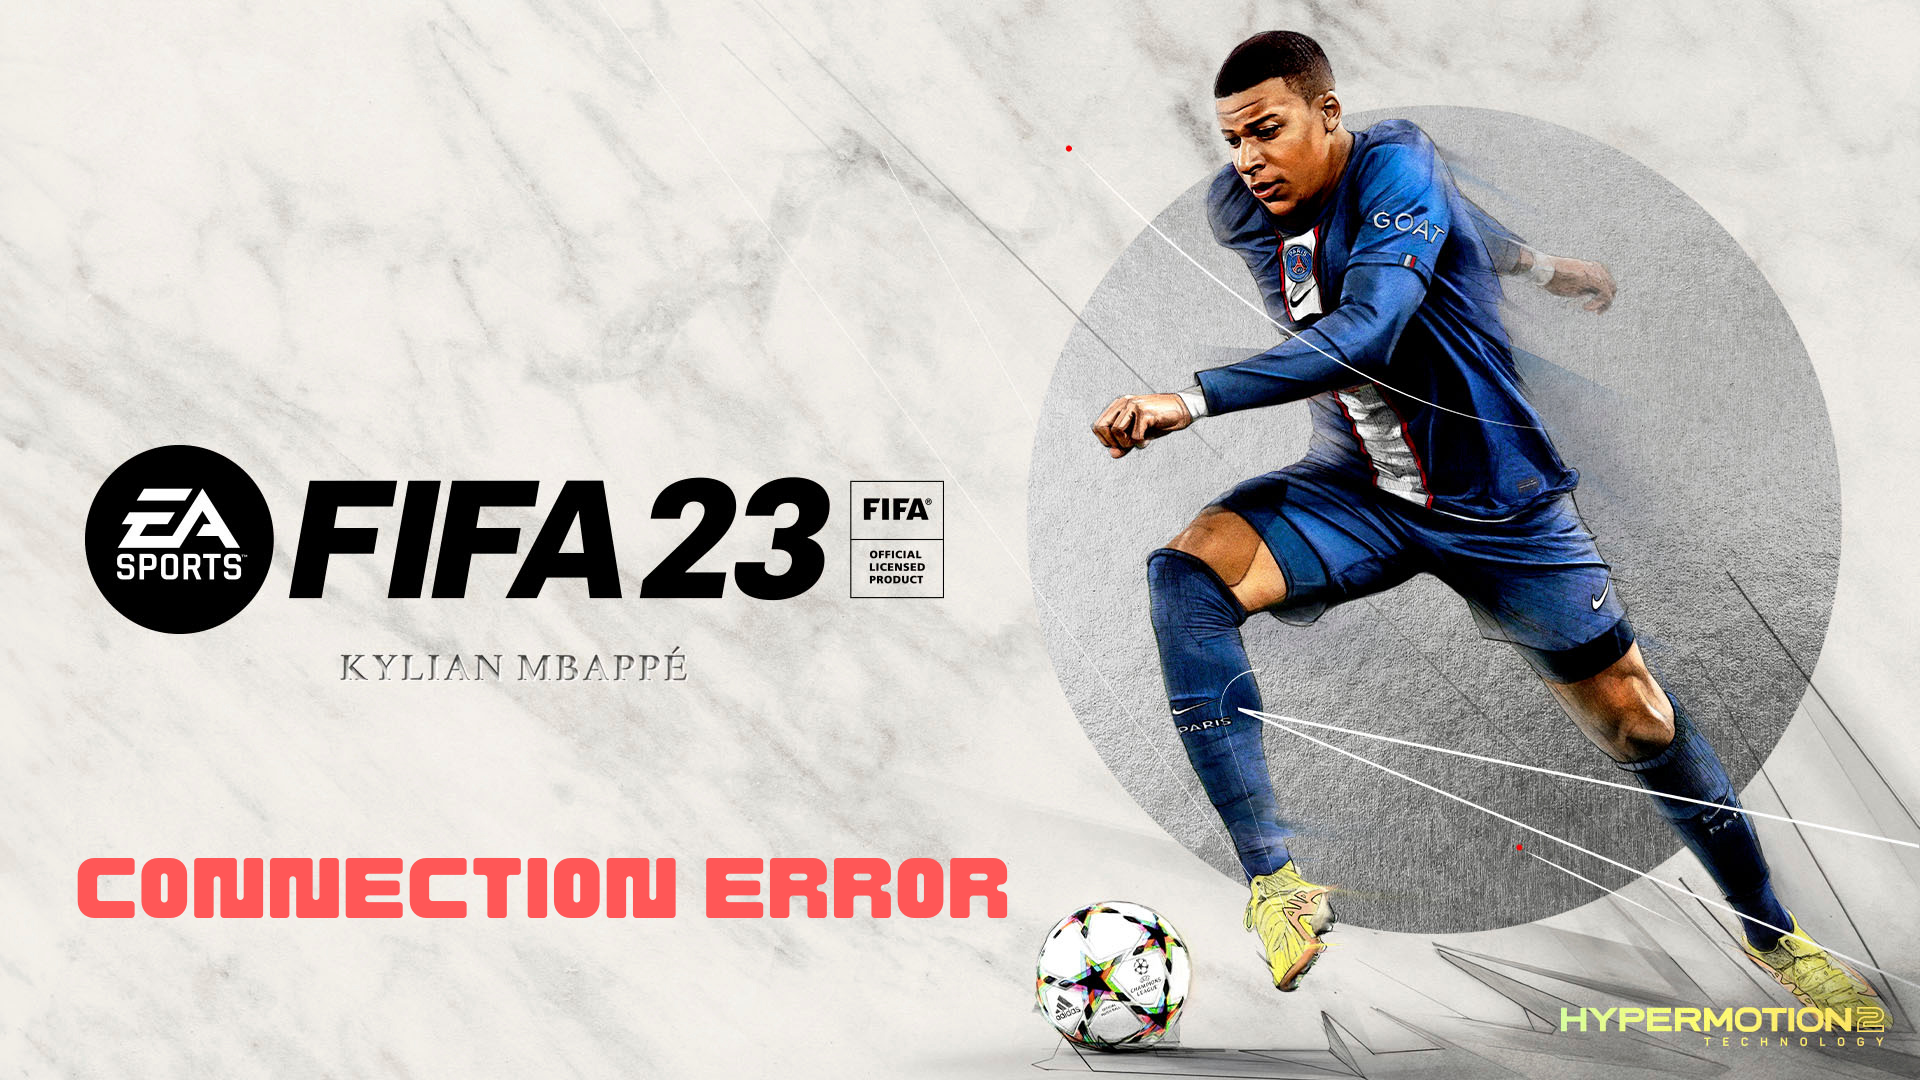
Recently FIFA 23 players are encountering issues while trying to connect to the game, preventing them from accessing the game’s online features, and sometimes the game crashes in the middle of the game. This error can be frustrating for players, especially those who have invested time and money into building their team.
In this response, we will explore some of the common causes of the error connecting to FIFA 23 Ultimate Team and possible solutions to resolve it.
How to Fix Error Connecting to FIFA 23 Ultimate Team?
There can be several reasons why players may encounter an error connecting to FIFA 23 Ultimate Team. Some of the common causes include:
- Server Maintenance: EA Sports, the developer of FIFA, regularly conducts server maintenance to improve the game’s performance and stability. During this time, players may experience connectivity issues, which can prevent them from accessing the game’s online features.
- Internet Connection: A stable and reliable internet connection is essential for playing FIFA 23 Ultimate Team. If a player’s internet connection is weak or unstable, it can cause connectivity issues and prevent them from accessing the game’s servers.
- Firewall or Anti-Virus: Firewalls and anti-virus software can sometimes block the connection to FIFA 23 Ultimate Team servers. This can happen when the software perceives the game as a security risk and blocks its connection.
- Outdated Game Version: If a player is using an outdated version of FIFA 23, it may not be compatible with the latest servers, which can cause connectivity issues.
- Network Congestion: If too many players are accessing FIFA 23 Ultimate Team servers at the same time, it can cause network congestion, resulting in connectivity issues.
It is essential to identify the cause of the error to resolve it effectively.
Solution 1: Restart the PC
When you experience a Connection error or any bug in your game, it’s recommended to start by restarting the computer before attempting any other fixes. This is because restarting the computer can resolve any temporary errors caused by outdated cookies and cache or conflicts with other software on your system. Simply restarting the PC.

Solution 2: Power Cycle Your Router PC
If you’re still experiencing FIFA 23 crashing on your PC after trying the previous solutions, power cycling your router could help you establish a better internet connection and potentially solve the problem. Here’s how to do it:
- Completely turn off your router by disconnecting the power cable from the power switch.
- Leave it turned off for 5 to 10 minutes before plugging it back in.
- Check if the Wi-Fi network is visible and properly connected to your devices.
It’s important to note that you should restart all devices affected by the power cycling process to ensure an accurate fix. By power cycling your router, you may be able to reset its internal memory and establish a fresh connection with your devices, which could potentially resolve any connectivity issues causing the game to crash.
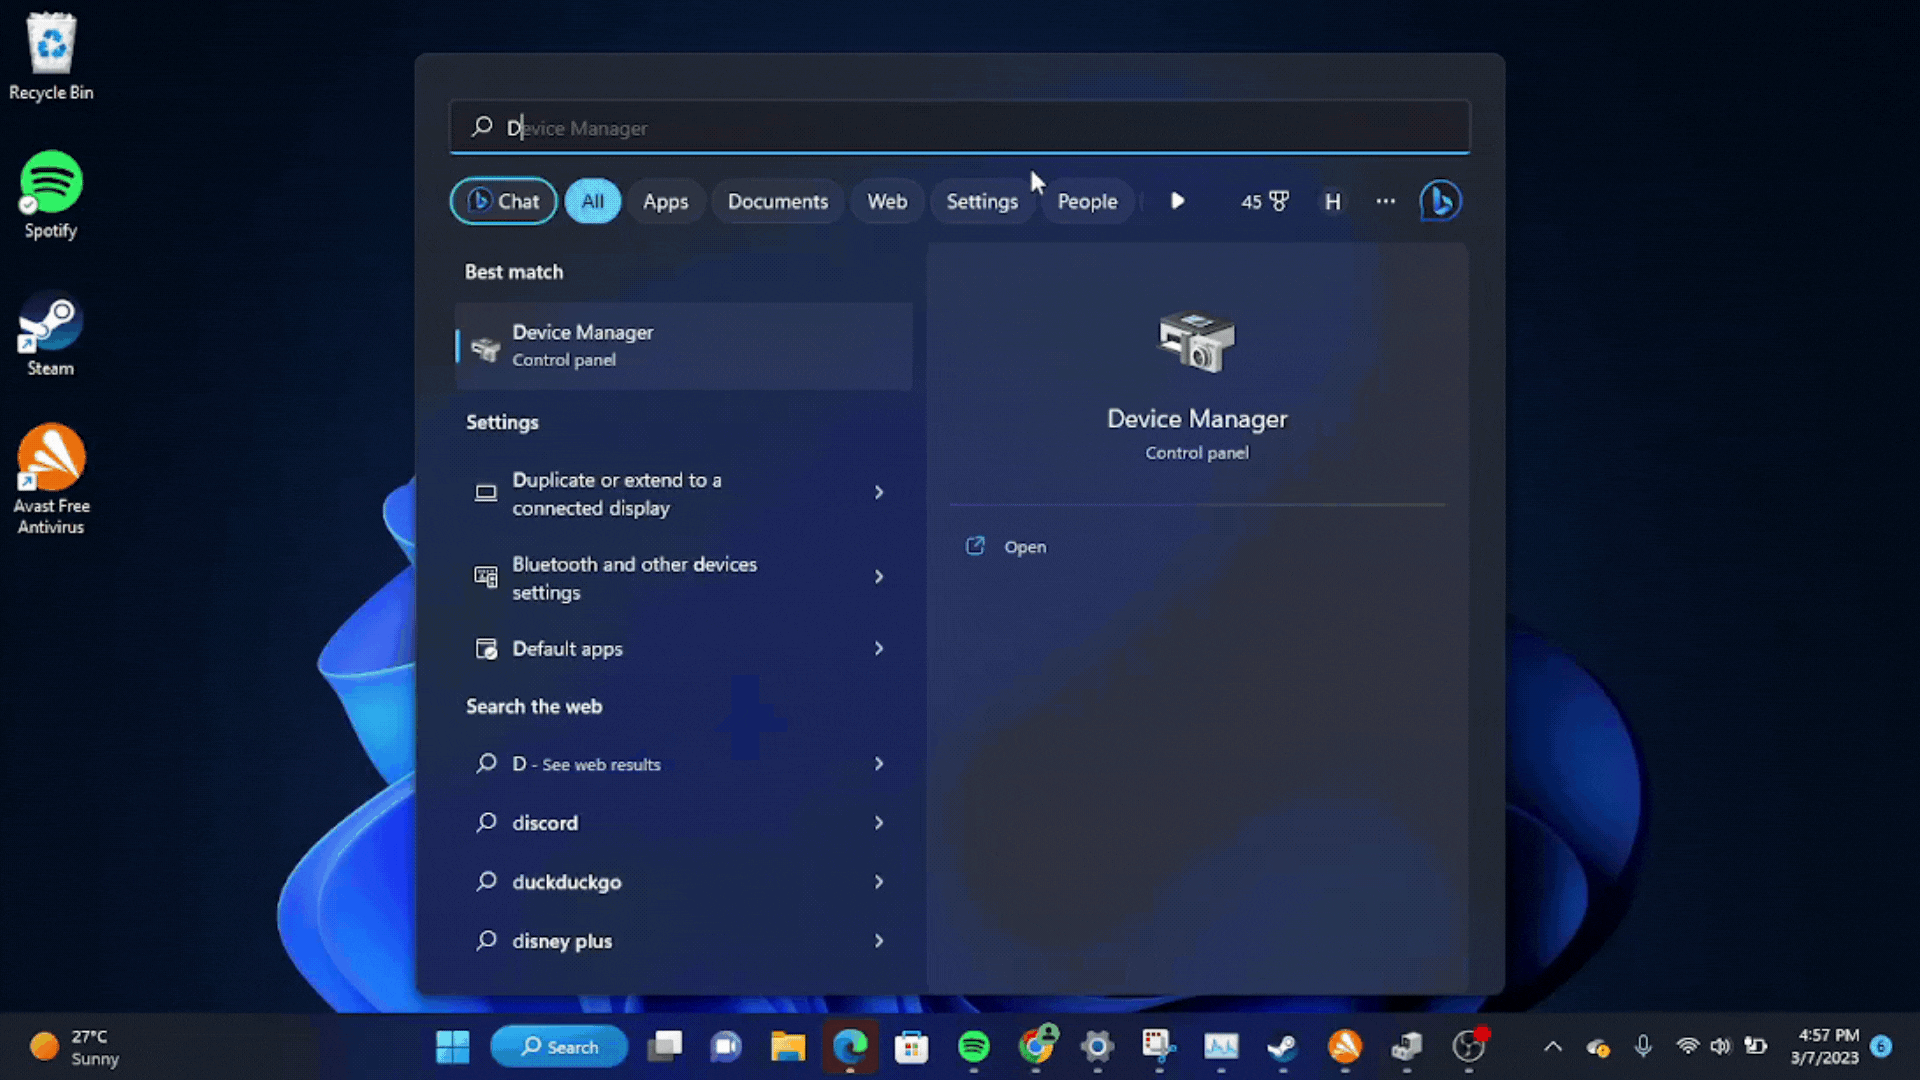
Solution 3: Update WiFi Drivers on Windows 11 through Device Manager PC
WiFi drivers are an essential component of your computer’s network functionality. They allow your computer to connect to WiFi networks and enable smooth and uninterrupted internet access. If you’re experiencing connectivity issues or slow internet speeds, updating your WiFi drivers may help resolve the problem.
Here is how you can WiFi Drivers via Device Manager:
- Click on the Search icon
- Type Device Manager
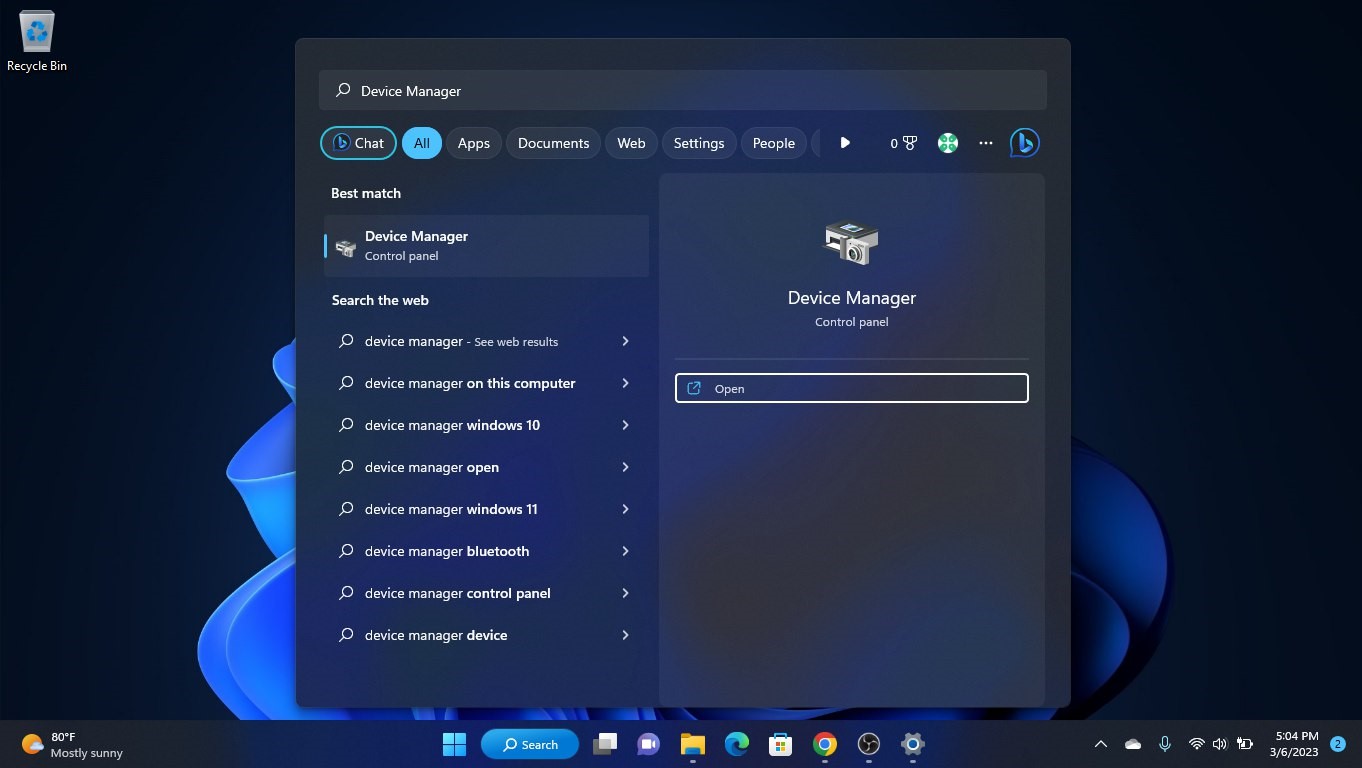
- Click to open Device Manager
- Then select the Network adapter
- Click right on the WiFi card name
- Click on the Update driver
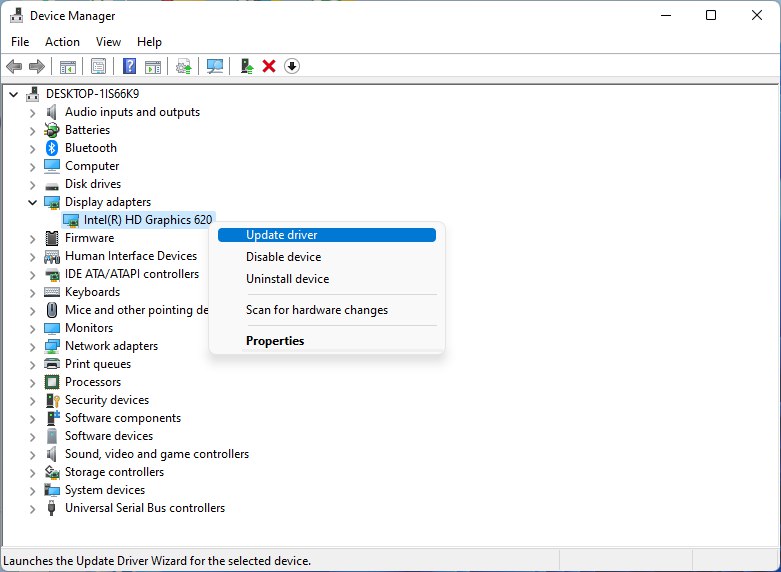
- Select “Search automatically for drivers“
Hope this will help you to upgrade the WiFi drivers and eliminate the low-speed problem
Solution 4: Verify the Game Files On Steam PC
Sometimes the game file will get corrupted or get deleted, which eventually causes a Connection error issue on FIFA 23 on PC.
Verify the Game File in Steam
Follow the steps to verify the game file on Steam software:
- Launch the Steam Software
- Now login in the steam
- Navigate to the library
- Select the game and right-click on the game
- Now select properties
- Now click on the “Local file” Option
- A further menu will open
- Click on the “Verify Integrity of the Game Cache“
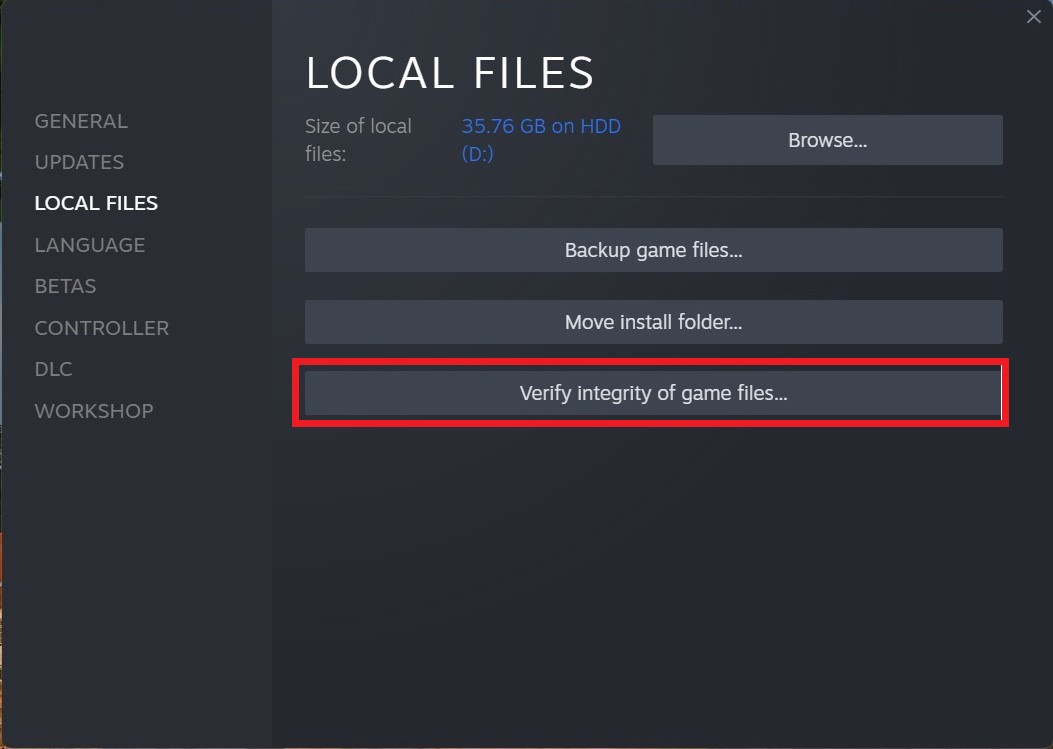
- Now the software is verifying the files, and this will take some time.
Sometimes the game file will get corrupted or get deleted that eventually causing an Error Connecting issue on Steam.
Solution 5: Clear DNS Cache and Data on PC
DNS translates website names into computer-readable IP addresses. Windows 11 stores DNS data to speed up website access, but this cache can become outdated or corrupted, causing issues. Clearing the cache forces your computer to get the most recent data from DNS, fixing issues with website access or slow browsing. Follow the steps in this guide to clear the DNS cache on Windows 11.
How do I clear my DNS cache?
- Click on the Windows start icon in the bottom left corner.
- Then press the Windows key + R.
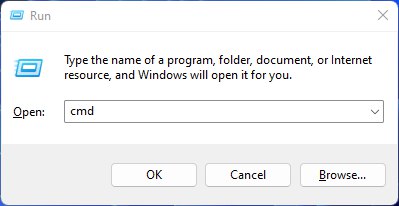
- The Run box will appear.
- Type cmd, and click on OK.
- Then on the cmd window, enter the following commands: (Note: Type the following commands, and hit Enter after every command)
- “ipconfig/flushdns”
- “ipconfig/registerdns”
- “ipconfig/release”
- “ipconfig/renew”
- Close the window.

Now after clearing the DNS Cache and Data, it’s time to set your DNS settings automatically on your PC/laptop to fix Error Connecting on your PC while playing FIFA 23.
Solution 6: Setting your DNS to Automatic on Windows
To fix the “FIFA 23 Connection Error”, we suggest setting your DNS automatically.
Here is you can set DNS on Automatic:
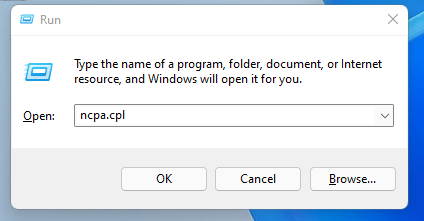
- Press Windows key + R.
- Then type ncpa.cpl and click OK.
- In the internet connection, right-click on Ethernet and choose properties.
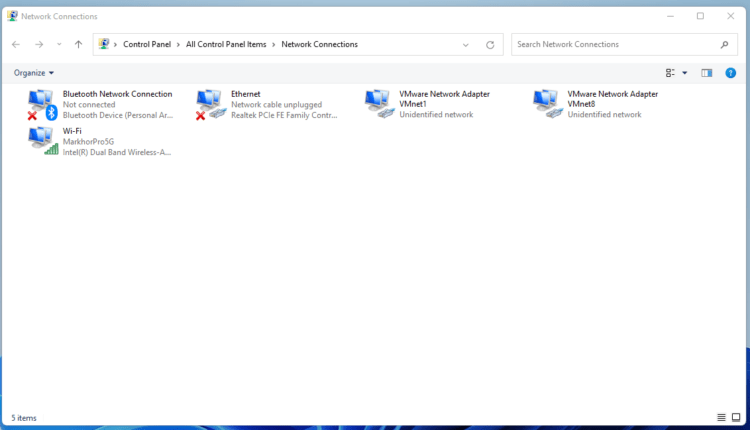
- In the properties window, choose Internet Protocol Version 4 (TCP/IPv4) or Internet Protocol Version 6 (TCP/IPv6)
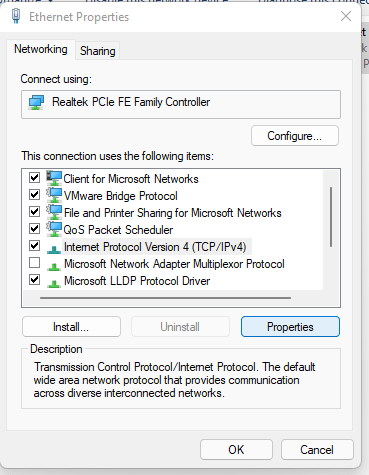
- Click the Properties button
- Now choose the options “Obtain IP address automatically” and “Obtain DNS server automatically”
- Click OK.
If you already using the automatic DNS settings then you should try Google DNS manually
Solution 7: Use DNS manually or Google’s DNS to Fix FIFA 23 Connection Error
Here is how you can set Google’s DNS in Windows 11:
- Press Windows key + R.
- Then type ncpa.cpl and click OK.
- In an internet connection, right-click on Ethernet and choose properties.
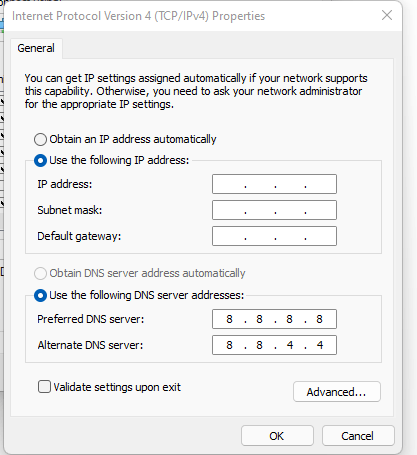
- In the properties, the window chooses Internet Protocol Version 4 (TCP/IPv4) or Internet Protocol Version 6 (TCP/IPv6)
- Click the Properties button.
- Now write 8.8.8.8 in the box next to ‘Preferred DNS server’
- And then write 8.8.4.4 next to the ‘Alternative DNS server
If you have any queries or suggestions, feel free to share your experience with us in the comments section down below or you can reach us on our social handles.


![Why Returnal keeps crashing on PC? [Fixed]](https://www.thecpuguide.com/wp-content/uploads/2023/02/Returnal-keeps-crashing-on-pc-768x432.png)