Are you unable to Clean Install Windows 11 on your PC?
OR
Your PC is not meeting the requirement of Windows 11?
Don’t worry about it!
The CPU Guide brings you the best working tutorials to Install Windows 11
Before heading to the solution let’s answer some questions about How to Clean Install Windows 11 on a PC.
Should I do a clean install of Windows 11?
Clean install of Windows 11 will help you to enhance your PC performance and upgrade your system and help you eliminate any bugs or outdated drivers.
Is installing Windows 11 safe?
Yes, Windows 11 is now officially launched, and it’s completely safe to download and install on any device which meets the minimum requirement of Windows 11.
Can I install Windows 11 on an unsupported device?
Yes, you can install Windows 11 on an unsupported device but it’s not recommended. You can download the iso file and install the Windows and skip the requirements. But in the future, you will not able to receive any updates and security patches. This will make your PC vulnerable and you might experience some malware attack that will damage your PC.
Windows 11 Features
Windows 11 is the most anticipated Windows ever,
Windows 11 come with new modern features that make this Windows super interesting. Windows 11 contains lots of productivity features that will enhance the user experience and enable office workers to do work on multiple tasks on one screen at the same time, that’s super cool though! Windows 11 is full of applications this time,
READ ALSO: This PC Can’t Run Windows 11?
In Windows 11 you will get a fully new Microsoft store experience, in the new Windows Microsoft store you will have access to the android apps, which will enable users to use android apps on their PCs and this will improve productivity by using android tools on your PC.
Windows 11 is not that different from Windows 10, The setting of Windows 11 is pretty similar to Windows 10 settings, so if you are familiar with the Windows 10 settings it pretty easy to rectify any error you have in Windows 11 due there a similarity,
However, the UI of Windows 11 is far better than Windows10, Windows 11 enable the user to gather all of his work on one platform plus provides entertainment with your mobile apps. A start-up sound is also a unique thing after Windows 7.
Windows 11 is available in various languages which allows user to have their local language on their PC. Some languages are fully optimized with “Display language“, “Text to Speak“, Speach recognition“, “Handwriting” features.
Minimum Requirements of Windows 11 For PC
What are Windows 11 minimum requirements?
Here are the minimum requirements of Windows 11 for PC.
| Processor | 1 gigahertz (GHz) or faster with 2 or more cores on a compatible 64-bit processor or System on a Chip (SoC). |
| RAM | 4 gigabyte (GB) |
| Storage | 64 GB or larger storage device Note: See below under “More information on storage space to keep Windows 11 up-to-date” for more details. |
| System firmware | UEFI, Secure Boot capable. Check here for information on how your PC might be able to meet this requirement. |
| TPM | Trusted Platform Module (TPM) version 2.0. Check here for instructions on how your PC might be enabled to meet this requirement. |
| Graphics card | Compatible with DirectX 12 or later with WDDM 2.0 driver. |
| Display | High definition 720p |
| Internet connection and Microsoft account | For all Windows 11 editions, internet access is required to perform updates and to download and take advantage of some features. A Microsoft account is required for some features. |
Now we have to enable TPM before heading to the clean to avoid any error.
Let’s go in BIOS to Enable TPM to Fix This PC Can’t Run Windows 11 Error
It is better to enable the TPM on PC before the installation of Windows 11, otherwise, you will get an error while performing Clean Install Windows 11.
To fix the TPM 2.0 error you have to follow these steps:
Note: This solution is based on DELL BIOS
- Go in BIOS of Your PC by restarting the PC
- When the manufacturer logo comes press “F12 or F10, or F9” different keys will with different brands of PC
- Now BIOS menu will open
- Select the BIOS setup
- Then go in “Security” a further menu will open
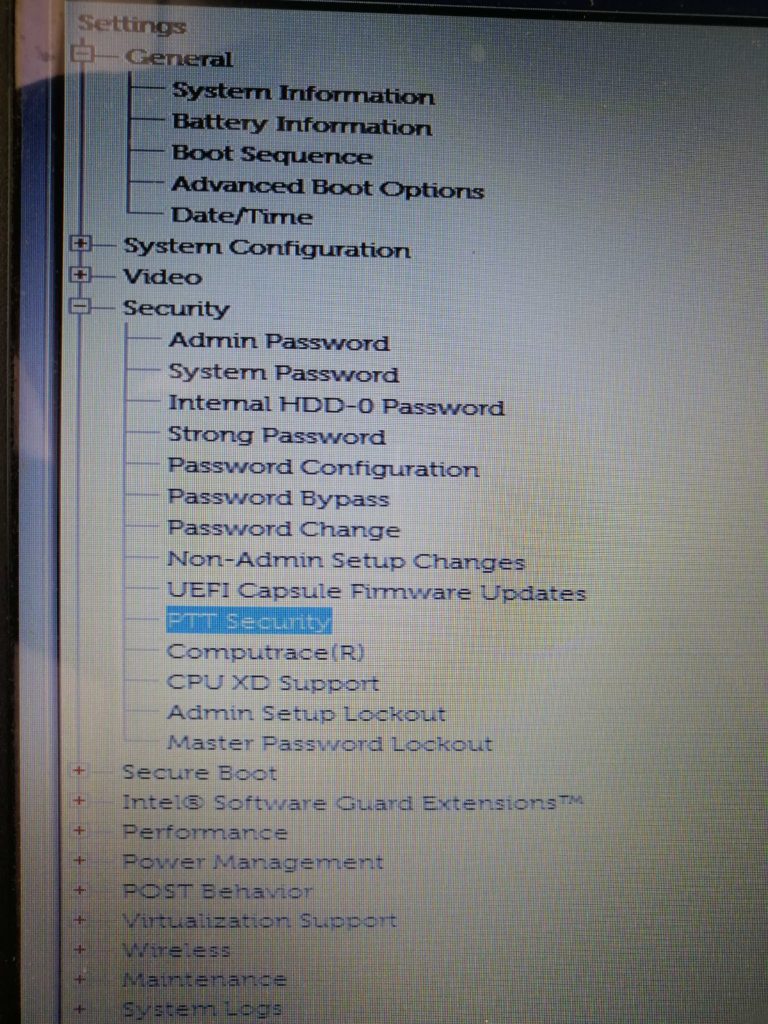
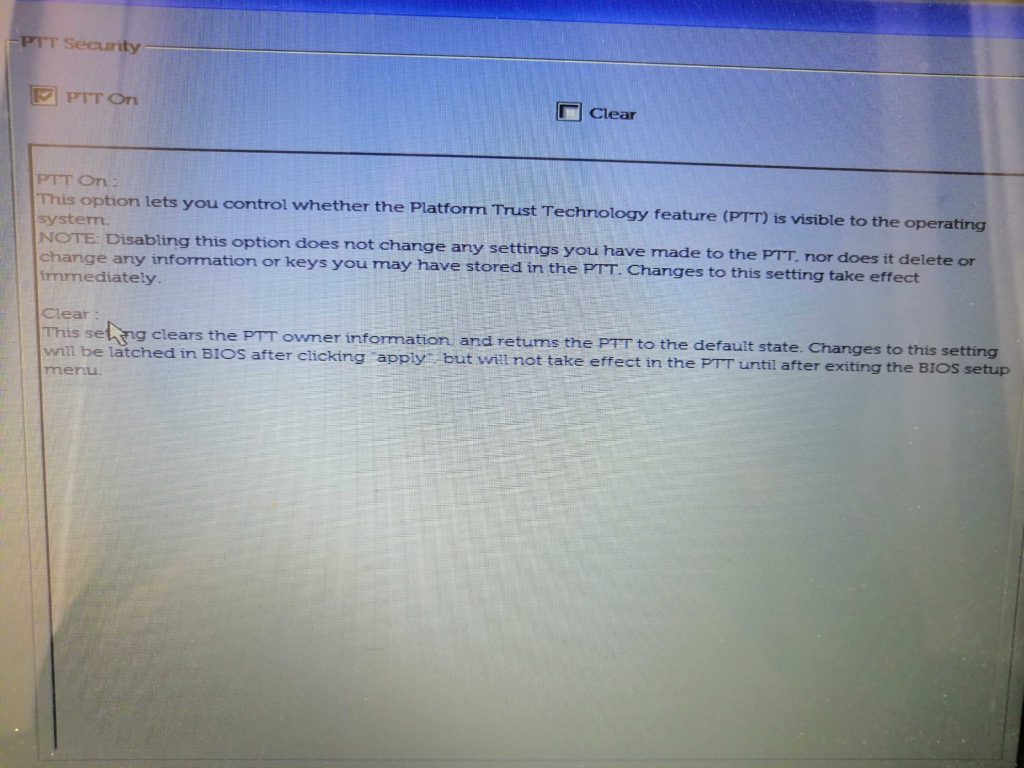
- Select “PTT Security” on the right side a window will open
- Check the “PTT On” box
- Now click on save and exit
- Now your TPM chip activated
After activating the TPM chip now we will proceed to download Windows 11 to Clean Install Windows 11.
Download the Windows 11 To Clean Install Windows 11
There are two ways you can follow to download Windows 11.
Note: To download the Windows 11 on your PC make sure you have free space upto 70 (GB)
Update & Security
If your device is already meeting the minimum requirement of Windows 11. Then you might have the Windows 11 update in the Update & Security section.
Here is how you can access the Update & Security Section.
- Start the Windows 11
- Click on the start menu
- Now click on the Settings (Gear icon) right above the power button
- The Settings will open
- Now go to the Update & Security
- Right under the Windows Update, you can see a Windows 11 banner with Download and install button
- Click on the Download & Install button
- Now the Windows 11 Starts Downloading
Windows site
Here is another way to download Windows 11 if you haven’t received any updates in the Update & Security section:
- Open the browser
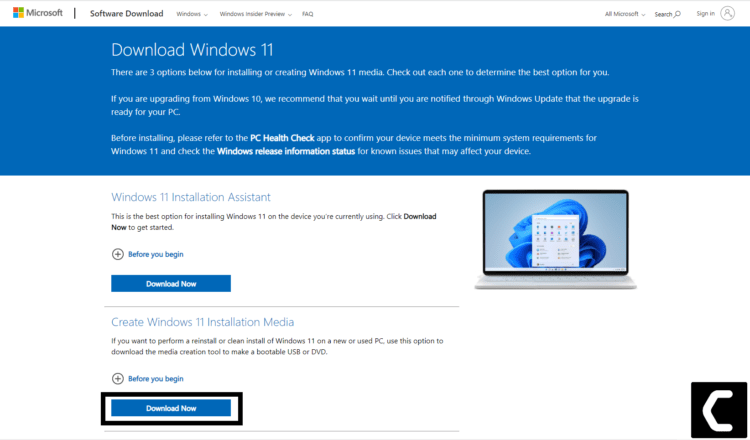
- Go to the Microsoft website
- Now you can see three types of downloading options
- Windows 11 Installation Assistant: Most easy way to download Windows 11 on your PC. It requires less effort to download Windows 11
- Create Windows 11 Installation Media: From this option, u can store the Windows 11 on your USB or DVD it usually helps you to do clean install Windows 11
Now let start Clean Install Windows 11.
Clean Install Windows 11
How do I manually install Windows 11?
Here is how you can install Windows 11 on a PC:
- Go to the Microsoft download page
- Choose “Create Windows 11 Installation Media”
- Click on the Download now
- MediaCreationToolW11.exe will be downloaded
- Double click on it
- Click on the Accept button to agree with the term
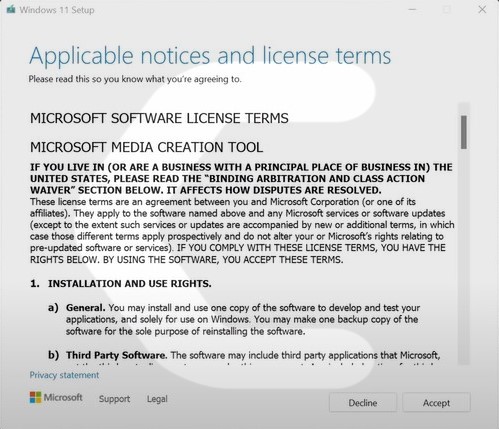
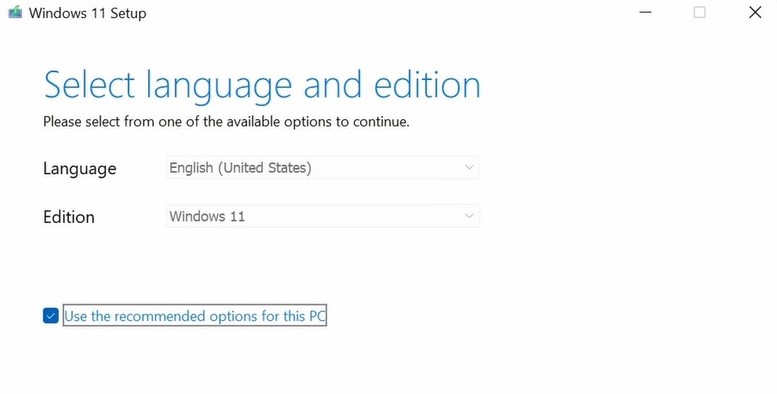
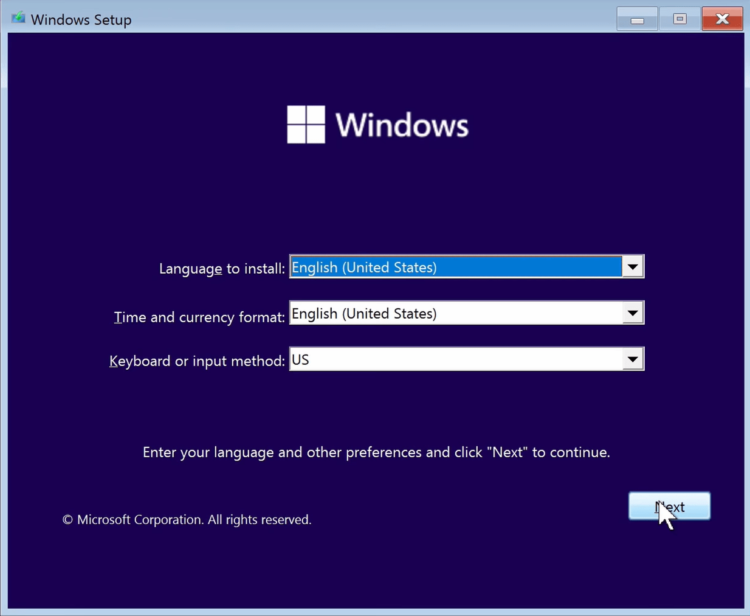
- Window setup will open
- Select your Language and Windows Edition
- Click on the Next button
- Select the USB option

- Make sure your USB is connected accurately
- Click on the Next button
- After the process is done click on the Finish button
Caution: Now make sure you done you done backup up of all the things you like to save otherwise after performing clean install Windows 11 will erase all pervious data.
- Shut down your PC
- Make sure the USB is accurately plugin into the PC USB port.
- Now start your PC
- When the manufacturer logo come
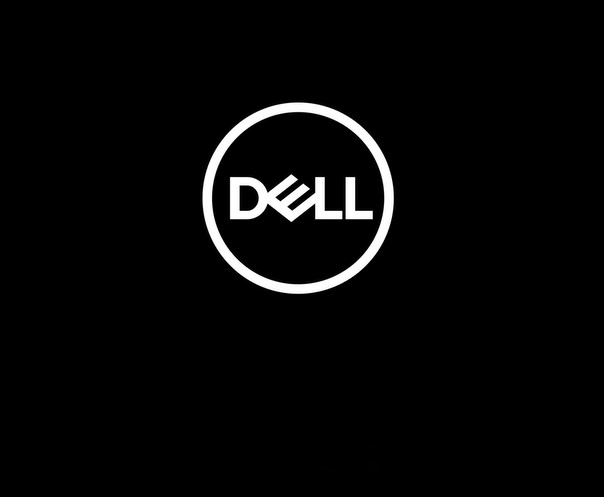
- Press any boot key
- The Window setup will come
- Select all the preferences you have
- Click on the Next Button
- Click on the Install now button
- Now Activate Windows dialogue box will open
- Now enter the Product key
- Click on the Next button
- Now select your Windows 11 edition
- Make sure you choose the right one Windows 11 edition you were using before in Windows 10
- Otherwise, Window 11 will not load and you might have to do all processes again
- Now click the Next button
- Now the license term will show up
- Select the “I accept the license terms” option to continue
- Click on the Next button
- Now you will see “Which type of installation do you want?”
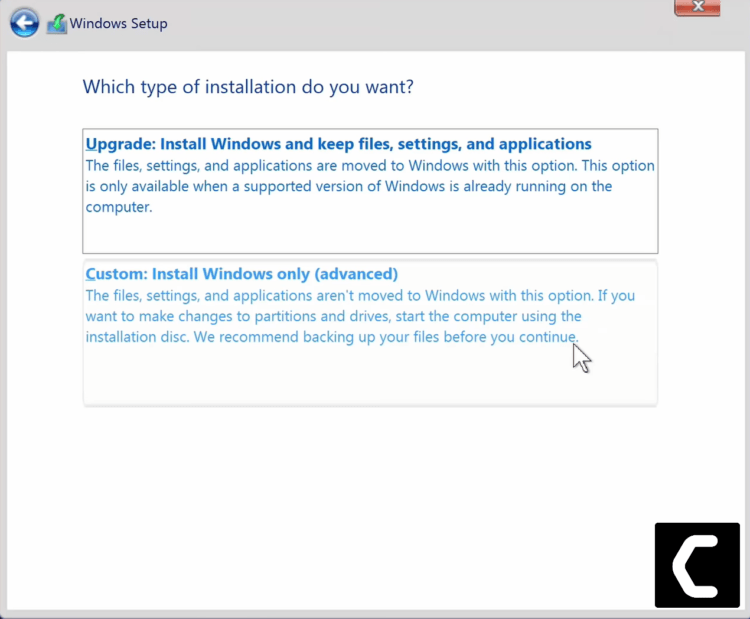
- Select “Custom: Install Windows only (advanced)
- Now select the empty drive (Drive 0) the empty drive
- Window 11 will start Installing
After installing Windows 11 the next step will come where Windows ask for your preference and your requirement to set the Windows according to your taste.
After completion of Clean Install Windows 11 follow the below tips to avoid any error while using Windows 11.
Tip 1: Update the Windows 11 To Clean Install Windows 11
After installing Windows 11 you have to update the Window in order to have new security patches and new drivers which are needed for running smooth Windows.
So, here is how you can do it:
- Click on the Windows icon
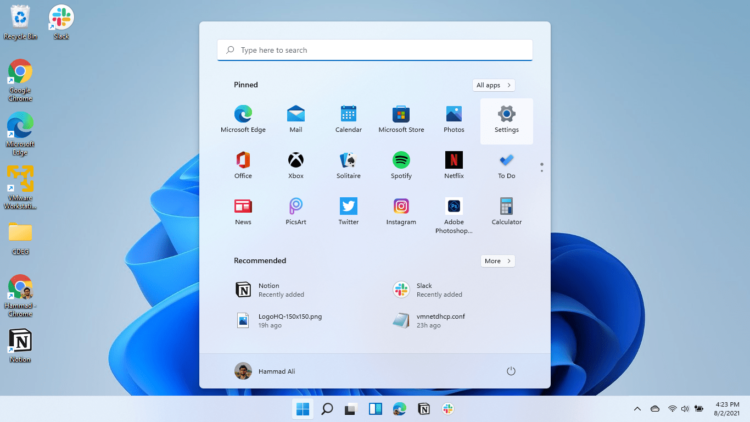
- Click on the settings icon
- A new window will pop up
- Select Windows Update from the left menu
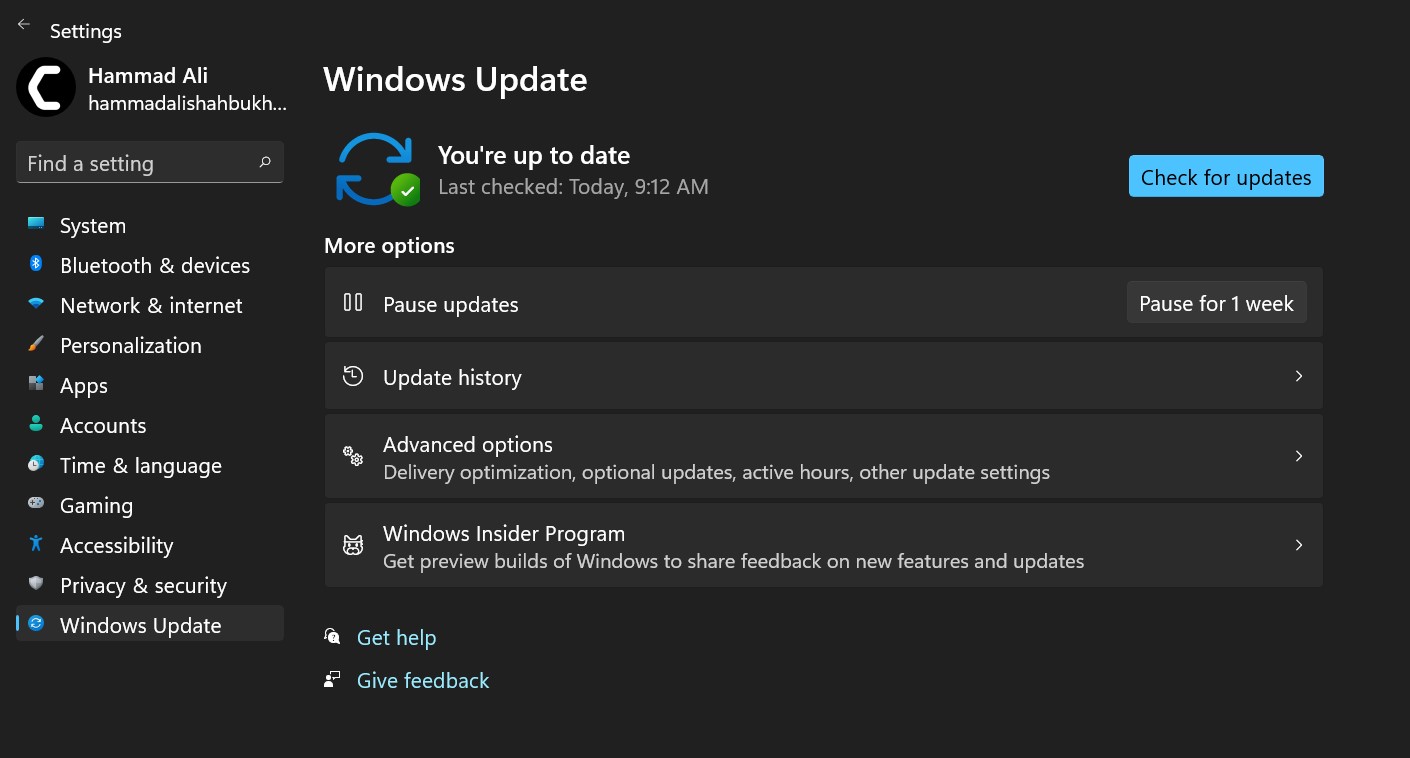
- The new window will pop up
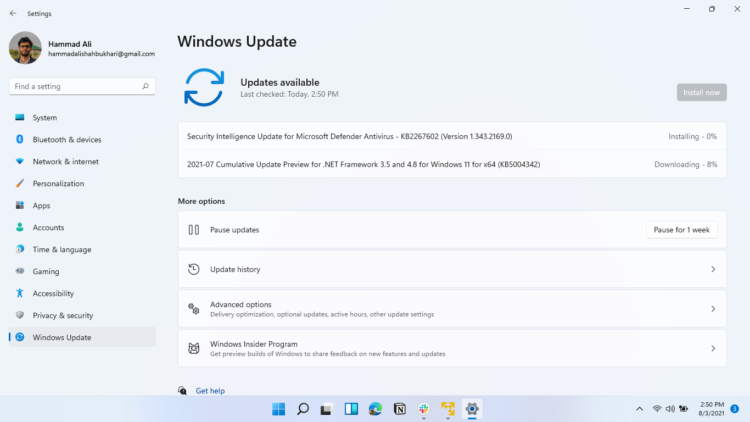
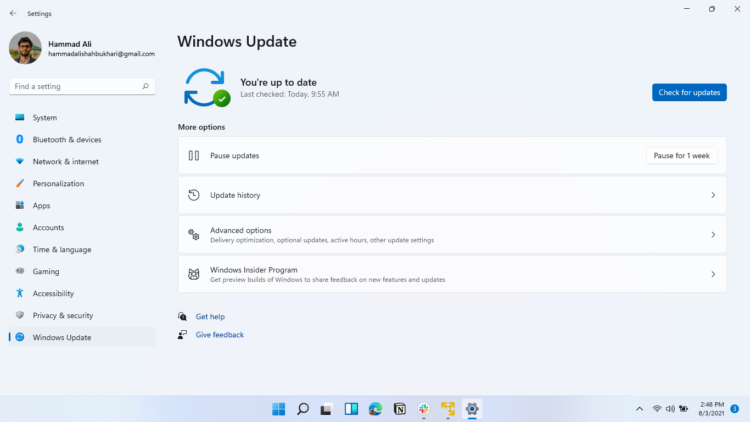
- Then click on Check for updates.
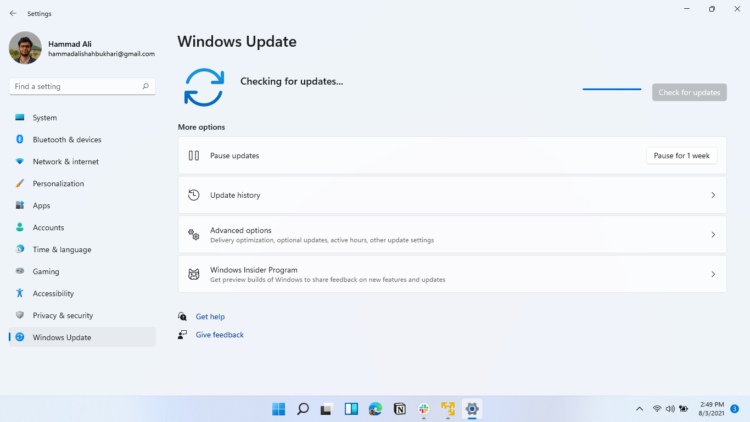
- If there is any update it will start updating the PC
After updating Windows 11 now proceed to the next solution to complete the Clean Install Windows 11.
Read Also: How To Fix Windows 11 Doesn’t Recognize Headphones?
Tip 2: Update drivers Via Optional Updates To Clean Install Windows 11
Here is how you can update your specific drives via Optional updates:
- Click on the Windows icon
- Click on the settings icon
- A new window will pop up
- Select Windows Update from the left menu
- The new window will pop up
- Now select Advanced options
- Click on Optional updates
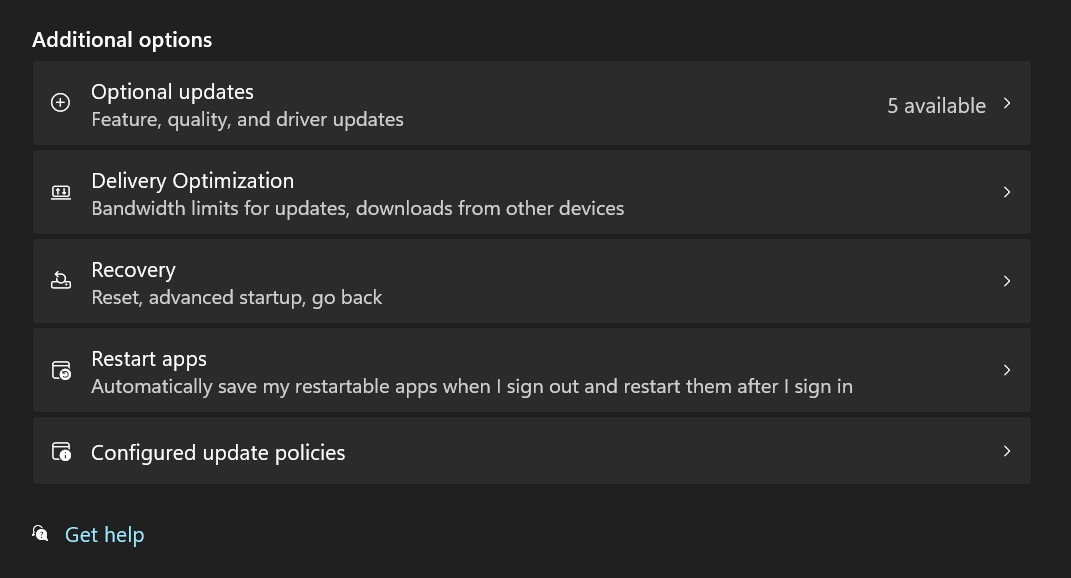
- A new window will open
- Click on the drop-down button of driver updates
- Now select your desired drivers and up by checking in the box
- Now press the Download & Install button
Read Also: How To Change Printer from Offline to Online Windows 11?
Tip 3: Update Driver on Windows 11 through Device Manager
Here is how you can update the drivers via the device manager follow the steps down below:
- Click on the Search icon
- Type Device Manager
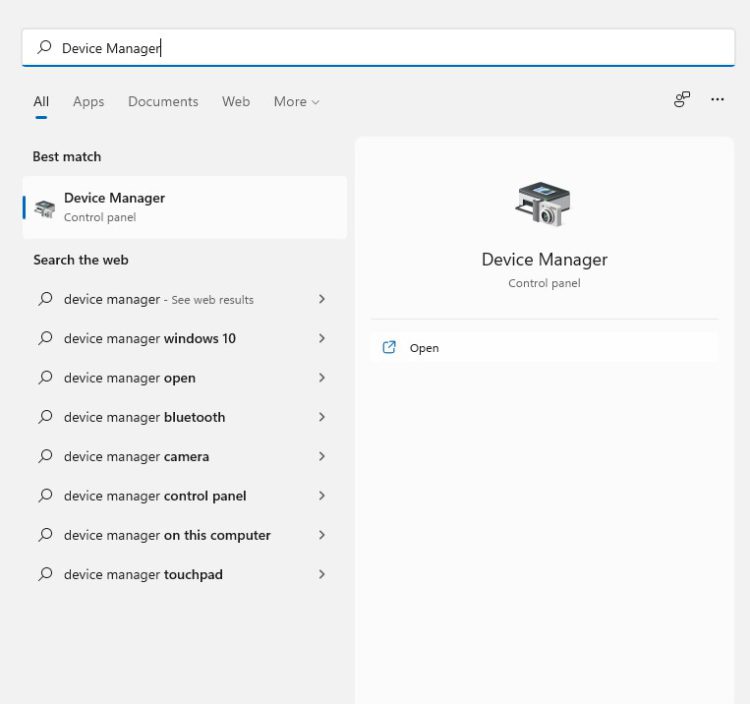
- Click to open Device Manager
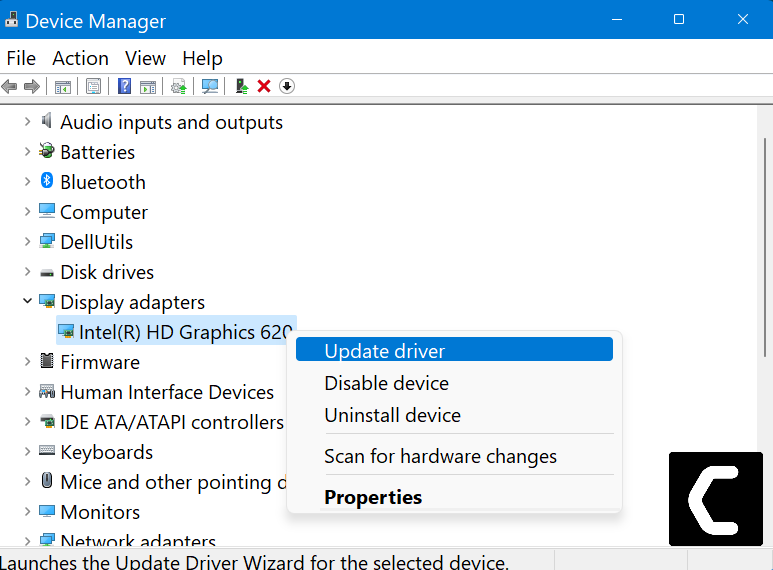
- Then select the Display adapter
- A further menu will open
- Find your video driver
- Click right on the graphic card name
- Click on the Updated driver
Read Also: How To Fix High Disk/RAM Usage Windows 11
Tip 4: Check for Driver’s Updates of GPU/Video Card of different company
One of the highlighted issues is outdated GPU drivers leading to Crashing On Startup.
When our video card has outdated drivers, it’s unable for GPU to align with the modern graphic features.
So, we recommend updating the video card drivers.
Here are the direct links to the main GPU Making Companies:
Read Also: How To Repair Windows 11 and Fix Corrupted Files
Tip 5: Change Power Settings
When you download Windows 11 your PC power plan is set on the Balanced option plan, and your PC will provide less power to the game, this will eventually cause game lag or game crashing or any power-intensive application will not run.
To avoid any crashing or errors follow the below steps to change Power settings.
- Go to the Control Panel
- Select View option “Large Icon“
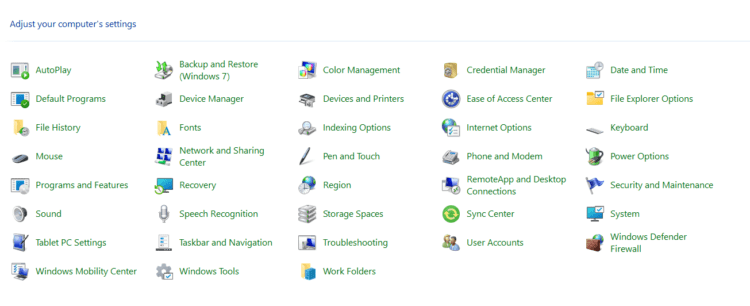
- Now find “Power Options” click on it
- Choose your Power Plan “High Performance“
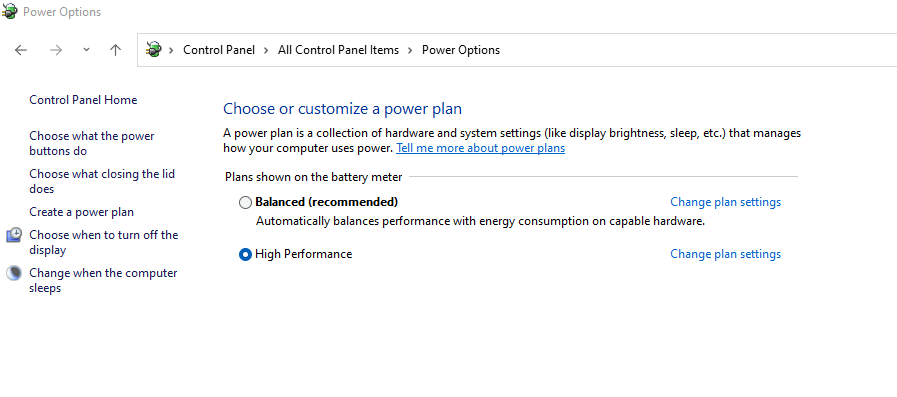
- If there is no other option expect “Balanced“
- Then navigate the left menu
- Select “Create a power plan“
- A new window will open
- Select the power plan to “High Performance“
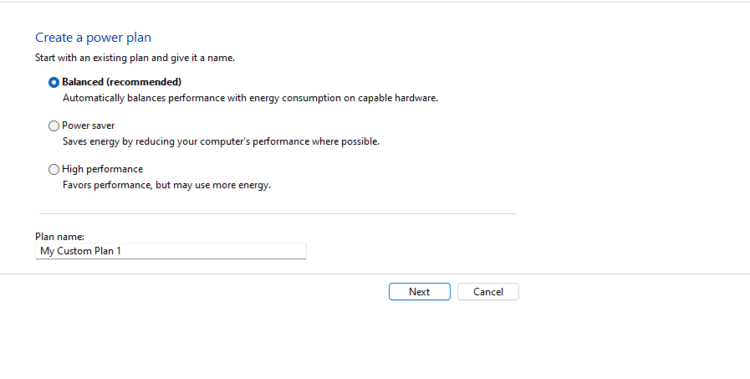
- And click on Next
- The new power plan is available.
Read Also: FIXED: Windows 11 Startup Repair (4 Easy Ways)
Tip 6: Disable the Unwanted Startup Programs
Disabling the Unwanted Startup Programs will help you to achieve good performance and a better startup experience. Sometimes when the unnecessary application starts loading with a startup this makes the PC processing speed slow and you will experience a slow startup whenever you restart the PC.
How do I stop unnecessary programs from running at startup?
Here is how you can stop unnecessary startup programs from running at startup:
- Press Ctrl + Shift + ESC keys to open Task Manager
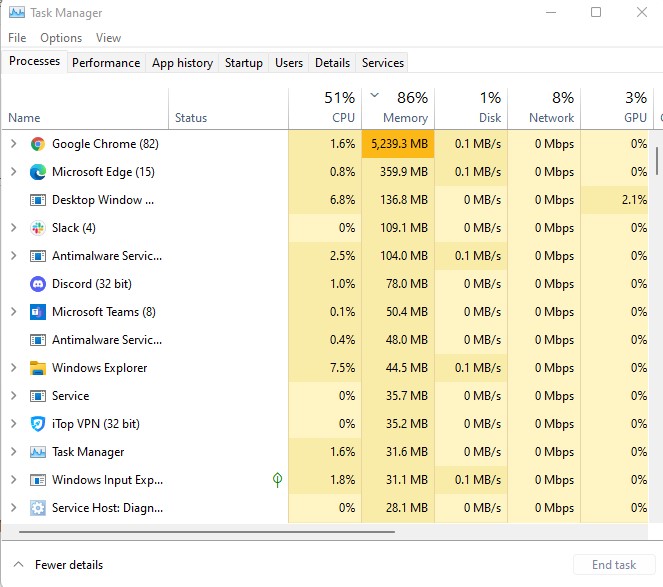
- Now select the Startup Tab
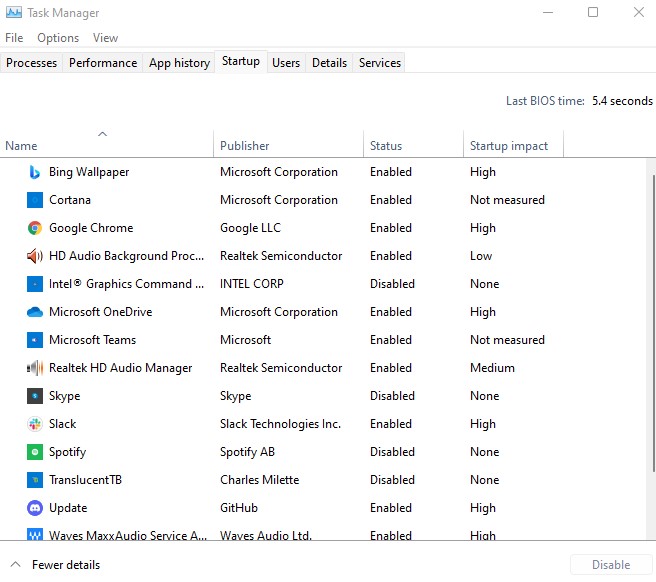
- The list of applications that start on startup is listed below
- Identify the unnecessary application
- Select the application
- Right-click on the application name
- A small menu will come
- Select Disable
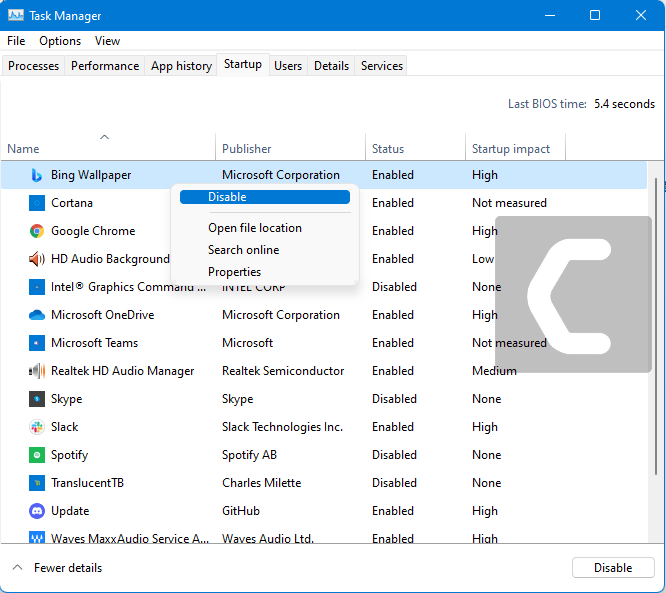
- In the Status column, you can see the status of the application changed to Disabled
- Now the application will not open on the startup until unless you launch it.
Read Also: FIX: Windows 11 Preparing Automatic Repair Boot Loop of Death
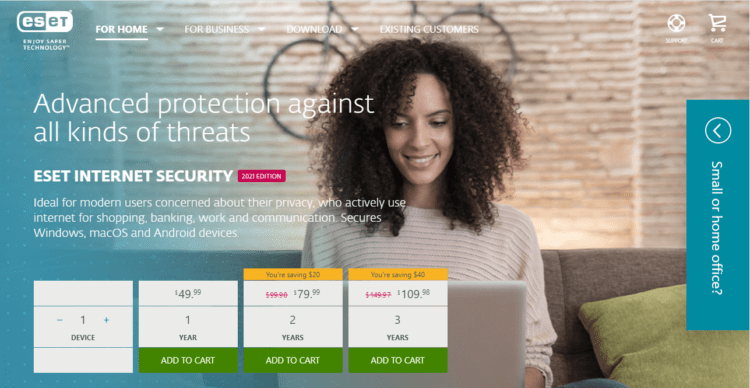
Tip 7: Activate the Antivirus
Modern technologies also need protection from a new type of trojan & malware which can affect your PC badly. In order to protect your PC, you should enable the Windows Defender to protect your Pc from viruses and malware.
If you are not satisfied with Windows defender and want premium protection with less money then The CPU Guide got you!
The CPU Guide brings an exclusive Premium Antivirus Discounted offer for our readers.
Here is a list of the best premium Anti-Virus with Ultimate protection:


Read Also: How to Show Hidden files on Windows 11 Best Tutorial
Tip 8: Enable the Clipboard in Windows 11
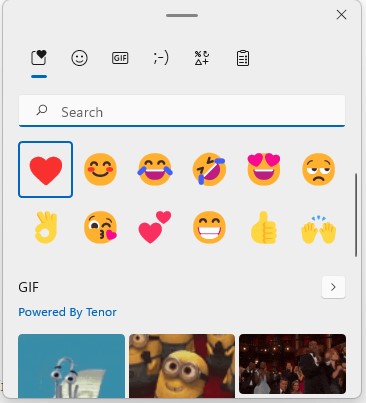
Windows 11 come up with an updated clipboard. In the new clipboard, you have the Gifs option plus the full-colored emojis which enhance the user experience and are more interesting clipboards than before.
How do I enable Clipboard in Windows 11?
Here is how you can enable the clipboard in Windows 11:
- Go to Windows Search from the taskbar
- Type Settings
- Select the best match option
- Settings will Open
- Select System from the left menu
- Scroll down on the option on the left side
- Find “Clipboard” (Second last option)
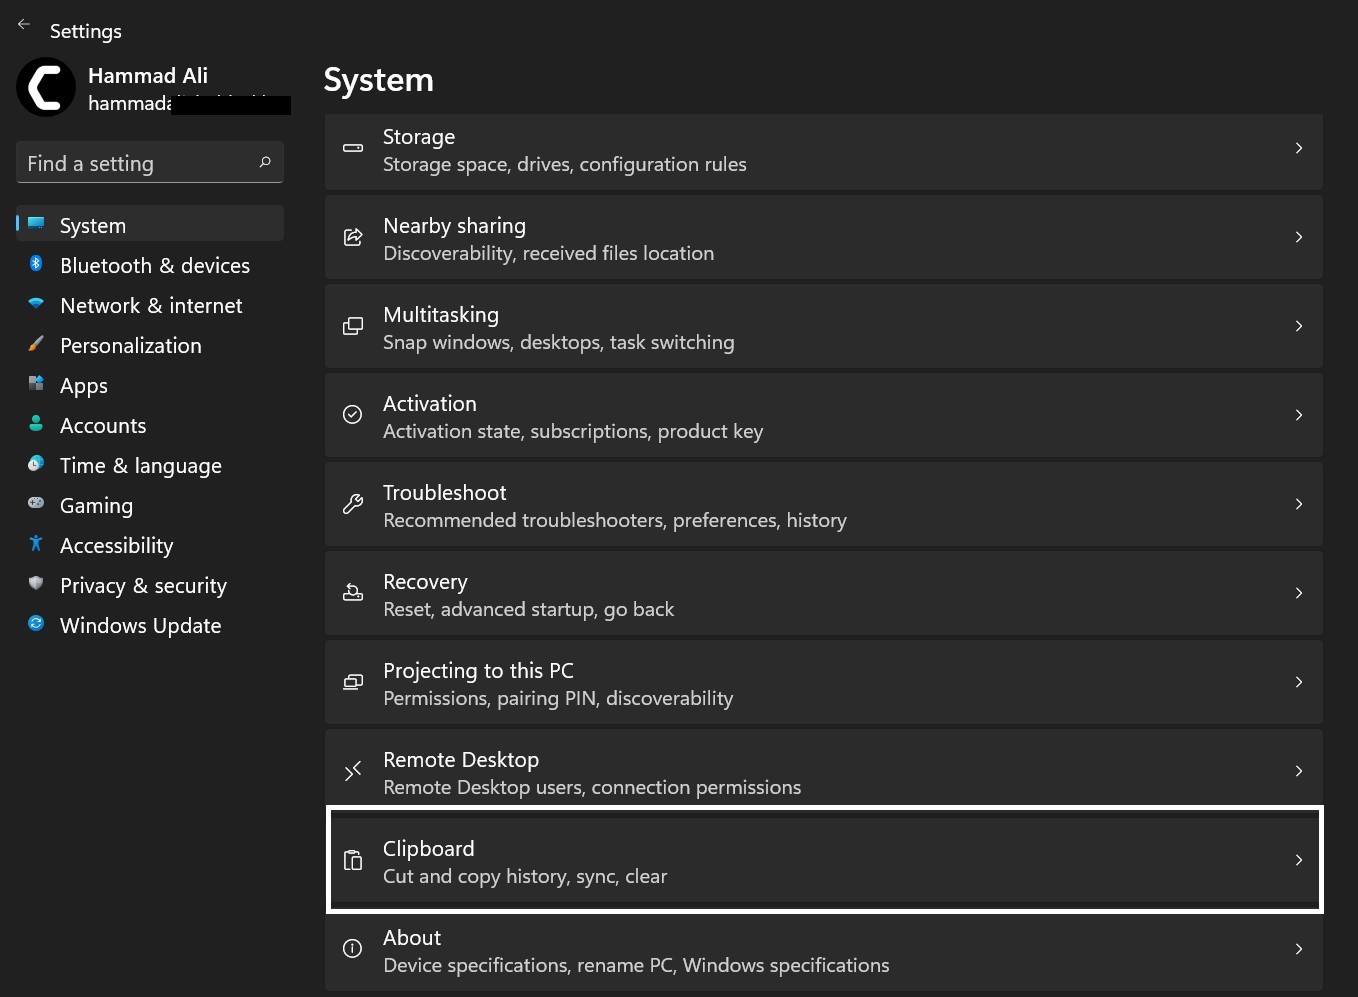
- Click on it
- Clipboard settings will open
- Click on the “Clipboard History” toggle to enable the clipboard
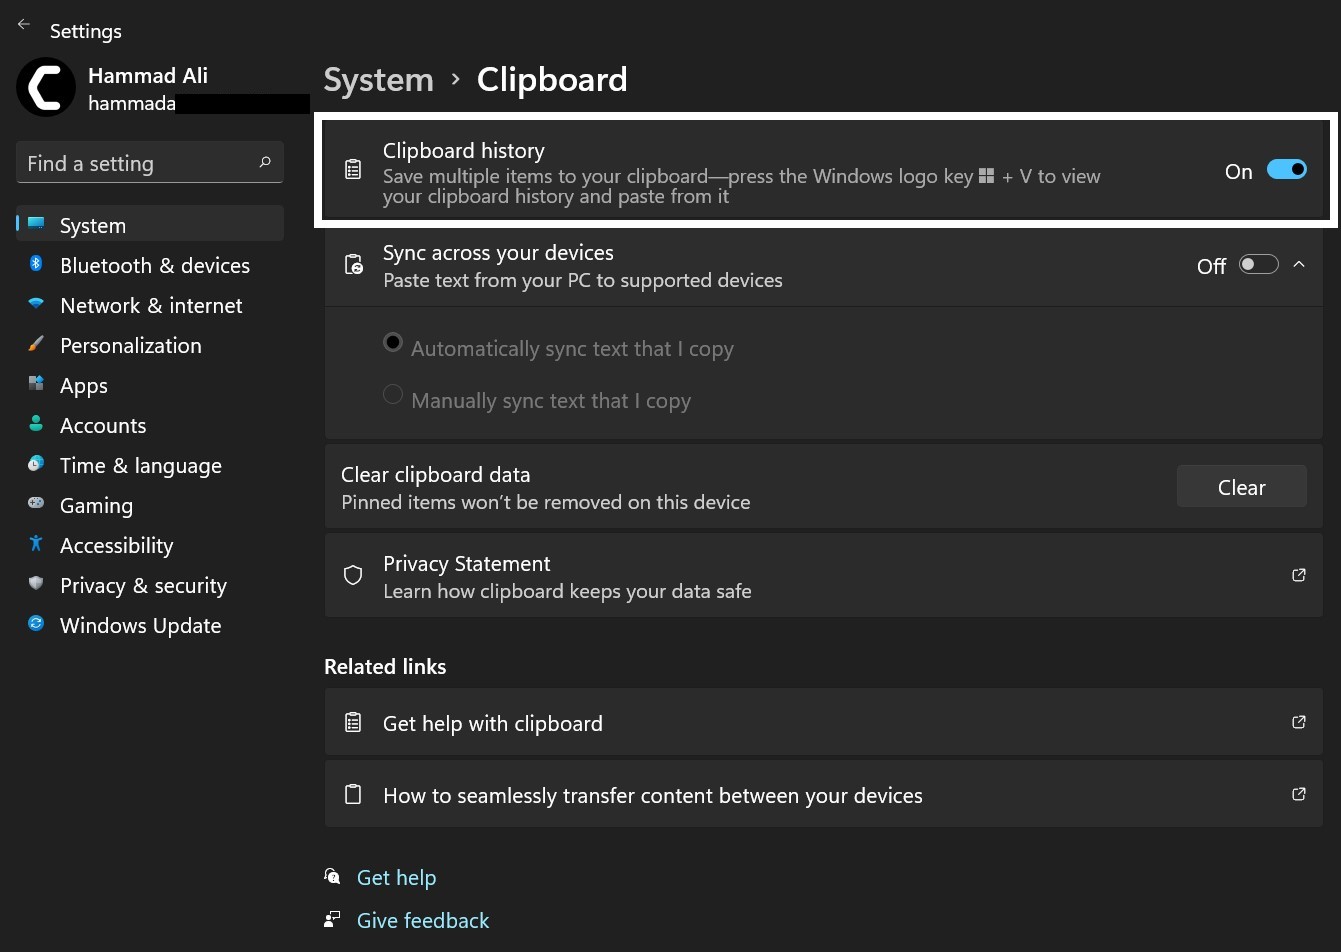
- Now your clipboard is enabled’
- You can access the clipboard by pressing Windows + V
Read Also: 6 Easy Ways To Take a Screenshot On Windows 11
Tip 9: Change your default browser
When you install Windows 11 the Microsoft edge is a browser set as the default browser. If you are not familiar with or want to use another browser instead of Microsoft Edge then follow the upcoming steps.
- Press Windows + I to open Settings
- Select the Apps option from the left menu
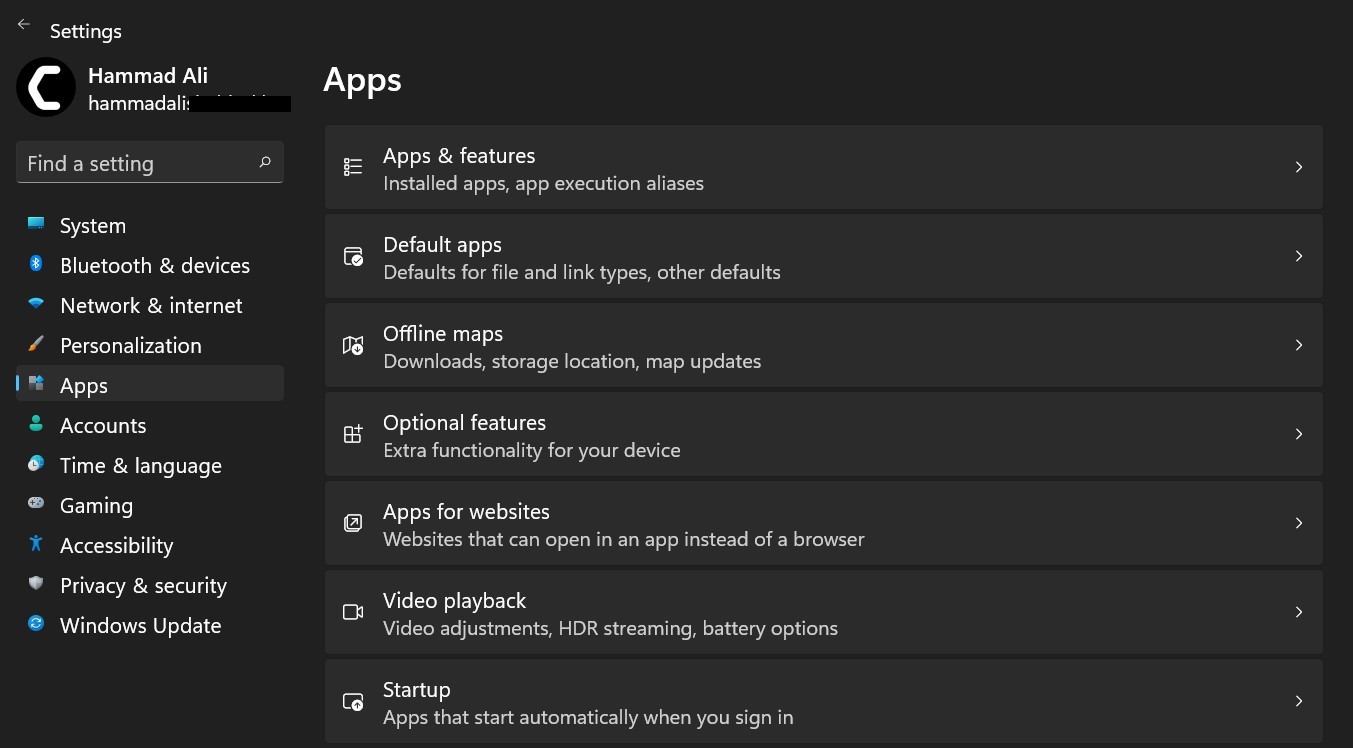
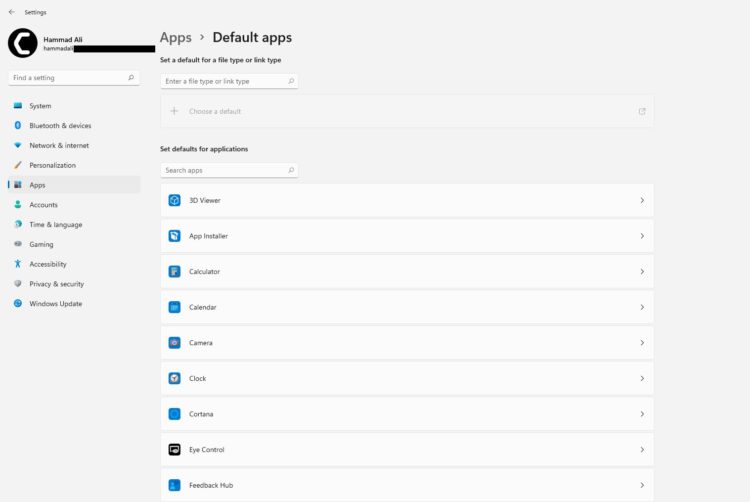
- Now click on Default apps from the right Apps settings
- Now search for the browser you like to set as default.
- Now change the browser from each file type to set default the new browser.
- You have to click on the Right side button.
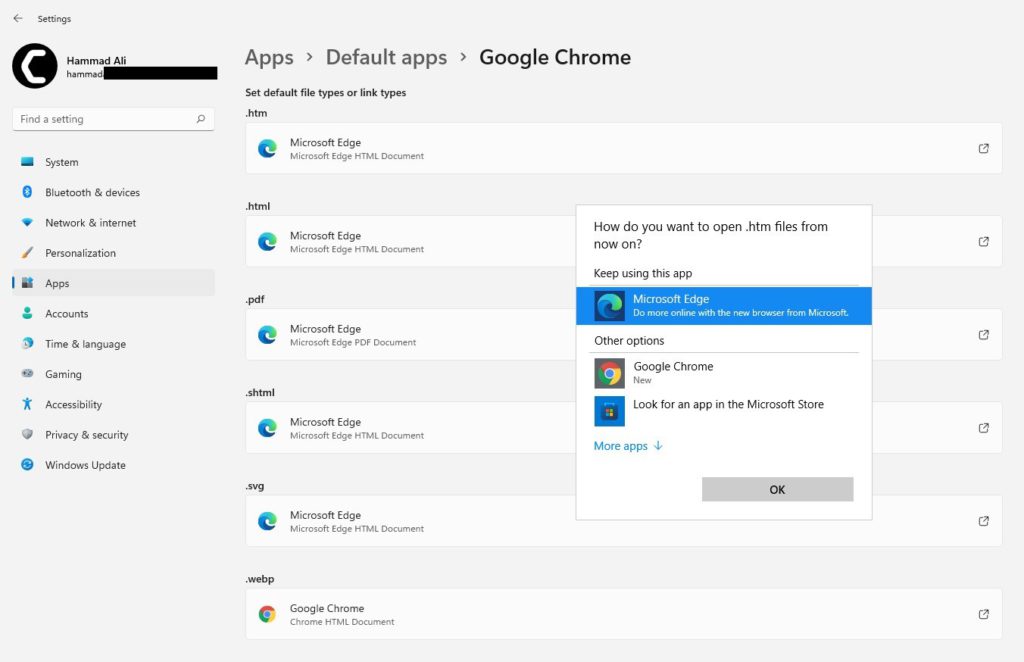
- A menu will open with the browsers now select the browser which you select as default.
Hope all the above solutions & tutorials help you to Clean Install Windows 11 on your PC
Share your experience about Clean Install Windows 11 in the comment section down below
FAQs
Does Windows 11 installation delete everything?
Is it better to do a clean install of Windows 11?
What to do after Windows 11 install?
1. Check for Updates
2. Update the drivers
3. Activate the antivirus
4. Close unwanted Programs
5. Set your power settings