
Hi everyone, we’re back with another really useful guide for all of you newbies and hardcore PC Gamers. With the rising effects of global warming leading up to hotter and hotter summers across the globe, the need to keep hardware cool is getting more and more important as time passes.
PC fans play a vital role in cooling your computer and affect the overall efficiency of your hardware components.
Our Guide will explain exactly how to set up your PC fans and add extra fans to your PC for the best cooling performance. We’re going to make sure your new graphics card and CPU don’t ever throttle!
There are a few important things to keep in mind that you all need to be aware of when it comes to setting up your different PC fans.
Now Let’s just get straight to it!
You can follow along with this video and apply what you learn here in this article:
Picking the Right Fan:
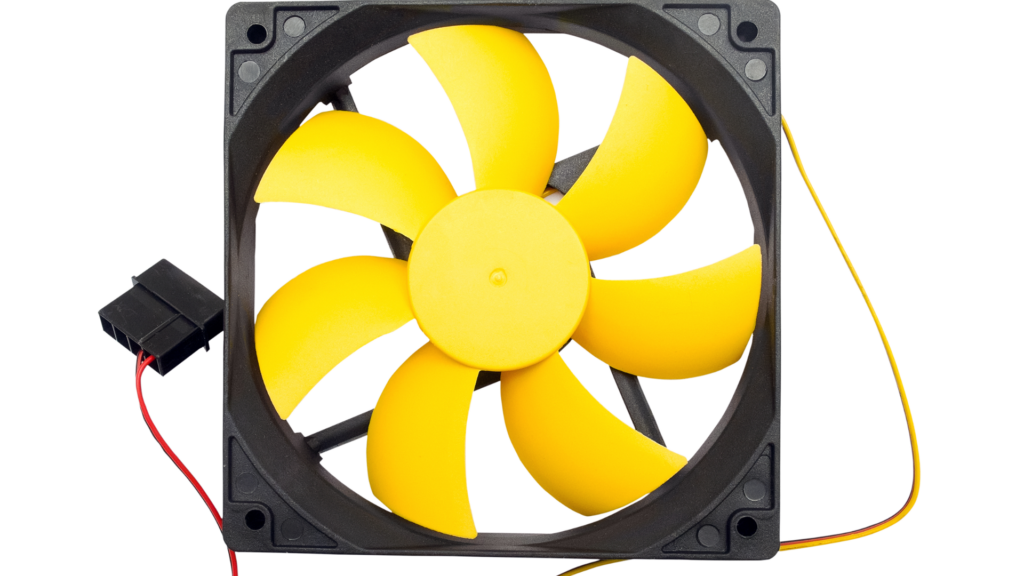
Like with almost all components in a PC, fans come in many different types. Here’s what to keep in mind when selecting and buying fans to install on your computer.
- When choosing a fan, make sure it fits your case.
- Also, keep in mind that cheaper fans might not last very long and can be noisier.
- It’s better to go for a well-known brand or one with good reviews.
- Fans with four wires are easier to control than those with only three.
- Bigger fans are generally quieter because they don’t need to spin as fast to provide good airflow. So, if you want a quieter fan, go for a larger one.
- And if you’re really into it, don’t be afraid to compare noise levels and airflow volumes between different models and brands. Geek out a little!
How to Connect Extra fans to the Motherboard:
Most motherboards have fan connector headers that come in 3-pin or 4-pin options.
The 3-pin connector has pins for negative, positive, and an RPM sensor.
But the 4-pin connector has all that, plus an extra pin for PWM, which means you can control your fan speed without an extra circuit. You can set up fan speed profiles using your BIOS or software like SpeedFan.
Just make sure you plug the fan connector into the motherboard connector the right way around. The housing should match up with a clip on the back of the pin header. And make sure you’re plugging it into a fan connector header – the motherboard should have it labeled.
How to Connect a 3-pin fan to a 4-pin Molex connector
If your fan has a 3-pin Molex connector, but your motherboard has a 4-pin connector, don’t worry. Just line up the slot on the fan’s connector housing with the clip on the motherboard header.
But if things don’t match up like they’re supposed to, you can match the wire colors to the correct pin number using the pin-out table. And don’t forget, Pin 1 should be marked on the circuit board.
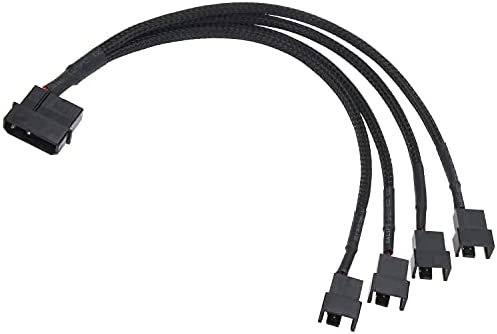
How to Connect Fans directly to the power supply:
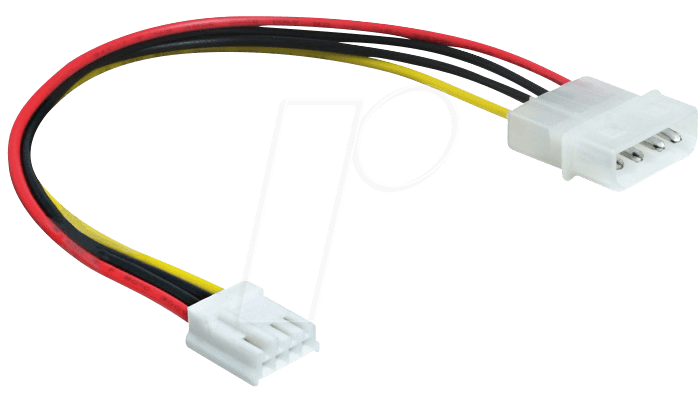
Fans can connect to the power supply in two common ways. You can use a standard 4-pin power connector or an adapter board that converts the standard power supply connector to a motherboard-style pin header connector.
If your fan has a standard 4-pin power connector, make sure the tapered edges of the plug match the socket end. This ensures that you have the plug and socket oriented correctly before you try to plug them together.
If you’re using a PCB adapter, make sure the power supply plug is connected properly to the adapter. Then plug your fan connector into the pin header connection on the PCB adapter just like you would with a motherboard connector. And remember, make sure the groove on the fan’s plug is aligned with the pin header clip.
Connect fans using fan controllers:
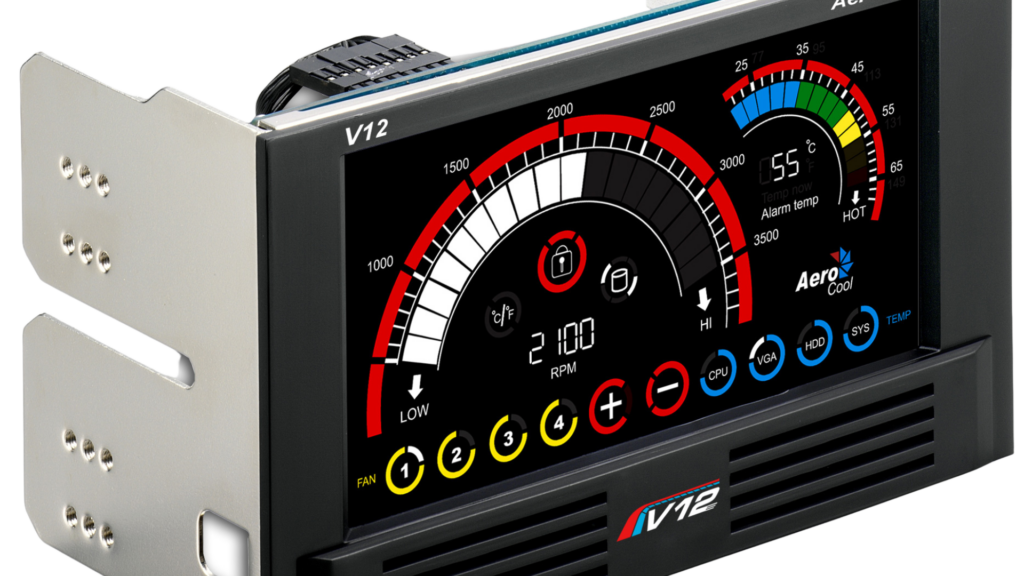
If you’re really into it, you might prefer to add an independent fan controller system to your setup. This gives you control over each fan and can be a real lifesaver when you’re trying to set up a fan speed curve profile.
To get started, just follow the instructions that come with your fan controller system to install it in your computer’s case. Some models even have a touchscreen module that you can mount in a drive bay for easy control and programming.
Once you’ve got your fan controller system installed, you’ll need to connect your fans to it so the system can provide power, take speed readings, and control the fans according to its specifications.
Making sure Connections are secure:
When it comes to working on your computer, it’s always a good idea to double-check that everything is plugged in correctly. Don’t assume that it was done perfectly the first time. Take your time and work slowly and carefully.
Make sure all the plugs are seated correctly and connected to the right pins. It’s better to take a few extra minutes to check everything than to rush and potentially cause a problem. So remember, slow and steady wins the race!
EndNote:
To wrap things up, always make sure that nothing is obstructing your fan blades before starting up your computer. It’s a good idea to add some cheap metal finger guards to the inside of your fans to reduce the risk of anything getting in the way.
Also, don’t forget to add filters where possible to prevent dust from being pulled into your system. This can help keep your computer running smoothly and extend its lifespan. With these tips in mind, you’ll be able to set up your fans for optimal performance and keep your computer running cool and quiet.