Recently Sons of the Forest players is experiencing multiplayer not working at the game’s start-up. Here one of the players is sharing the same error on Reddit.
There could be several reasons why Sons of the Forest multiplayer is not working on PC. Here are some possible causes:
- Server issues: The multiplayer mode may not be working due to issues with the game’s servers. If the server is down or experiencing high traffic, players may not be able to connect to the game.
- Network issues: Network connectivity problems on the player’s end, such as firewall settings or internet connection issues, can prevent them from connecting to the game’s multiplayer servers.
- Outdated game version: If the game has not been updated to the latest version, players may not be able to connect to the multiplayer mode.
- Incompatible hardware: Players with outdated or incompatible hardware may experience issues when playing multiplayer mode.
- In-game bugs: If there are bugs or glitches in the game’s multiplayer mode, it can cause the mode to not work properly.
Don’t worry about it!
The CPU Guide brings you the best solution to solve the Sons of the Forest multiplayer not working.
Also Read: Sons of the Forest Keeps Crashing on Windows 11/10
Solution 1: Restart the Game
Whenever you encounter a Multiplayer Not Working issue or any game bug, you should restart the game before trying any further solutions.
Restarting the game will eliminate any temporary error from the old cookies and cache or the system’s other software clashing with your gaming software.
All of these errors will be eradicated after a simple restart of the game/PC or any other platform you use.
Solution 2: Close Unwanted Programs on Windows 11/10
If there are too many programs running in the background, using too much internet/RAM/Disk can cause Sons of the Forest keeps Multiplayer Not Working on Windows 11.
Closing unwanted programs will help you eliminate the Multiplayer Not Working issue on your PC.
So, let’s close unwanted programs:
- Press Ctrl + Shift + ESC keys to open Task Manager
- Now check which program is using more Network
- Right-click on that program and select End task
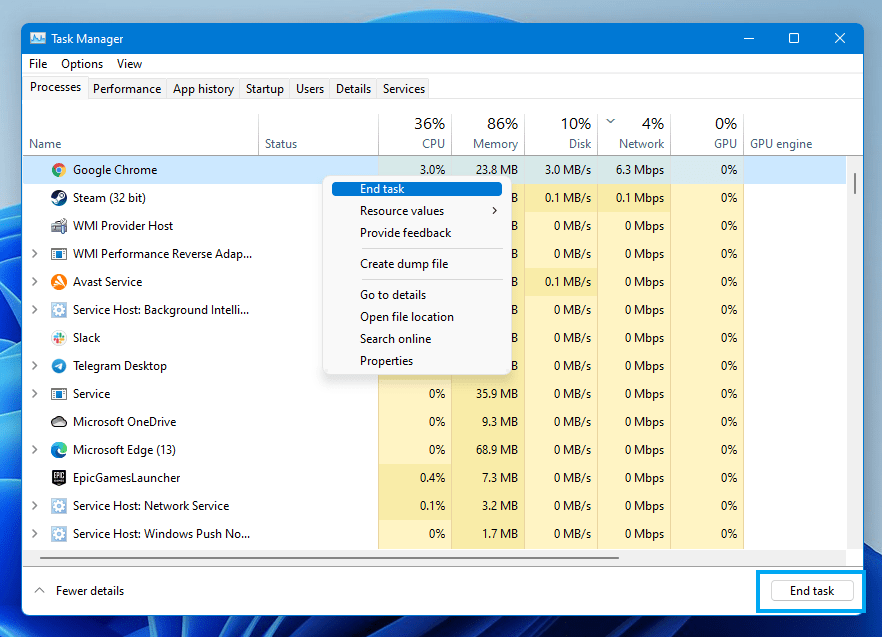
- And check if the error is solved or not.
Special Gaming Sound Tracks – For You
Solution 3: Power Cycle Your Router
If the above solution didn’t work then this solution will work and provide a better internet connection which will help you solve the Multiplayer Not Working on your PC.
All you need to do is follow these steps:
- Turn off your router entirely by taking out the power cable from the power switch.
- Leave it for 5 to 10 minutes and then plug it back in.
- And check if the Wi-Fi is visible to you or not.
Make sure you restart those devices affected in the process for an accurate fix.
Best Routers To Buy
Budget Router
TP-Link WiFi 6 AX3000 Smart WiFi Router

Super Router
TP-Link Archer AX11000 Tri-Band Wi-Fi 6 Router

After power cycling your router it is better to Run your game as an administrator to avoid any error like a Multiplayer Not Working issue.
Solution 4: Run the Application as Administrator
Running the program as an administrator will definitely help you eradicate the “Sons of the Forest Multiplayer Not Working” as it might lack the privileges required to run the Application.
Here is how you can run the application as an administrator:
- Go to the file/ folder.
- Then go to the Game Launcher/Steam client.
- Right-click on the Launcher icon
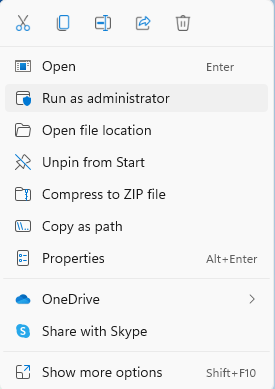
- A menu will open
- Select “Run as administrator “
Now the program will start running smoothly without giving you the Multiplayer Not Working error
The above solution is a temporary fix which helps you run the program or access folder. If you want to run the program permanently on administrator, then follow the next solution to solve Sons of the Forest Multiplayer Not Working.
Solution 5: Run the Program as an Administrator (Permanently)
- Go to the folder/Application
- Right-click on it
- A menu will open
- Select Properties
- A new window will open
- Navigate to the “Compatibility Tab“
- Under the Settings heading
- Find “Run this Program as an administrator“
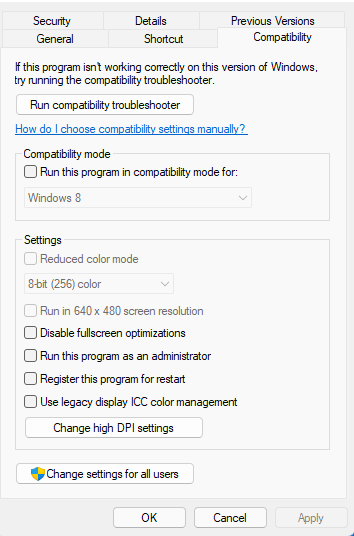
- Check the box for this option
- Click “Apply“
Now your program successfully Runs as an Administrator on Windows (Permanently) and you can easily open the program without repeating the steps again and again.
If you still facing errors then proceed to the next solution.
Solution 6: Perform a Clean Boot
Clean boot will help you eliminate the unnecessary applications which are running on the backend.
And shut down any applications which are conflicting with each other.
How to perform a clean boot on Windows 11?
Here is how to perform a Clean Boot on Windows 11:
- Press Windows Button + R Key

- The Run Dialogue Box will appear
- Type “MSConfig“
- Press Enter
- The System Configuration window will open
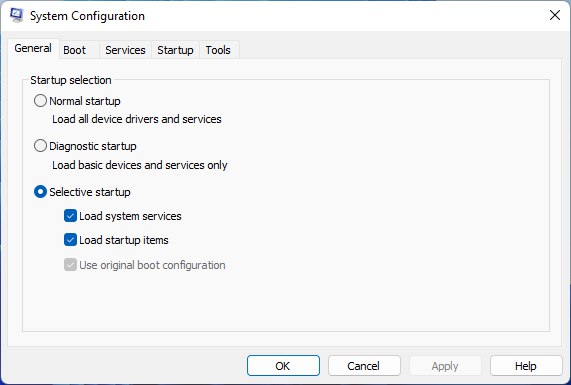
- Select Services tab
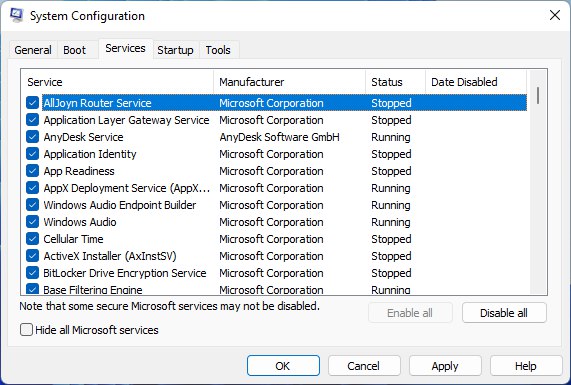
- Uncheck all the unnecessary services
- Only check those you need now
- Now click OK
If the error persists, then proceed to the next solution to solve the error on the PC.
Solution 7: Verify the Game Files
Sometimes the game file will get corrupted or get deleted, which eventually causes a Multiplayer Not Working issue on the games on PC.
Verify the Game File in Steam
Follow the steps to verify the game file on steam software:
- Launch the Steam Software
- Now login in the steam
- Navigate to the library
- Select the game and right-click on the game
- Now select properties
- Now click on the “Local file” Option
- A further menu will open
- Click on the “Verify Integrity of the Game Cache“
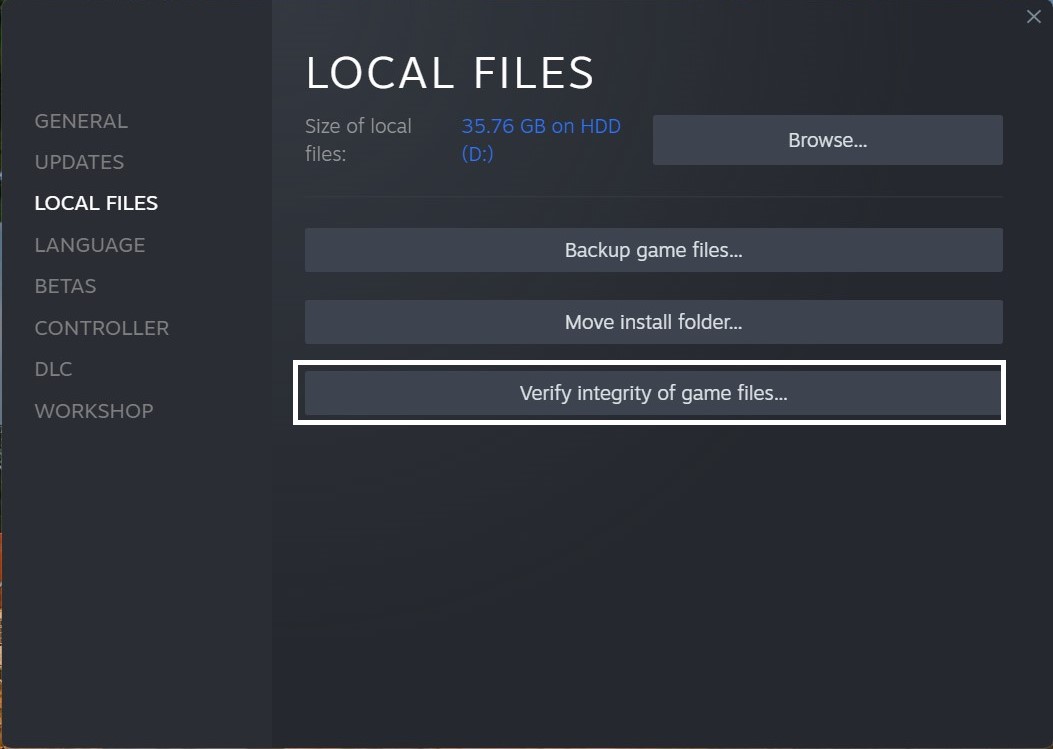
- Now the software is verifying the files, and this will take some time.
If you still have any queries or suggestions, share your experience with us in the comments section below.