The Steam Deck is an incredibly versatile gaming platform that caters to a wide variety of players. Whether you’re a fan of high-end AAA titles, classic games, or indie titles, the Steam Deck has something for everyone.
When it comes to controllers then the Steam Deck offers flexibility in controller options, it can connect to both wired and wireless controllers, and you can even pair multiple controllers at once for a fun multiplayer experience with your friends.
So, if you want to get the most out of your Steam Deck by connecting your Nintendo Switch Pro controller then continue reading the guide below.
Also Read: How To Connect/Use Keyboard and Mouse to Steam Deck?
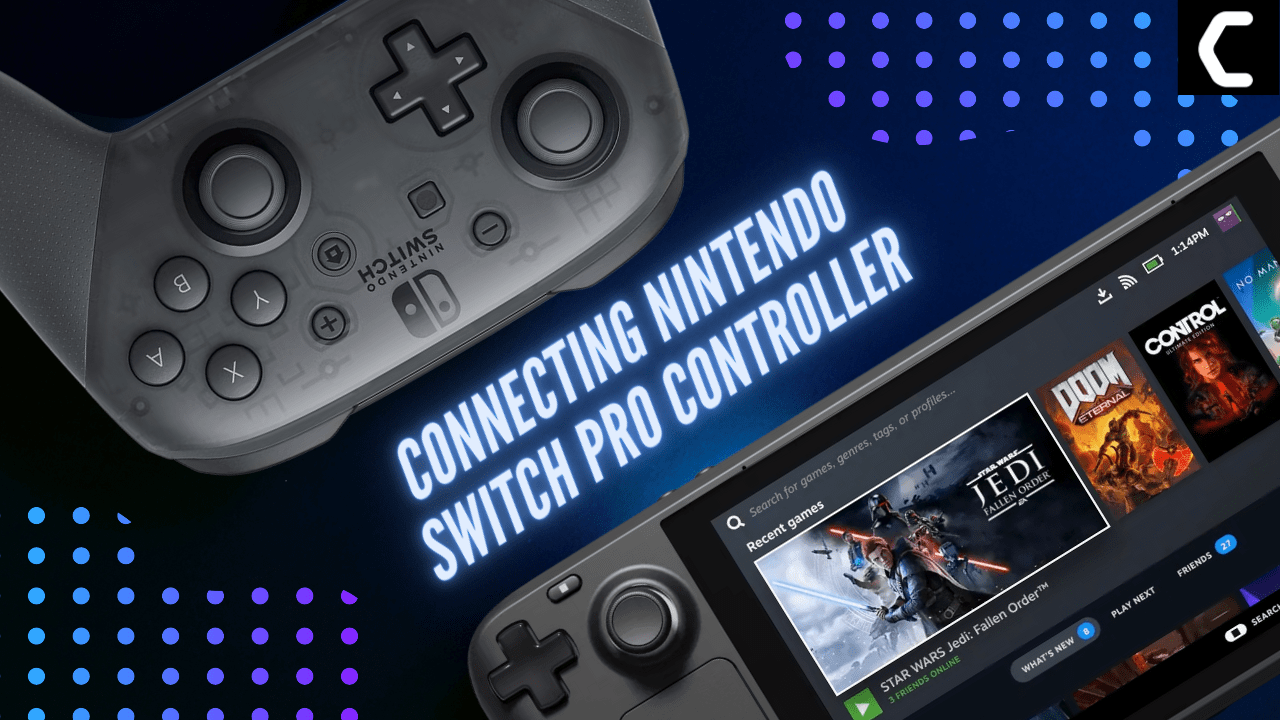
Connecting Nintendo Switch Pro controller to Steam Deck
The Steam Deck offers the best gaming experience when using an official Nintendo controller so to have more fun with your Steam Deck just follow the easy steps below:
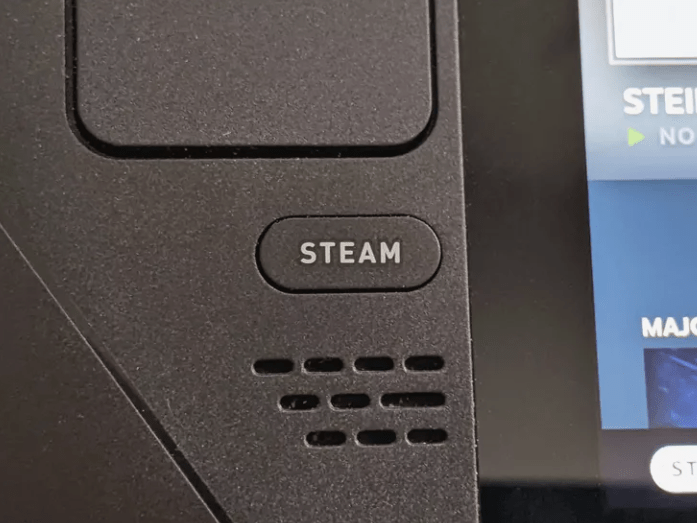
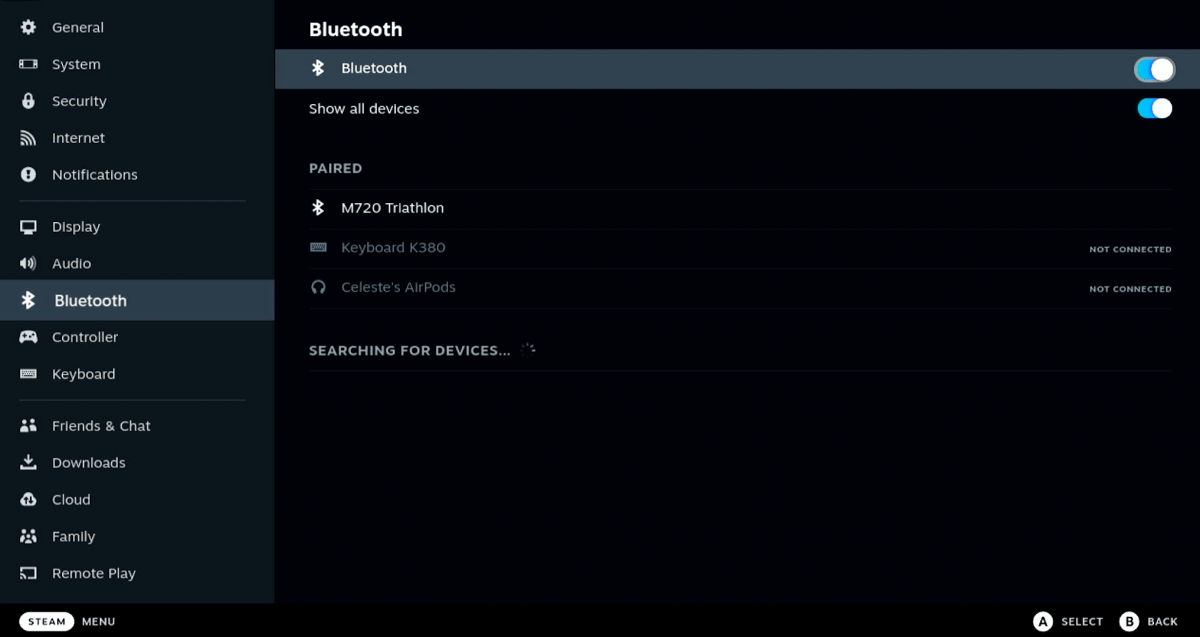
- Tap on the Steam Button to open the sidebar
- Go to Settings and Select Bluetooth, then toggle On Bluetooth to Show all devices to see the device you want to pair your Steam Deck with.
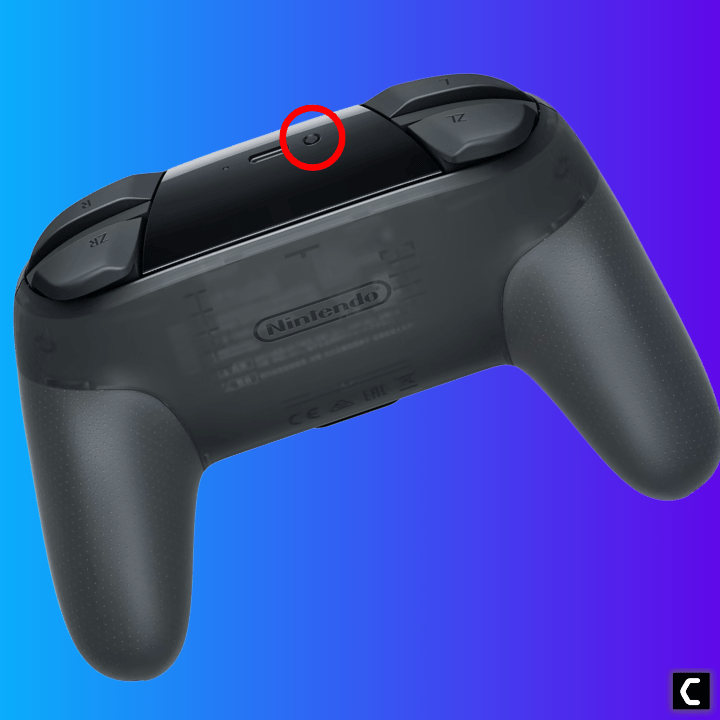
- Hold down the Switch Pro Controller’s pairing button (located next to the USB-C charging port)
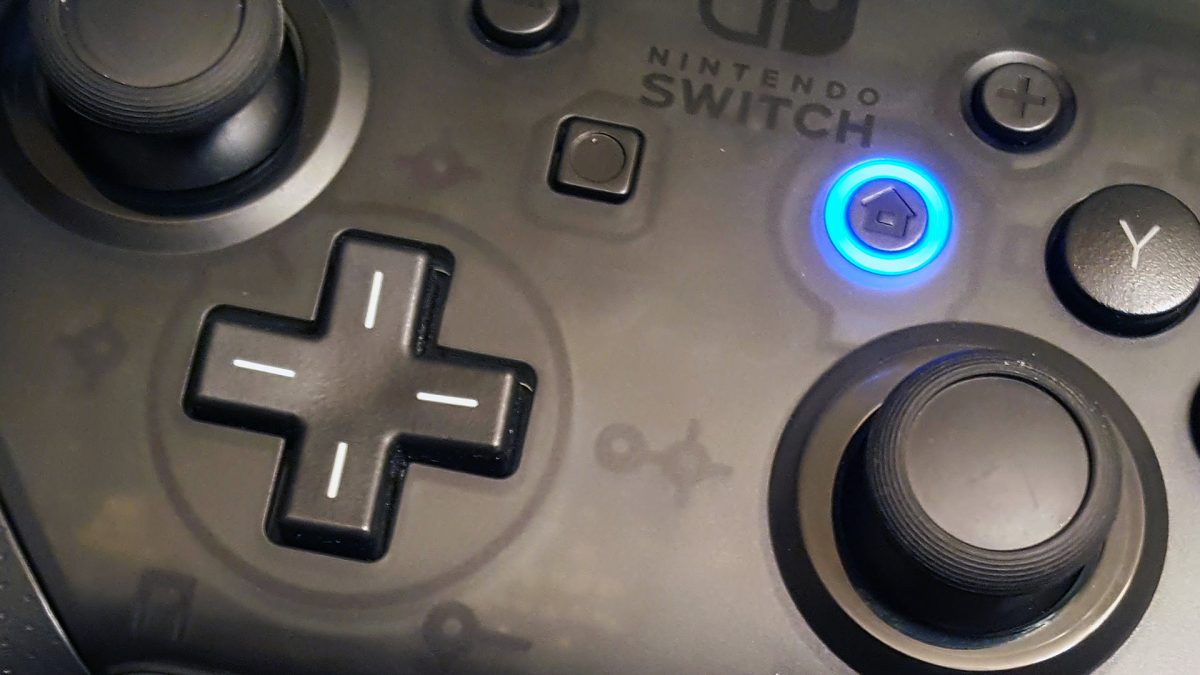
- The Pro Controller will appear on the Steam Deck’s Bluetooth menu. Click on the Pro Controller icon to connect. The home button on the Nintendo controller will indicate that it’s connected with a blue light.
How To Set up the Nintendo Switch Pro Controller Controls on Steam Deck?
After you have connected your Nintendo Switch Pro controller successfully now it’s time to set up its controls so you don’t find difficulty using it.
Also Read: How To Connect AirPods To Your Steam Deck? Easy Steps
- Tap on the Steam Button to open the sidebar
- Go to Settings, and Select Controller
- Toggle ON Use Nintendo Button Layout, and this will activate the slider for the Nintendo control system by swapping the A and B buttons with the X and Y buttons.
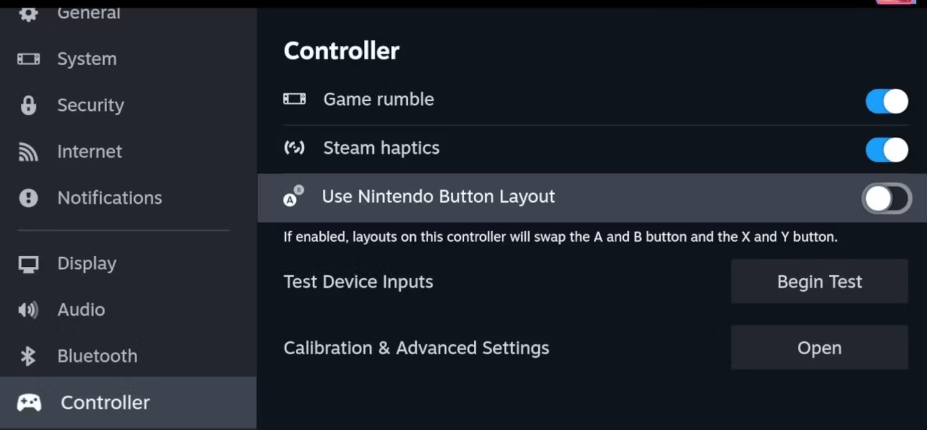
- And to go back to the default Steam Deck control settings you can toggle it OFF.
So, that’s everything you must know for connecting and setting up a Nintendo Switch Pro controller.
Do let us know in the comments section, which games are you playing with the Switch controller on Steam Deck