While most newer laptops would come with an SSD preinstalled, Installing a solid-state drive, especially in an older laptop can greatly improve its performance and speed.
An SSD could breathe new life into your old laptop and make it perform even better than it originally could when you bought it new. This is the top quality life improvement you can get on your old laptop apart from upgrading your RAM capacity.
What are SSDs?
SSD is short for Solid State Drive and it is a type of storage device that uses flash memory to store data. It is similar to a traditional hard drive in that it can be used to store files, documents, and other types of data. However, unlike a traditional hard drive, an SSD has no moving parts.

Types of SSDs for laptops:
There are many types of solid-state drives that are commonly used in laptops. Let’s have a look at which ones they are:
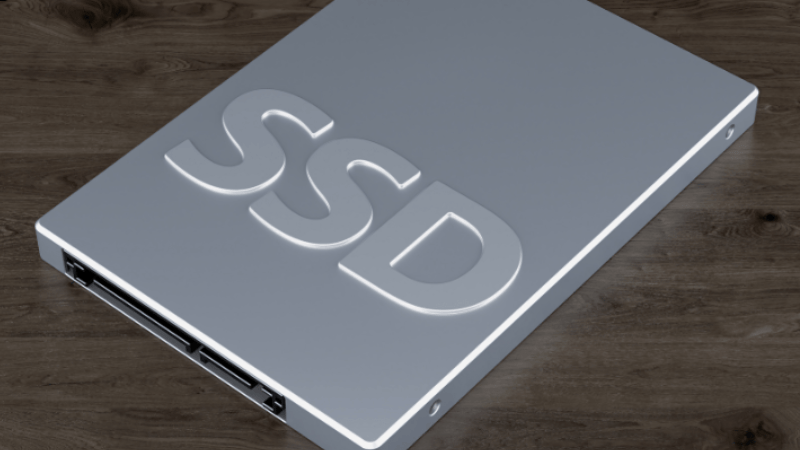
1. SATA SSD:
This is the most common type of SSD used in laptops. It connects to the motherboard via a SATA interface and uses the same type of connector as a traditional hard drive. SATA SSDs are slower than other types of SSDs, but they are still significantly faster than traditional hard drives.
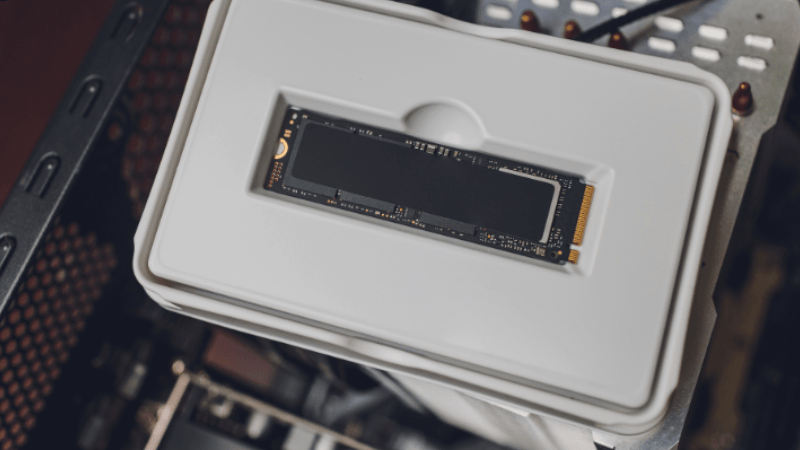
2. NVMe SSD:
This type of SSD uses the PCIe interface to connect to the motherboard and provides faster read and write speeds than SATA SSDs. NVMe SSDs are more expensive than SATA SSDs, but they can greatly improve the performance of a laptop.
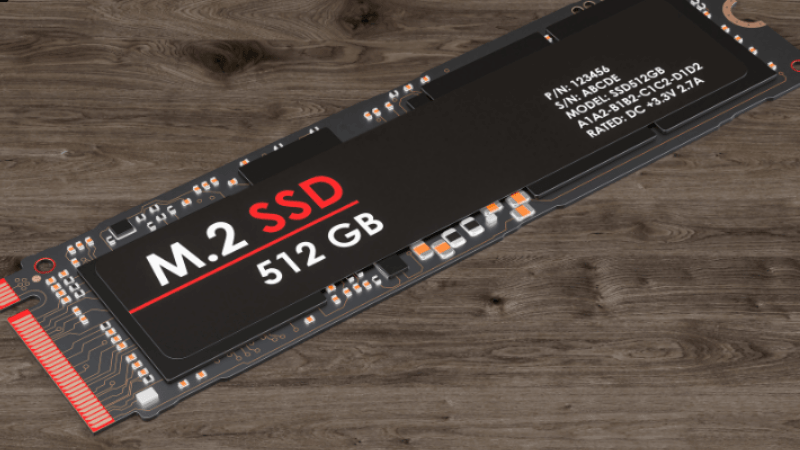
3. M.2 SSD:
This is a type of NVMe SSD that is designed to be smaller and more portable than traditional SSDs. It uses the M.2 form factor, which is a thin, rectangular-shaped SSD that can be easily installed on a laptop. M.2 SSDs are becoming more common in newer laptops due to their small size and high performance.
4. eMMC:
This is a type of SSD that is commonly used in budget laptops and tablets. It is smaller and slower than other types of SSDs, but it is also cheaper and more power efficient. eMMC SSDs are not as fast as SATA or NVMe SSDs, but they can still provide a significant performance boost over a traditional hard drive.

Benefits of SSDs:
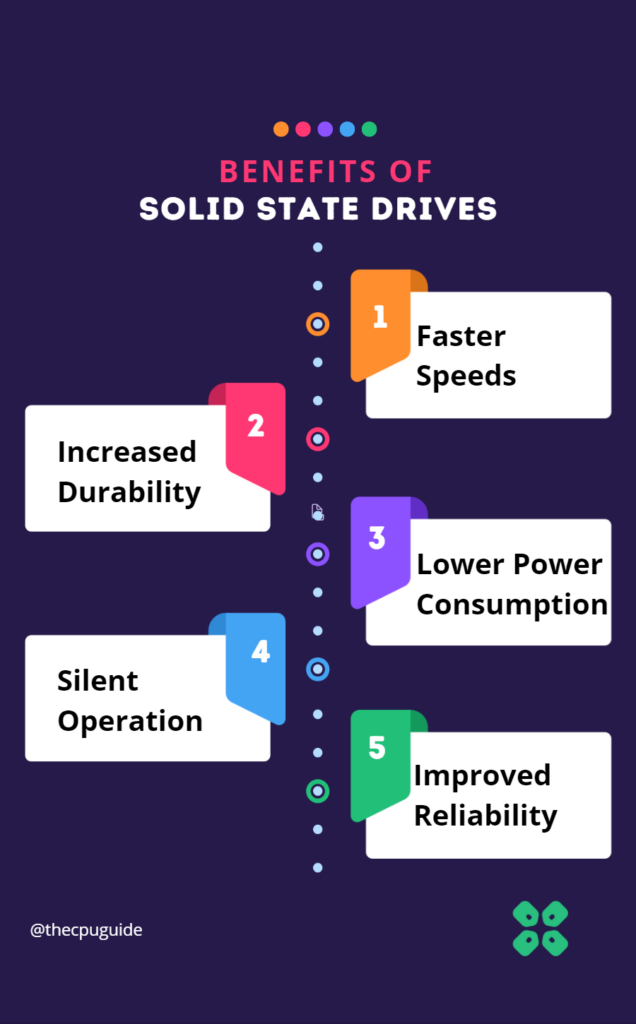
- Faster speeds: SSDs are significantly faster than traditional hard drives, which means that your computer will boot up faster and programs and files will load faster.
- Increased durability: SSDs have no moving parts, which makes them less prone to physical damage. This makes them a good choice for laptops that may be subjected to rough handling or for users who need to frequently transport their data.
- Lower power consumption: SSDs use less power than traditional hard drives, which can help extend the battery life of a laptop or reduce the overall power consumption of a desktop computer.
- Silent operation: SSDs have no moving parts, which means they produce no noise. This can be a huge benefit for users who work in a quiet environment or for those who prefer a quieter computer.
- Improved reliability: Since SSDs have no moving parts, they are less prone to mechanical failures and data loss due to hardware failures. This can be especially important for users who rely on their computers for the utmost critical tasks.
The Real Deal: Installation
Here is a general guide on how to install different types of SSDs in a laptop:
1. SATA SSD
- Shut down the laptop and remove the battery.
- Locate the hard drive bay, which is usually located at the bottom of the laptop.
- Remove the screws that hold the hard drive in place.
- Carefully slide the hard drive out of the bay.
- Insert the new SATA SSD into the hard drive bay, making sure to align the connectors properly.
- Secure the SSD in place with the screws that were removed earlier.
- Reinsert the battery and power on the laptop.
- Press the key indicated in the BIOS to enter the boot menu (this is usually F12).
- Select the SSD as the boot device and press Enter.
- Follow the prompts to install the operating system on the new SSD.
2. NVMe SSD:
- Shut down the laptop and remove the battery.
- Locate the M.2 slot, which is usually located on the motherboard.
- Remove the screw that holds the NVMe slot cover in place.
- Carefully remove the cover and set it aside.
- Now Insert the NVMe SSD into the NVMe slot, making sure to align the connectors properly.
- Secure the SSD in place with the screw that was removed earlier.
- Replace the M.2 slot cover and reinsert the battery.
- Power on the laptop and press the key indicated in the BIOS to enter the boot menu (this is usually F12).
- Select the SSD as the boot device and press Enter.
- Follow the prompts to install the operating system on the new SSD.
3. M.2 SSD:
The installation process for an M.2 SSD is similar to that of an NVMe SSD. The main difference is that the M.2 SSD is smaller and more portable, so it can be easily installed on a laptop without the need for screws.
4. eMMC:
The installation process for an eMMC SSD is similar to that of a SATA SSD. However, eMMC SSDs are typically soldered onto the motherboard, so they cannot be easily replaced or upgraded. If you want to install an eMMC SSD in a laptop, you may need to purchase a laptop that comes with an eMMC SSD preinstalled.
NOTE!
The installation process may vary depending on the make and model of the laptop. It is always a good idea to refer to the manufacturer’s documentation or seek professional assistance if you are unsure about how to install an SSD in your laptop.