When it comes to controllers then the PC offers flexibility in controller options, it can connect to both wired and wireless controllers, and you can even pair multiple controllers such as the PS5 DualSense controller and PS4 Controller
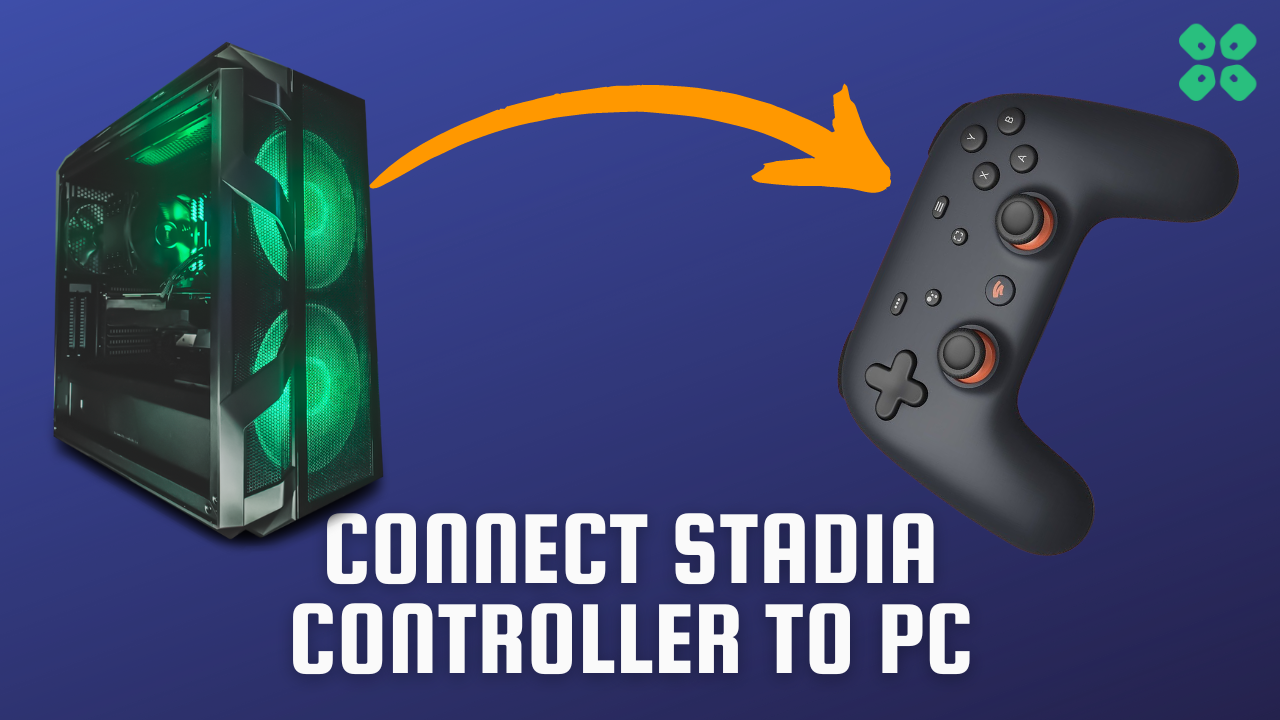
So, if you want to get the most out of your PC by connecting your Google Stadia controller then continue reading the guide below.
Connecting Google Stadia Controller to PC Via Bluetooth
- First, make sure your Stadia controller is switched to Bluetooth mode
- Turn on your PC’s Bluetooth connectivity. If your PC does not have built-in Bluetooth, you can use a Bluetooth adapter.
- On your PC, go to the “Settings” menu and click on “Bluetooth & Devices“
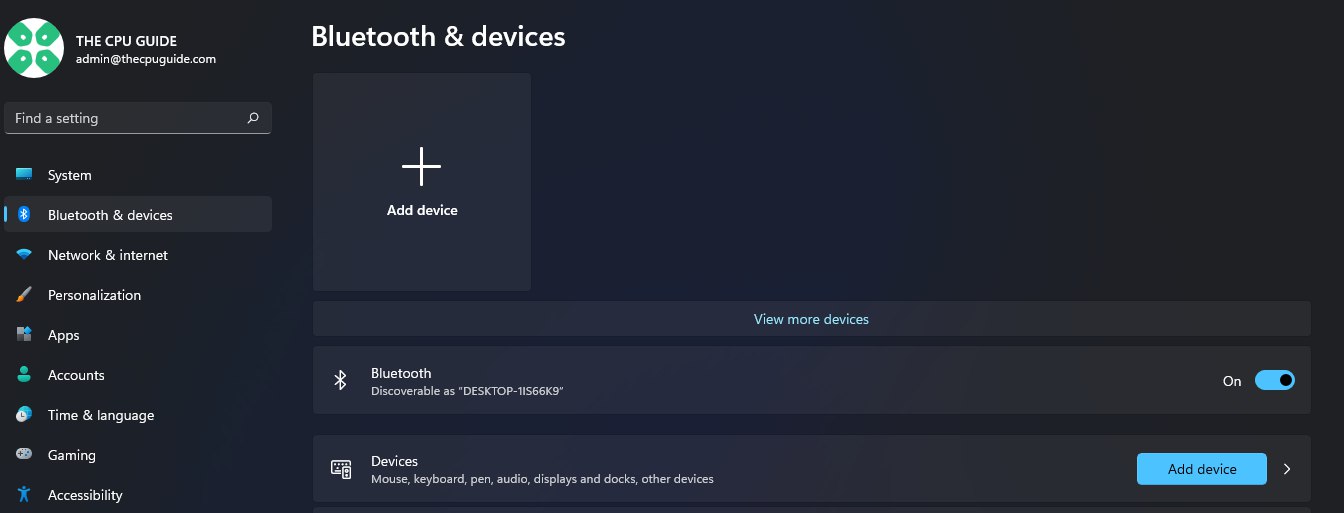
- Click on “Add device” and select “Bluetooth” from the options.
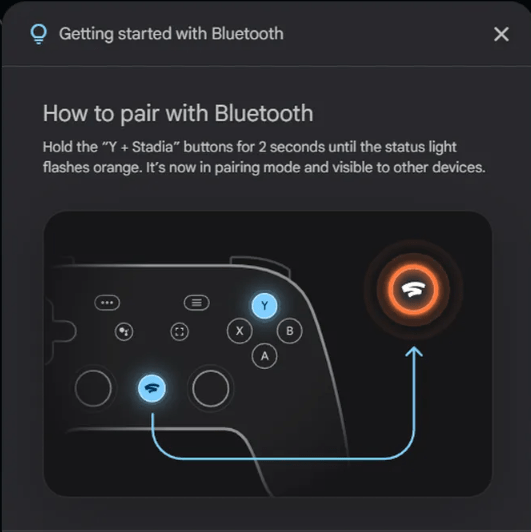
- Hold down Stadia and Y buttons until the Stadia button flashes orange.
- The Stadia Controller will appear on your visible devices. Click on the Controller icon to connect.
You can also plug your Stadia Controller into a device with a USB-C cable.
Why can’t I link Stadia controller to PC?
There could be several reasons why you are unable to link your Stadia controller to your PC. Here are some common troubleshooting steps you can try:
- Make sure your Stadia controller is fully charged or plugged in using a USB-C cable.
- Check that your Stadia account is signed in on your PC using a compatible browser such as Google Chrome.
- Try resetting your Stadia controller by holding down the Stadia button for 6 seconds until it vibrates and the light on the controller turns off, then try linking it to your PC again.
Now that you know how to connect your Stadia controller to your PC, you can start playing your Steam games in a whole new way. Have fun and happy gaming!
And do share your experience in the comments section below