Hi Everyone! Today I’ll be guiding you on how to install RAM in your PC.
We will be discussing how to select RAM for your system and then using my step-by-step instructions you will learn how to safely upgrade your PC’s RAM.
Learning how to add RAM is a good approach to speed up your computer if you’re looking to do so. Many operating systems are memory hogs, but if you have a recent computer or laptop, you generally won’t notice much of a difference in how quickly you can browse the web. However, older machines are a completely different story.
Here’s a video by Digital Trends that shows the process of safely installing RAM into your PC in the most simple to understand and a short time:
If you haven’t yet changed to one of the greatest Windows laptops or the top computer, don’t worry; an easy hardware upgrade can transform your existing machine. Understanding how to install RAM will also be quite helpful if you’re attempting to build a PC from scratch.
If you’re a user of the best MacBooks and Macs, you know that upgrading your computer or laptop every few years is a reasonable option, but it’s also a very expensive one. Simply upgrading the memory is a much more cost-effective alternative that will not only save you money but also prolong the life and utility of your PC for a few more years.
So let’s begin.
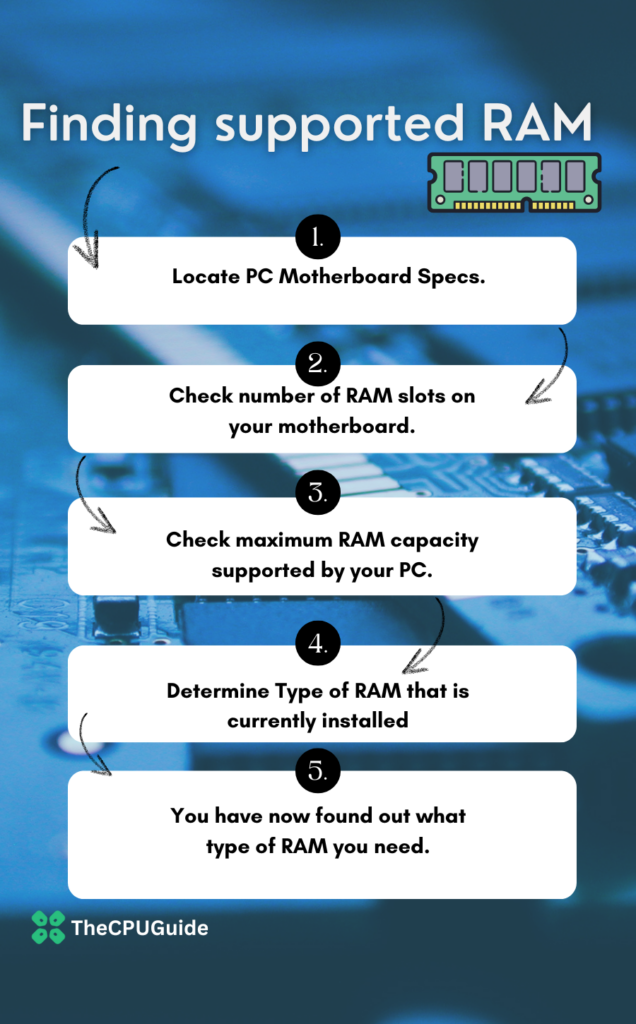
What type of RAM does your PC support?
To determine what type of RAM your PC supports, you can follow these steps:
- Locate the specifications for your PC’s motherboard. You can typically find this information in the documentation that came with your PC or by searching online for the make and model of your motherboard. The motherboard specifications will list the supported memory types and speeds.
- Check the number of memory slots on your motherboard. This information can also be found in the motherboard documentation or by searching online for the make and model of your motherboard. The number of memory slots will determine the maximum amount of RAM that your PC can support.
- Check the maximum memory capacity supported by your PC’s processor. This information can be found in the documentation for your processor or by searching online for the make and model of your processor. The processor’s maximum memory capacity will also determine the maximum amount of RAM that your PC can support.
- Determine the type of RAM that is currently installed in your PC. You can do this by opening the case of your PC and looking at the physical memory modules, or you can use system information tools such as the Windows System Information tool or the BIOS/UEFI settings on your PC to check the installed memory type and capacity.
- Based on the information you have gathered, you can determine the type and maximum amount of RAM that your PC can support. You can then purchase and install RAM modules that are compatible with your PC’s motherboard, processor, and memory slots.
Installing RAM
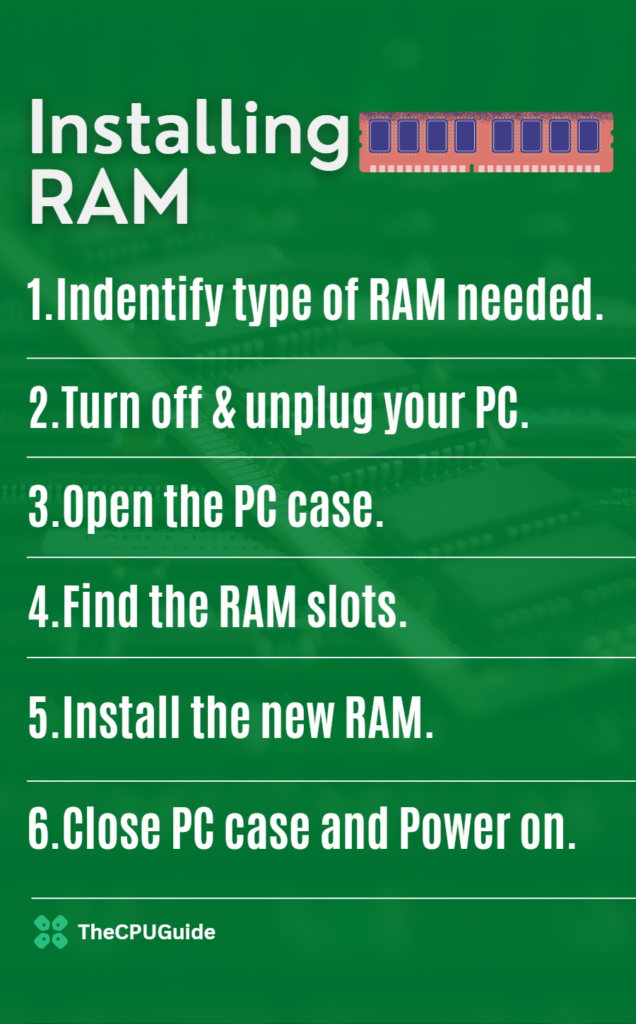
Installing RAM on a PC is a simple process that can often be completed in just a few steps. Here’s how to do it:
- Determine the type of RAM you need: Make sure you have the correct type of RAM for your specific computer. You can usually find this information in your computer’s documentation or by looking up the specifications online.
- Turn off your computer and unplug it: Before you begin, make sure to turn off your computer and unplug it to avoid any accidental damage.
- Open the case: Locate the panel on the side of your computer case and remove it to access the inside of the case.
- Find the RAM slots: Once you have the case open, you should see the RAM slots on the motherboard. These are usually located near the CPU.
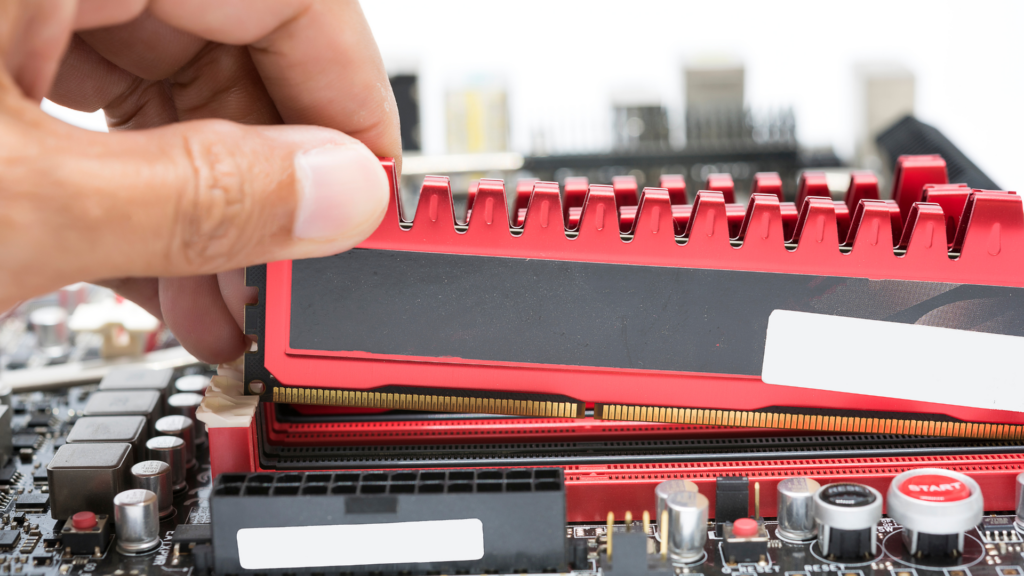
- Remove any existing RAM: If you are replacing existing RAM, you will need to remove it first. To do this, gently press down on the clips on either side of the RAM module to release it from the slot.
- Install the new RAM: Carefully align the notches on the RAM module with the pins in the RAM slot. Gently press down on the module until it snaps into place. Make sure it is fully seated in the slot and the clips are holding it securely.
- Repeat the process for any additional RAM: If you are adding more than one module of RAM, simply repeat the process for each additional module.
- Close the case and power on the computer: Once you have installed all of the RAM, close the case and plug the computer back in. Turn it on and check to make sure the RAM is recognized and functioning properly.
That’s all there is to it, you’ve successfully added more RAM to your PC! Good job! Stay tuned for more guides like these and let me know if you were smoothly able to install RAM or if you encountered any problems or errors at all.