Packet loss is a common problem for Valorant users. They often experience network issues during matches which can disrupt gameplay and affect their performance. This issue, along with other common issues like high latency and low client-server FPS, can be frustrating for players.
Don’t worry about it!
The CPU Guide brings you the best working solutions to solve Valorant packet loss.
How To Reduce Packet Loss Valorant?
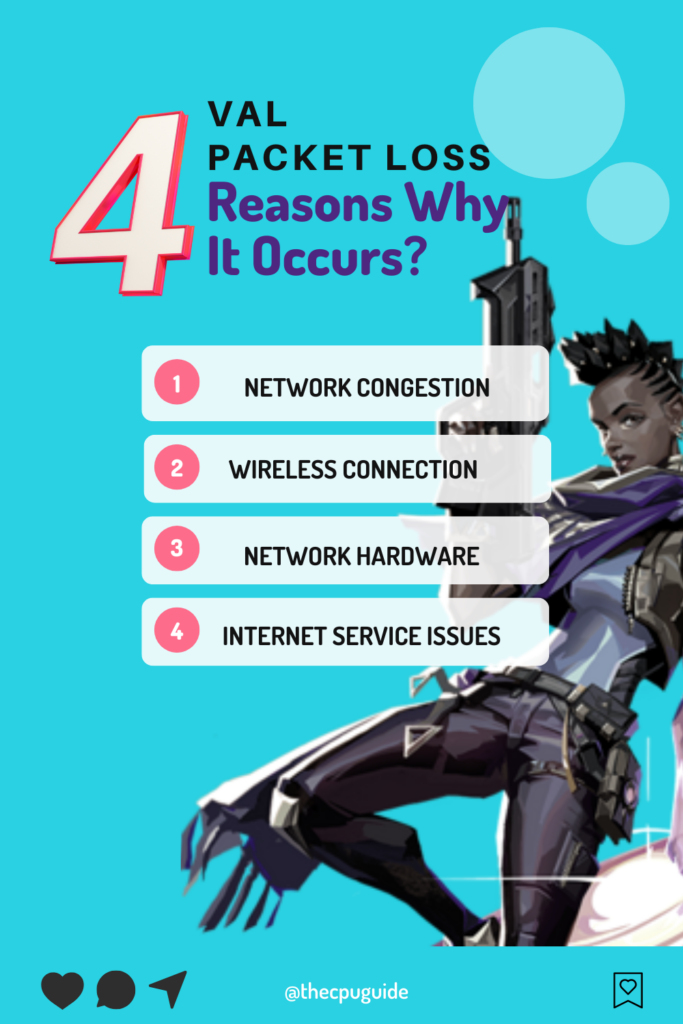
Your Val packet loss so high could be due to the following reasons:
- Network Congestion: It’s possible that the network you are connected to is experiencing congestion, resulting in packet loss.
- Wireless Connection: If you’re using a wireless connection, packet loss could be caused by wireless interference or a weak signal.
- Network Hardware: Your network hardware, such as your router or modem, could be faulty or outdated, causing packet loss.
- Internet Service Provider (ISP) Issues: Your ISP could be experiencing network issues or technical problems, leading to packet loss.
Solution 1: Check Your Internet Connection
Begin by checking your internet connection for any issues. Ensure you have a stable and reliable internet connection with low latency and high bandwidth.
- Use a Wired Connection: Whenever possible, connect your gaming device (PC or console) directly to your router using an Ethernet cable. Wired connections tend to be more stable and offer lower latency compared to Wi-Fi, which can help reduce packet loss.
- Reboot Modem and Router: Periodically, your modem and router may encounter issues that can cause packet loss. Unplug both the modem and router from the power source, wait for about 30 seconds, and then plug them back in. Allow them to fully reboot before testing your connection again.
- Run a Speed Test: Conduct a speed test to assess your internet connection’s upload and download speeds. A reliable speed test website or application, such as Speedtest.net, can help you determine if your connection meets the requirements for smooth online gaming. Ensure that your internet speeds are consistent with your internet plan.
Solution 2: Check the Server Status
It is common for Valorant servers to experience technical issues or undergo maintenance which can cause packet loss
So, it is better to check the server status
To check the server status of the Valorant game follow the steps mentioned down below:
- Go to Riot Server-Status Official website
- The homepage will open
- Select Valorant

- The valorant service status page will open
- Now select your region
- And check if there is a problem or not.

If the servers are down then all you need to do is wait or else follow the next solution
Read More: Valorant Error Code VAN 84 “Valorant has encountered a connection error”
Solution 3: Close Unwanted Programs on PC
If there are too many programs running in the background, using too much internet/RAM/Disk can cause Valorant packet loss spikes on Windows 11.
Closing unwanted programs will help you eliminate the crashing issue on your PC.
So, let’s close unwanted programs:
- Press Ctrl + Shift + ESC keys to open Task Manager
- Now check which program is using more Network
- Right-click on that program and select End task
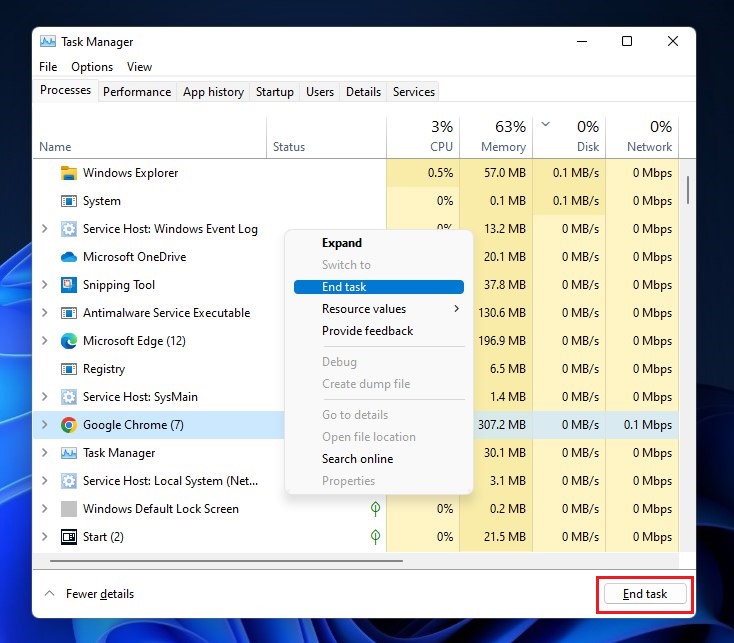
- And check if the crash is solved or not.
Solution 4: Update WiFi Drivers on Windows 11 through Device Manager
WiFi drivers are an essential component of your computer’s network functionality. They allow your computer to connect to WiFi networks and enable smooth and uninterrupted internet access. If you’re experiencing connectivity issues or slow internet speeds, updating your WiFi drivers may help resolve the problem.
Here is how you can WiFi Drivers via Device Manager:
- Click on the Search icon
- Type Device Manager
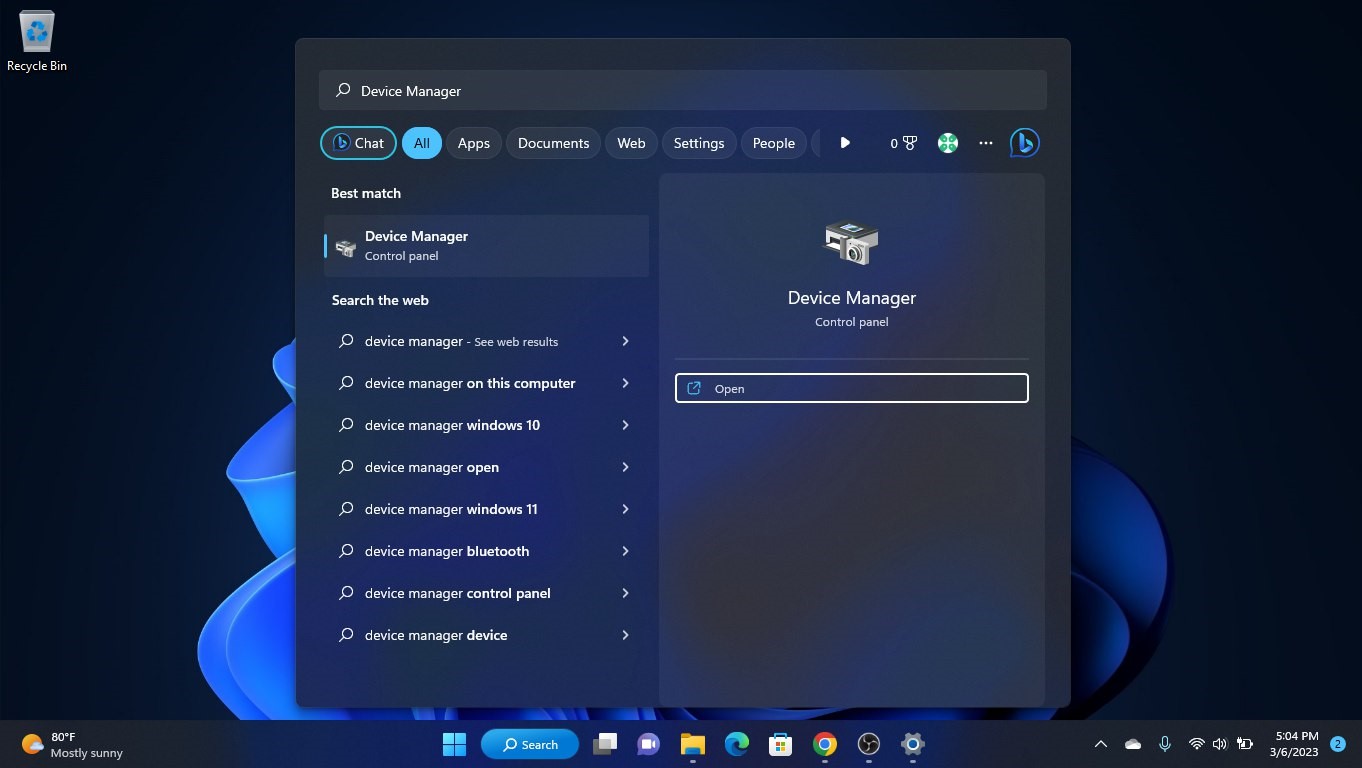
- Click to open Device Manager
- Then select the Network adapter
- Click right on the WiFi card name
- Click on the Update driver
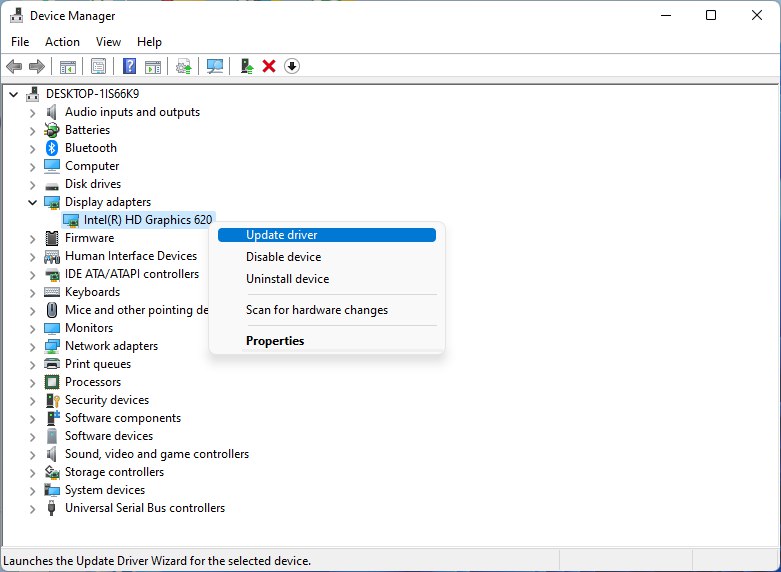
- Select “Search automatically for drivers“
Hope this will help you to upgrade the WiFi drivers and eliminate the low-speed problem
Solution 5: Clear DNS Cache and Data
DNS translates website names into computer-readable IP addresses. Windows 11 stores DNS data to speed up website access, but this cache can become outdated or corrupted, causing issues.
Clearing the cache forces your computer to get the most recent data from DNS, fixing Packet loss in Valorant. Follow the steps in this guide to clear the DNS cache on Windows 11.
How do I clear my DNS cache?
- Click on the Windows start icon in the bottom left corner.
- Then press the Windows key + R.
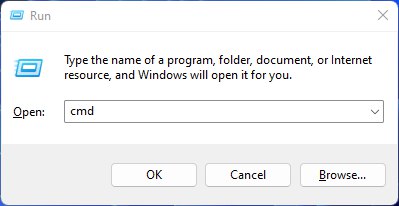
- The Run box will appear.
- Type cmd, and click on OK.
- Then on the cmd window, enter the following commands: (Note: Type the following commands, and hit Enter after every command)
- “ipconfig/flushdns”
- “ipconfig/registerdns”
- “ipconfig/release”
- “ipconfig/renew”
- Close the window.

Now after clearing the DNS Cache and Data, it’s time to set your DNS settings automatically on your PC/laptop to fix packet loss while playing Valorant.
Solution 6: Setting your DNS to Automatic on Windows
To fix the “Packet loss spike”, we suggest setting your DNS automatically.
Here is you can set DNS on Automatic:
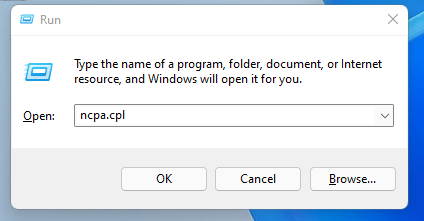
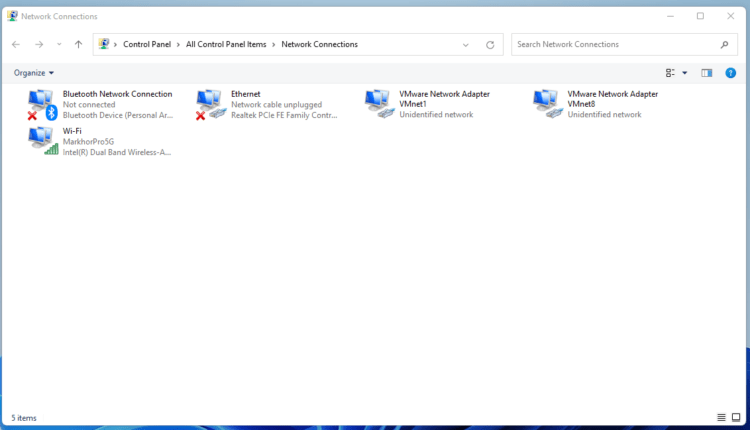
- Press Windows key + R.
- Then type ncpa.cpl and click OK.
- In the internet connection, right-click on Ethernet and choose properties.
- In the properties window, choose Internet Protocol Version 4 (TCP/IPv4) or Internet Protocol Version 6 (TCP/IPv6)
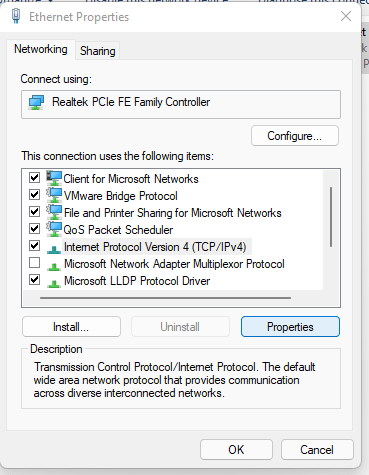
- Click the Properties button
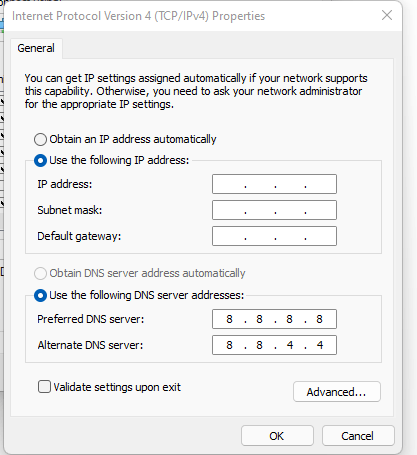
- Now choose the options “Obtain IP address automatically” and “Obtain DNS server automatically”
- Click OK.
If you already using the automatic DNS settings then you should try Google DNS manually
Solution 7: Use DNS manually or Google’s DNS
Here is how you can set Google’s DNS in Windows 11:
- Press Windows key + R.
- Then type ncpa.cpl and click OK.
- In an internet connection, right-click on Ethernet and choose properties.
- In the properties, the window chooses Internet Protocol Version 4 (TCP/IPv4) or Internet Protocol Version 6 (TCP/IPv6)
- Click the Properties button.
- Now write 8.8.8.8 in the box next to ‘Preferred DNS server’
- And then write 8.8.4.4 next to the ‘Alternative DNS server
If you have any queries or suggestions, feel free to share your experience with us in the comments section down below or you can reach us on our social handles.
Hope the above solution helps you to solve Valorant Packet, and Loss Spikes issue on your PC.
Share your experience in the comment section down below.
FAQ’s
Why do I only get packet loss in Valorant?
Why is my Valorant FPS dropping?
Why is my Valorant so laggy?
How do I fix Valorant network lag?
1. Update the Windows OS
2. Update the Internet Drivers
3. Upgrade the Internet Plan
4. Power cycle the router
5. Switch To a Better VPN