Hey there, if you’re a gamer, you know how frustrating it can be if your GPU decides to die on you in the middle of an intense gaming session. And if your graphics card gets too hot, that’s exactly what could happen. But don’t worry, there are ways to reduce the temperature and avoid that heartbreak.
Remember that there could be many reasons your GPU is overheating, and it might take some trial and error to figure out what’s causing the problem. But don’t let that stop you from trying out some solutions to ease the pressure on your graphics card.
To cool things down, we need to first figure out what’s making your GPU run so hot. Once we’ve found the culprit, it’s usually a simple fix, but sometimes it can be trickier.
We’ll walk you through some troubleshooting methods so you can quickly check and repair each potential issue. And the end goal is to determine whether your GPU is overheating or not.
Your graphics card manufacturer will have a recommended temperature range for optimal gaming. For example, AMD works best at around 70 degrees Celsius, while Nvidia’s cards like to sit between 70-85 degrees Celsius. You’ll need to use some tools to check your current GPU temperature. So, let’s get started and keep that GPU running smoothly!
Physical Fixes
Alrighty, let’s talk about how to give your GPU some TLC and bring down its temperature. In most cases, the culprit for overheating is something you can see and touch, so we’ll need to crack open that computer case.
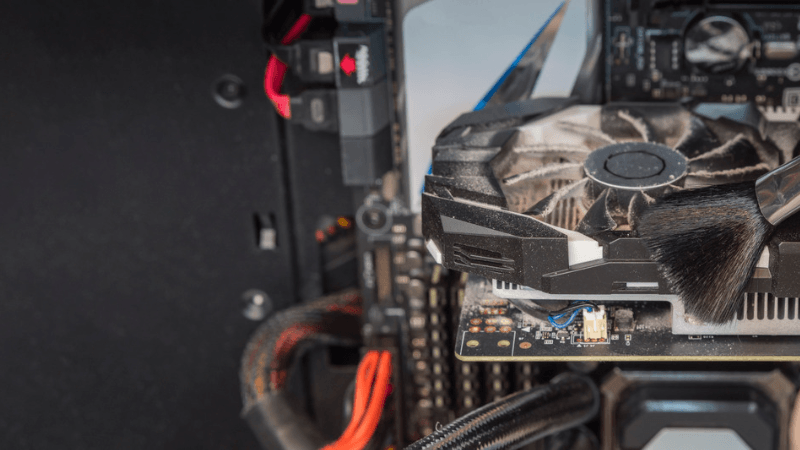
Now, don’t panic, the inside of your computer might look complicated, but if you take it slow and steady, you’ll be fine. The first thing we need to do is get rid of that pesky dust. No matter how hard you try, dust will find its way into your computer case, especially if you have a lot of fans. And if your GPU has its own fans, it’s bound to attract even more dust.
1. Remove dust:
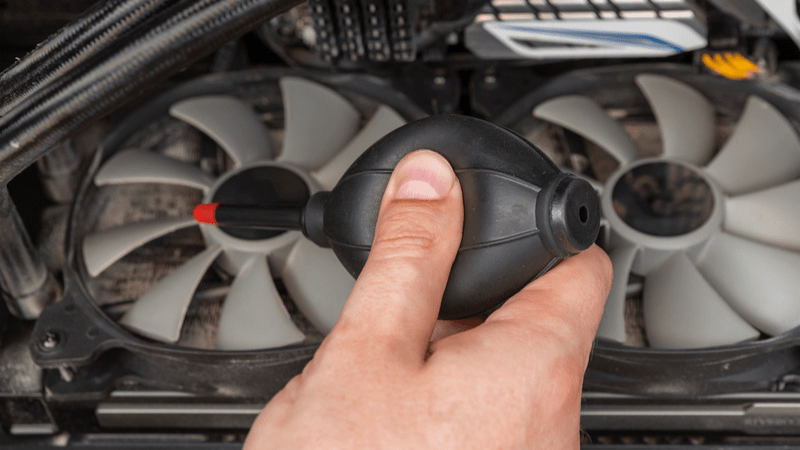
To get rid of that dust, here’s what you need to do:
- Open up the case and see what you’re working with.
- It’s not mandatory, but removing your GPU will make the cleaning process easier.
- Take out the fans if you can.
- Use compressed air and a cotton swab to clean the dust from the GPU and fans. Be thorough and get into all the tight spots and nooks and crannies. And don’t forget to clean the CPU, RAM, motherboard, memory, and any other place where dust might have gathered.
- Put everything back together and test it out.
- Dust is the number one cause of overheating, so you should see an immediate improvement in your GPU’s temperature once you’re done cleaning it. So, roll up those sleeves, grab a can of compressed air, and let’s get to it!
2. Check Fans:
Don’t be fooled into thinking your GPU fans are working properly just because you opened your case while your PC was turned off! To be sure, you need to open the case while the PC is running or turn it on after you’ve opened the case.
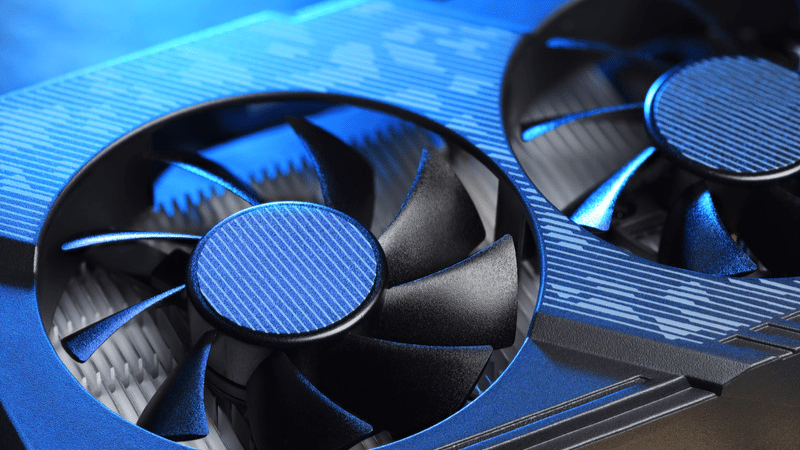
It’s important to note that some GPUs have optimized fans that only turn on when they’re needed. But if you suspect your fans are not working as they should, there could be several reasons why, such as a buildup of dust, power connectors becoming disconnected, or even the fan bearings wearing out.
If you’re experiencing any of these issues, don’t worry! You can fix most of them by cleaning your PC and reconnecting any power connectors that may have come loose. For fan bearings that have worn out, you just need to apply a lightweight machine oil. And the worst-case scenario, if the fans have stopped working entirely, you can replace them without having to replace the whole graphics card.
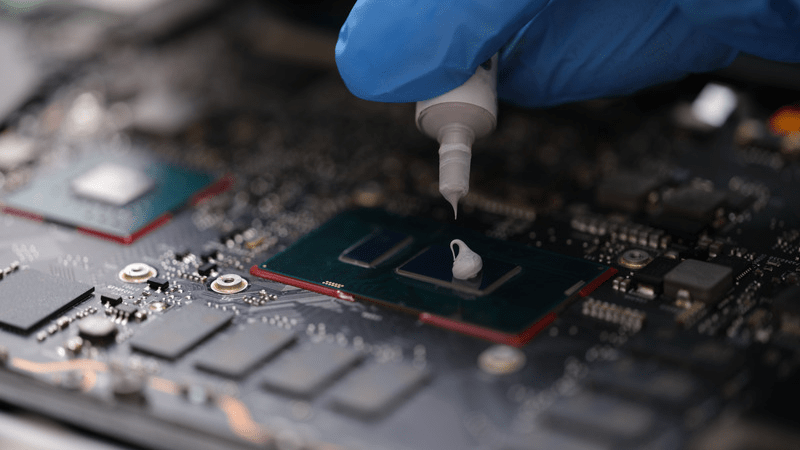
3. Apply new thermal paste:
Alright, so if you’ve been having trouble with your graphics card and think it might be the thermal paste, here’s what you gotta do:
- First things first, you gotta remove the graphics card.
- Once you’ve done that, flip it over and unscrew the heatsink, and be sure to unplug any extra wires too.
- Now it’s time to clean that thermal paste residue off the heatsink and chip it with some rubbing alcohol and a cloth or cotton swab. Don’t be afraid to really get in there and scrub it clean.
- After that, it’s time to apply some fresh thermal paste. And hey, if you used one method before, maybe try another one this time for kicks.
- Finally, put everything back together, but be sure to carefully place the heatsink back on top of the chip to ensure an even spread of that thermal paste.
- Once you’ve got all the cables plugged back in and the screws back where they belong, pop that graphics card back in its place and you’re good to go!
4. Adjust case Airflow:
Optimize your airflow to keep your PC running cool and efficiently. Here are a few helpful tips to help you optimize your PC case’s airflow:
- Plan where the cool air will come in and the hot air will go out.
- Keep your cables neat and tucked away to avoid interfering with air circulation.
- Pay extra attention to the hot spots in your PC, like the GPU, to ensure that the hot air has a clear route out of the case.
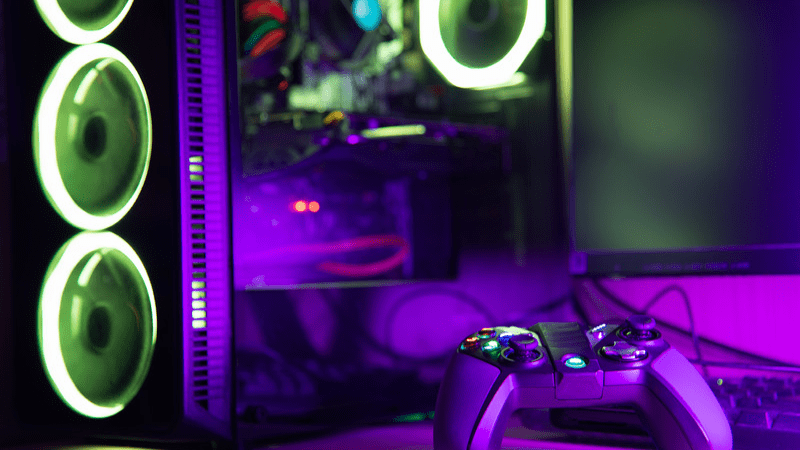
5. Improve overall system cooling
If you still can’t keep your GPU from overheating, your cooling hardware may not be powerful enough to handle the job. There are two ways to fix this. The first is to add extra fans and carefully plan how they would affect the airflow as a whole.
The other method of improving cooling is a total replacement, which is more of an improvement. Water cooling is the topic at hand. Although liquid cooling has been shown to be more effective at draining heat, there is a slight chance that it could break accidentally and render your PC utterly unusable.
Software Fixes to Improve GPU Temperature
We should discuss some of the more typical problems that are simple to fix because problems with the software are most likely the reason why your GPU temperature is increasing.
1. Downgrade the GPU driver
We need to deal with this since although it shouldn’t truly be a problem, it occasionally is.
This occurs when the GPU manufacturer updates its drivers, making the card work harder or more effectively, but possibly leaving the fans unable to keep up. In any case, a straightforward rollback ought to work. This is not to imply that you shouldn’t download the most recent driver, but there are instances when it is preferable to wait.
2. Underclock GPU
If you unintentionally overclocked the GPU too aggressively and are now suffering as a result, you might need to do this.
You might need to lower the GPU’s clock speed for other reasons as well. Despite its best efforts, your card might not be able to manage all the new games that are being thrown at it. If so, you might have to concede defeat and spare your graphics card any additional stress.
Underclocking the GPU basically involves doing the opposite of overclocking. Where the core and memory clocks would normally be increased, they are decreased.
Why GPU Cooling Is Important
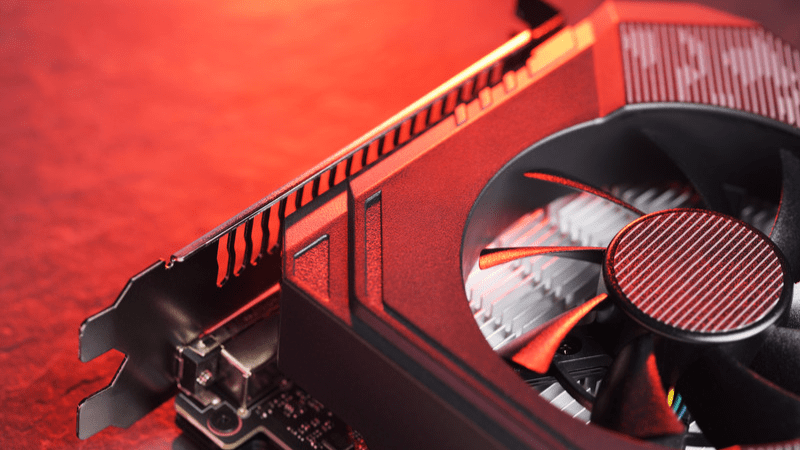
Reduce the GPU temperature to avoid other, maybe dangerous, problems in addition to getting better performance in video games or whatever professional tool you’re using.
The majority of graphics cards used nowadays have great security mechanisms and will shut down if they begin to overheat. However, this doesn’t always occur, and it could cause the PCB to become worthless due to heat damage.
Although we have concentrated on controlling GPU temperature, it’s crucial to understand that heat problems can impact any component of your PC. The majority of the suggestions in this manual also apply to those areas.
That’s all for now guys, I hope this guide helped fix your overheating GPU. Stay tuned for more helpful tech guides!