If you’re running low on disk space in Windows 11, it can be frustrating and may even cause your system to slow down or crash. Fortunately, there are a few methods you can use to free up some space and get your system running smoothly again.
In this article, we’ll go over some easy ways to fix low disk space in Windows 11, including deleting temporary files, uninstalling unnecessary programs, moving files to an external hard drive, and enabling Storage Sense. By following these methods, you can clear up space on your hard drive and improve the performance of your system.
Why fix Low Disk space in Windows 11?
It is important to fix low disk space in Windows 11 because having low disk space can cause a variety of problems on your computer. When your disk space is low, your computer may run slower, and you may not be able to install new programs or save new files. Low disk space can also cause errors and crashes, which can lead to data loss.
I think most users can relate to the frustrating experience of using a computer loaded with bloatware and its storage space filled. This is why I think it’s really important to clean up your computer regularly and remove unnecessary files and programs so you can enjoy a smooth seamless experience.
Here are a few ways you can take to free up some space in Windows 11:
1. Delete Temporary Files
Temporary files can take up a significant amount of space on your hard drive. To delete these files follow the steps below:
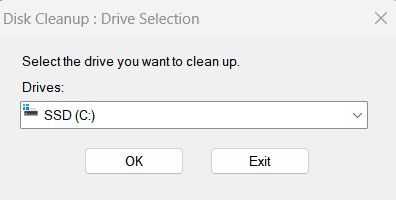
- Open the Start menu and type “disk cleanup.”
- Select the “Disk Cleanup” app that appears, select the drive you want to clean up, and click the “OK” button.
- In the Disk Cleanup window that appears, select the files you want to delete and click the “OK” button.

2. Uninstall Unnecessary Programs
If you have programs that you no longer use or need, consider uninstalling them to free up some space. To uninstall a program follow the steps below:
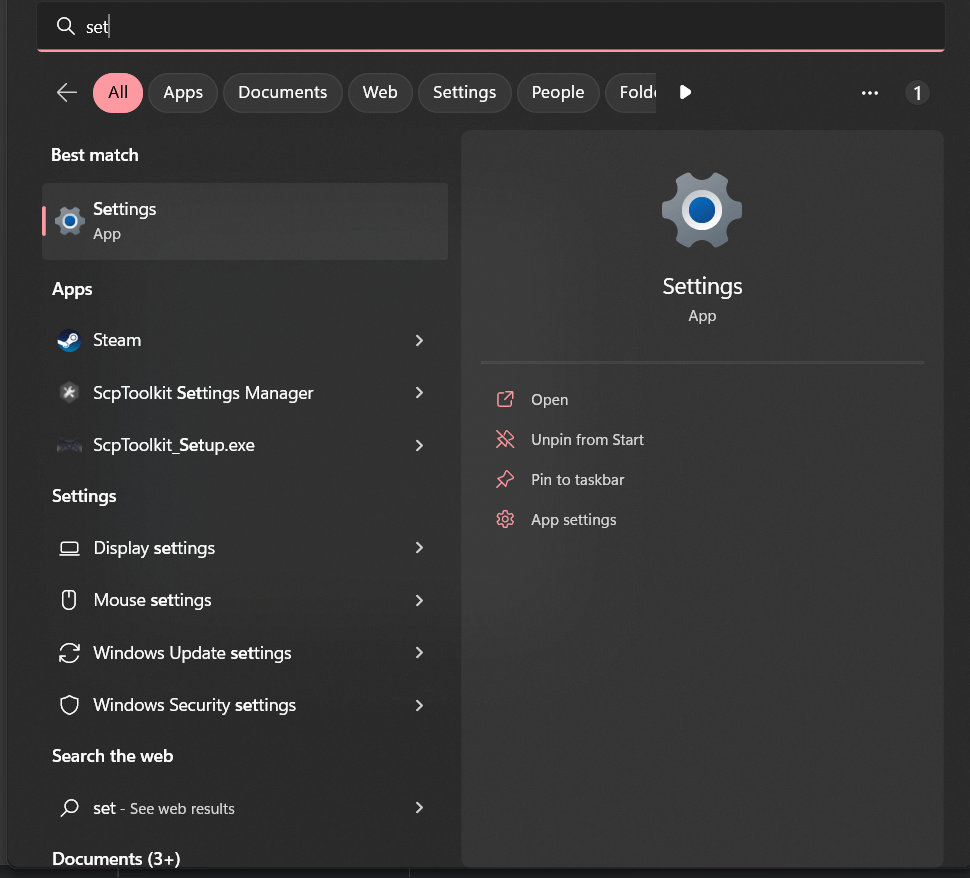
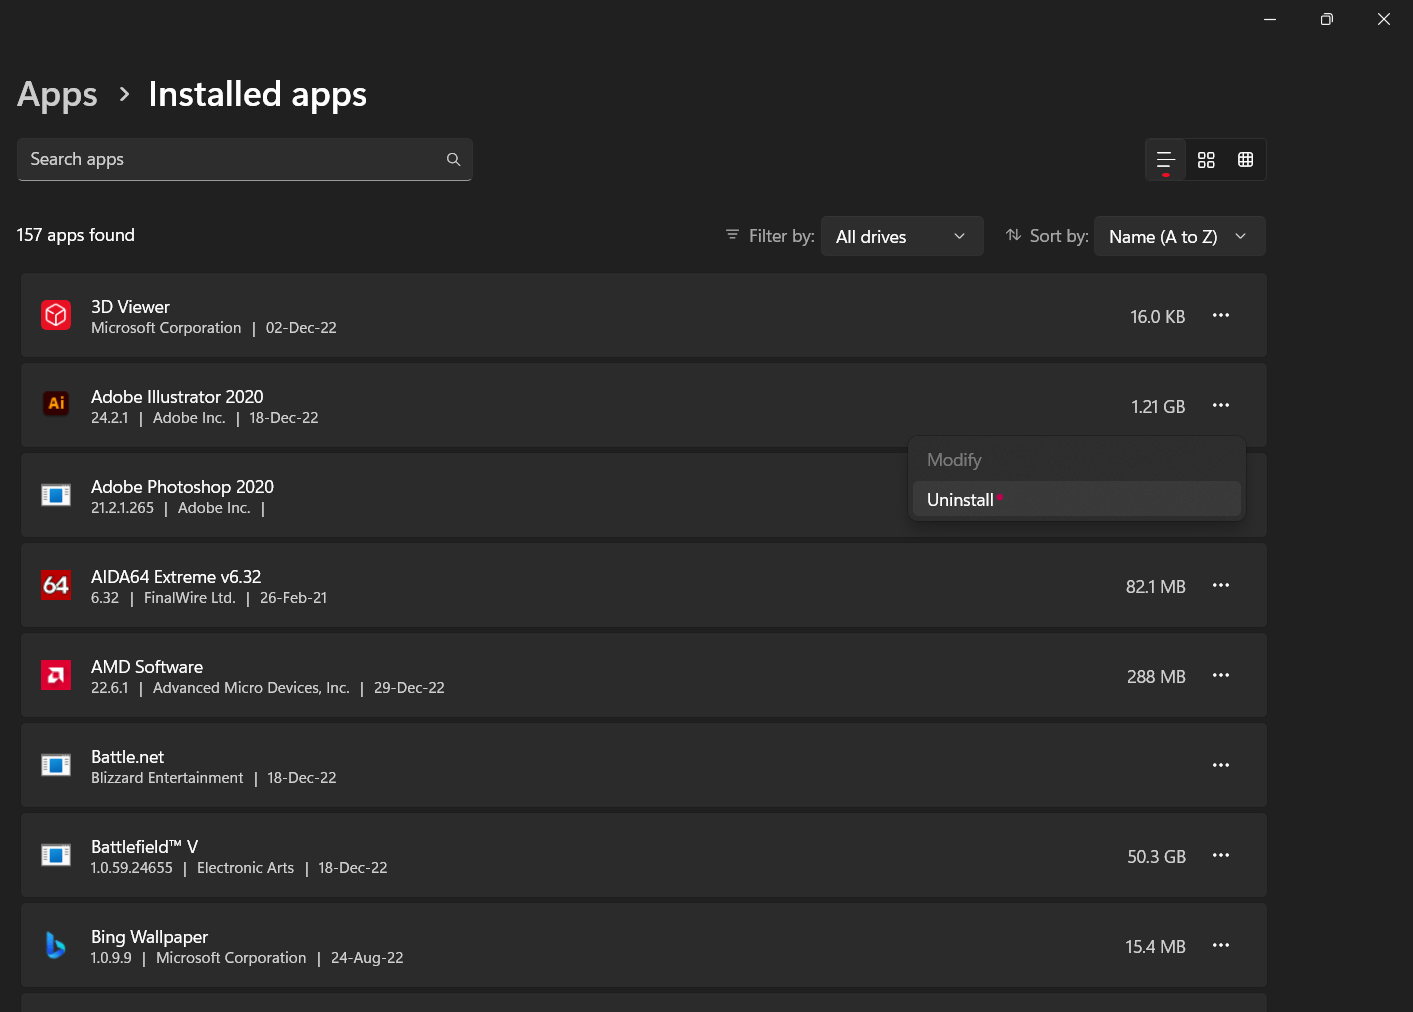
- Go to the Start menu and click on “Settings.”
- From the Settings menu, select “Apps,” and then select the program you want to uninstall.
- Click the “Uninstall” button to remove it from your system.
3. Move Files To an External Hard Drive

If you have files that you don’t need to access frequently, consider moving them to an external hard drive or cloud storage to free up space on your system drive.
4. Enable Compression on Large Files

If you have large files that you don’t access frequently, you can enable compression on them to save space. This is how you can do this:
- Right-click on the file, select “Properties,”
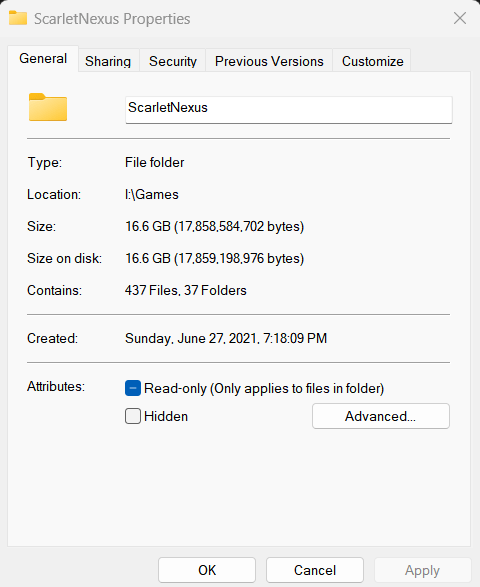
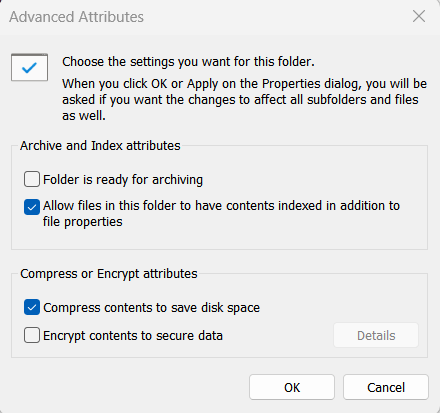
- Click the “Advanced” button.
- Check the box next to “Compress contents to save disk space,” and then click “Apply.”
5. Enable Storage Sense
Storage Sense is a feature in Windows 11 that automatically deletes temporary files and other unnecessary files to free up space. It Manages your storage by automatically deleting files that you no longer need and moving others to the cloud. It can help you free up space on your hard drive and make sure that your device is running efficiently.
To enable this feature to follow the steps below:
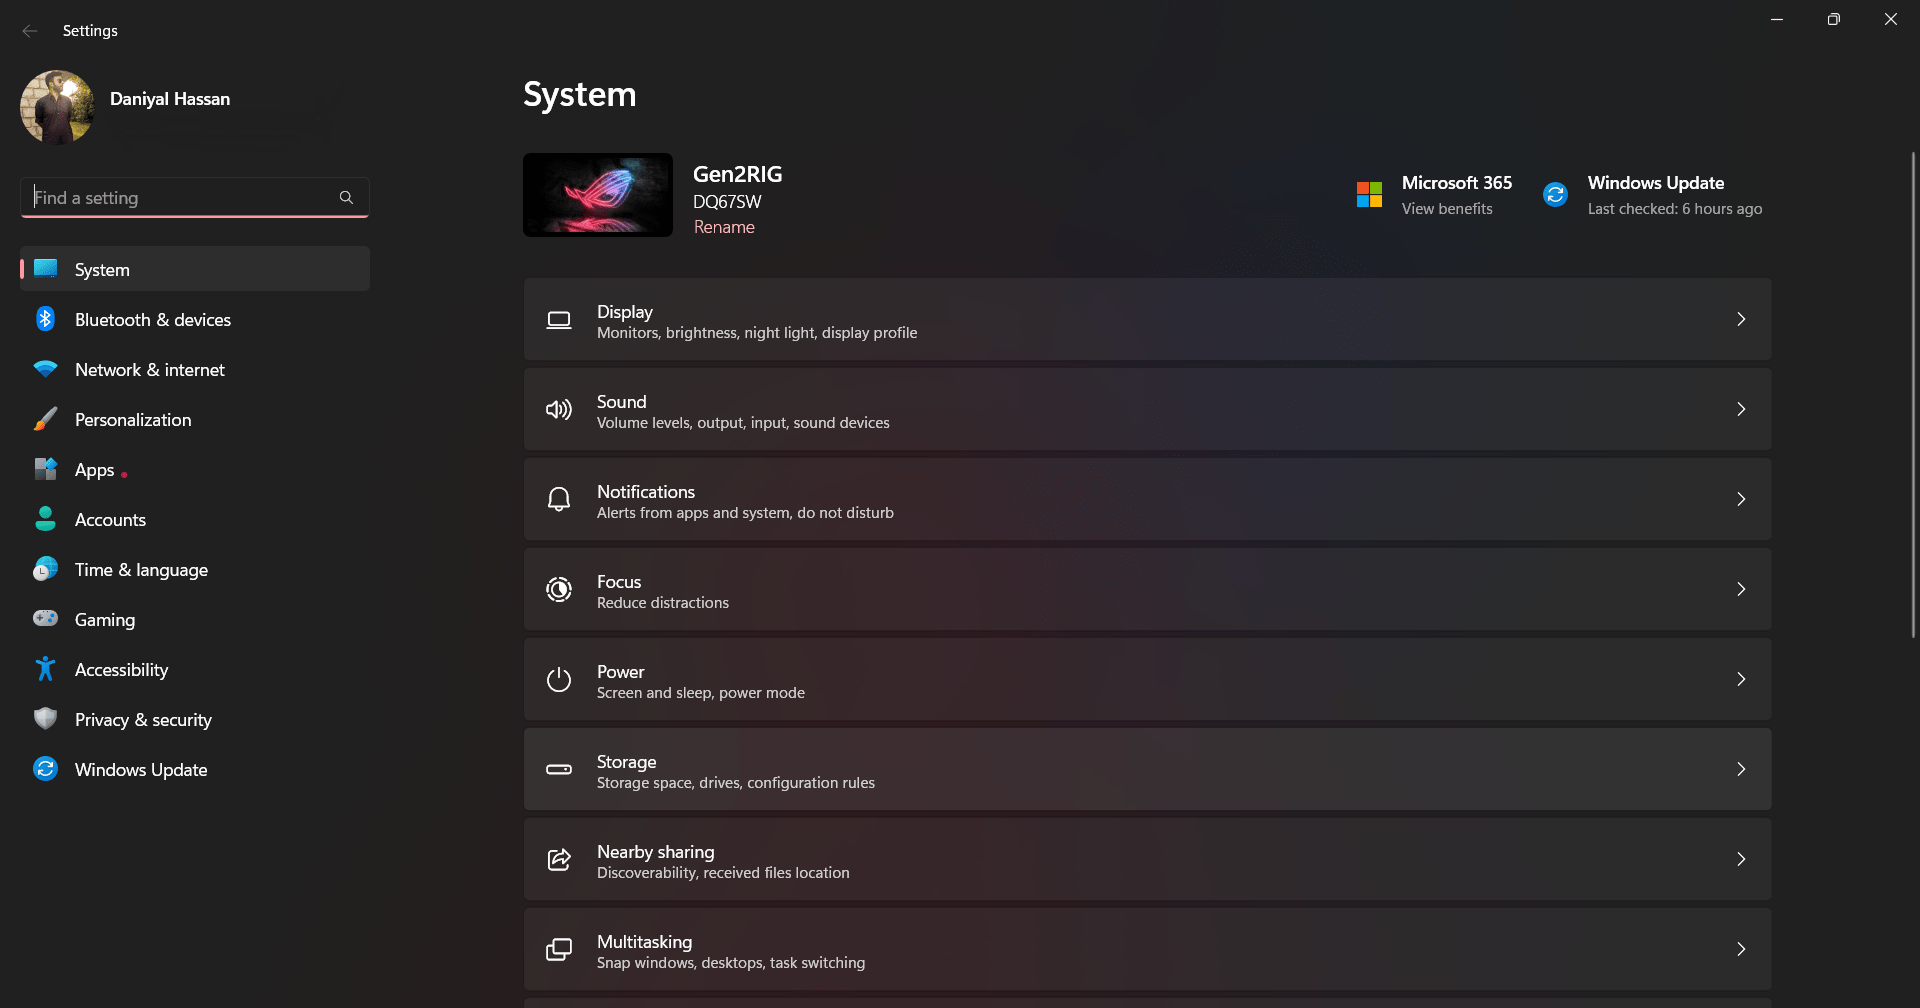
- Go to the Start menu and click on “Settings.”
- From the Settings menu, select “System,” and then select “Storage.”
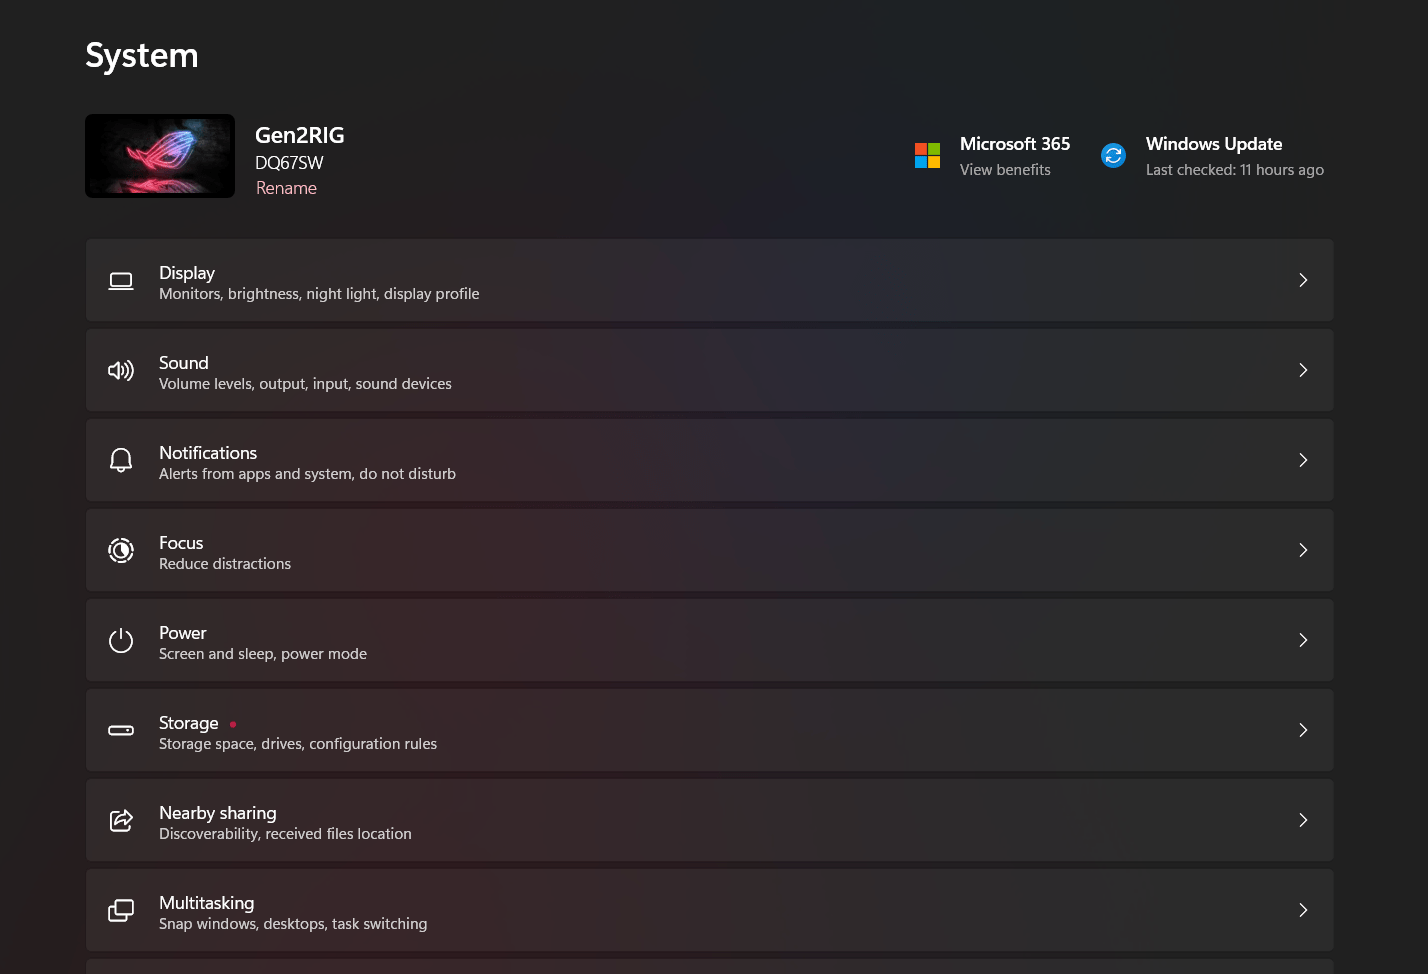
- In the Storage settings, turn on the toggle switch next to “Storage Sense.”
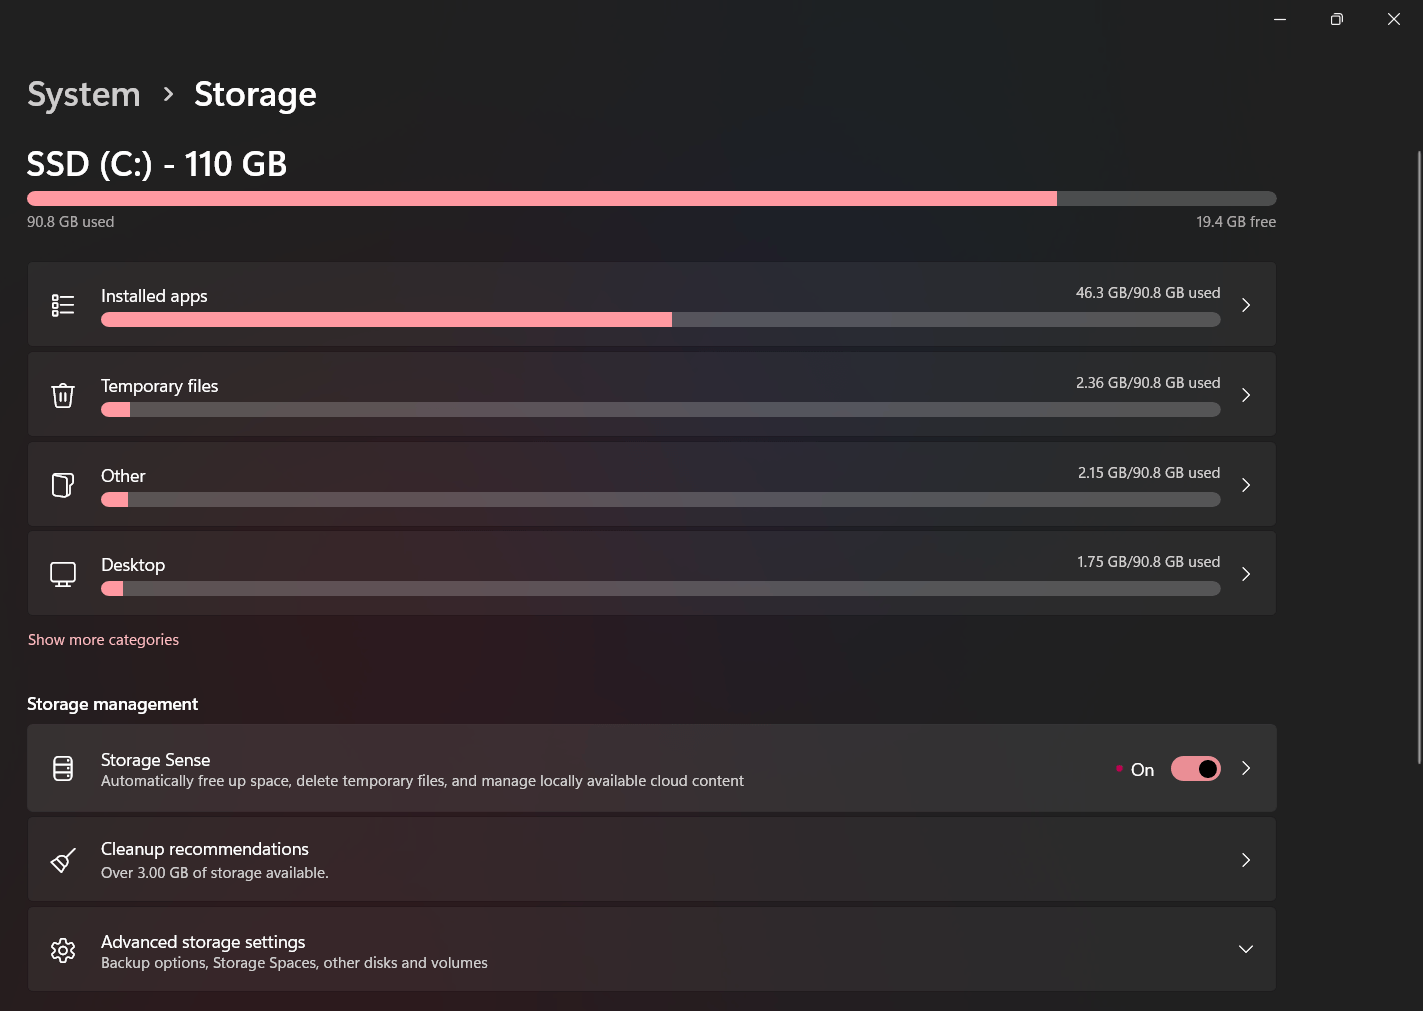
You can specify which types of files should be deleted and when they should be deleted. You can also choose to have files moved to the cloud automatically. Overall, Storage Sense is a useful tool for anyone looking to manage their storage and keep their device running smoothly.
6. Rebuild Windows Search Index
If there is a problem or there are many files on the device, Windows 11‘s database that stores the index for Windows Search may become very huge. If it is then, clearing the database and modifying the way the function works can drastically reduce space usage.
We can rebuild the Windows 11 search database, using the following steps:
- Open Settings.
- Click on Privacy & security.
- Click the Searching Windows page on the right side.
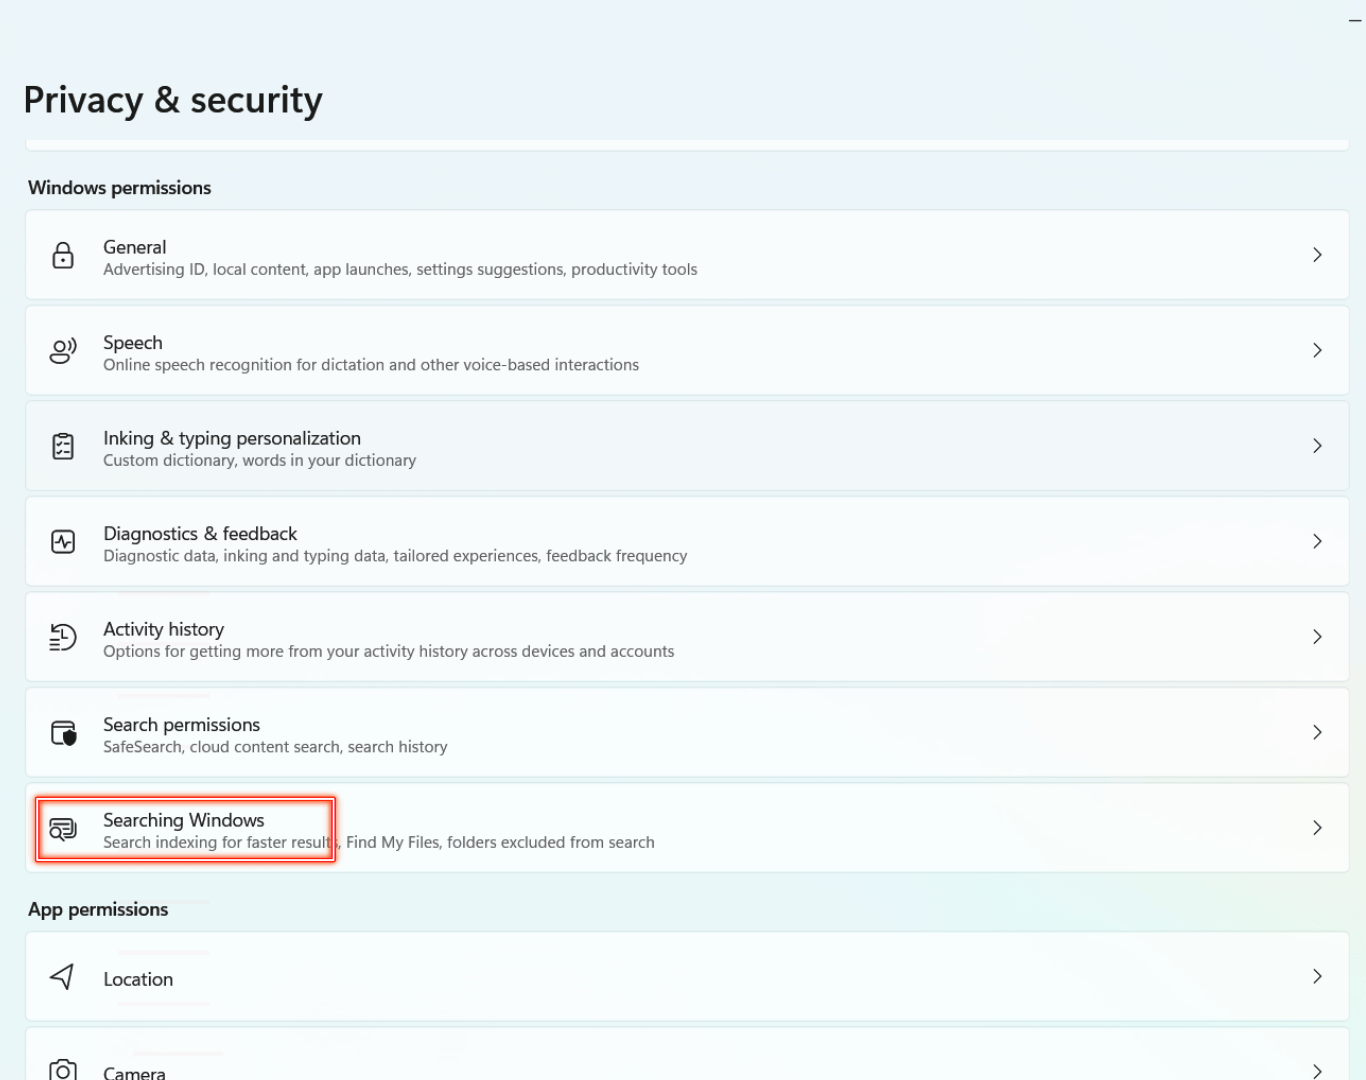
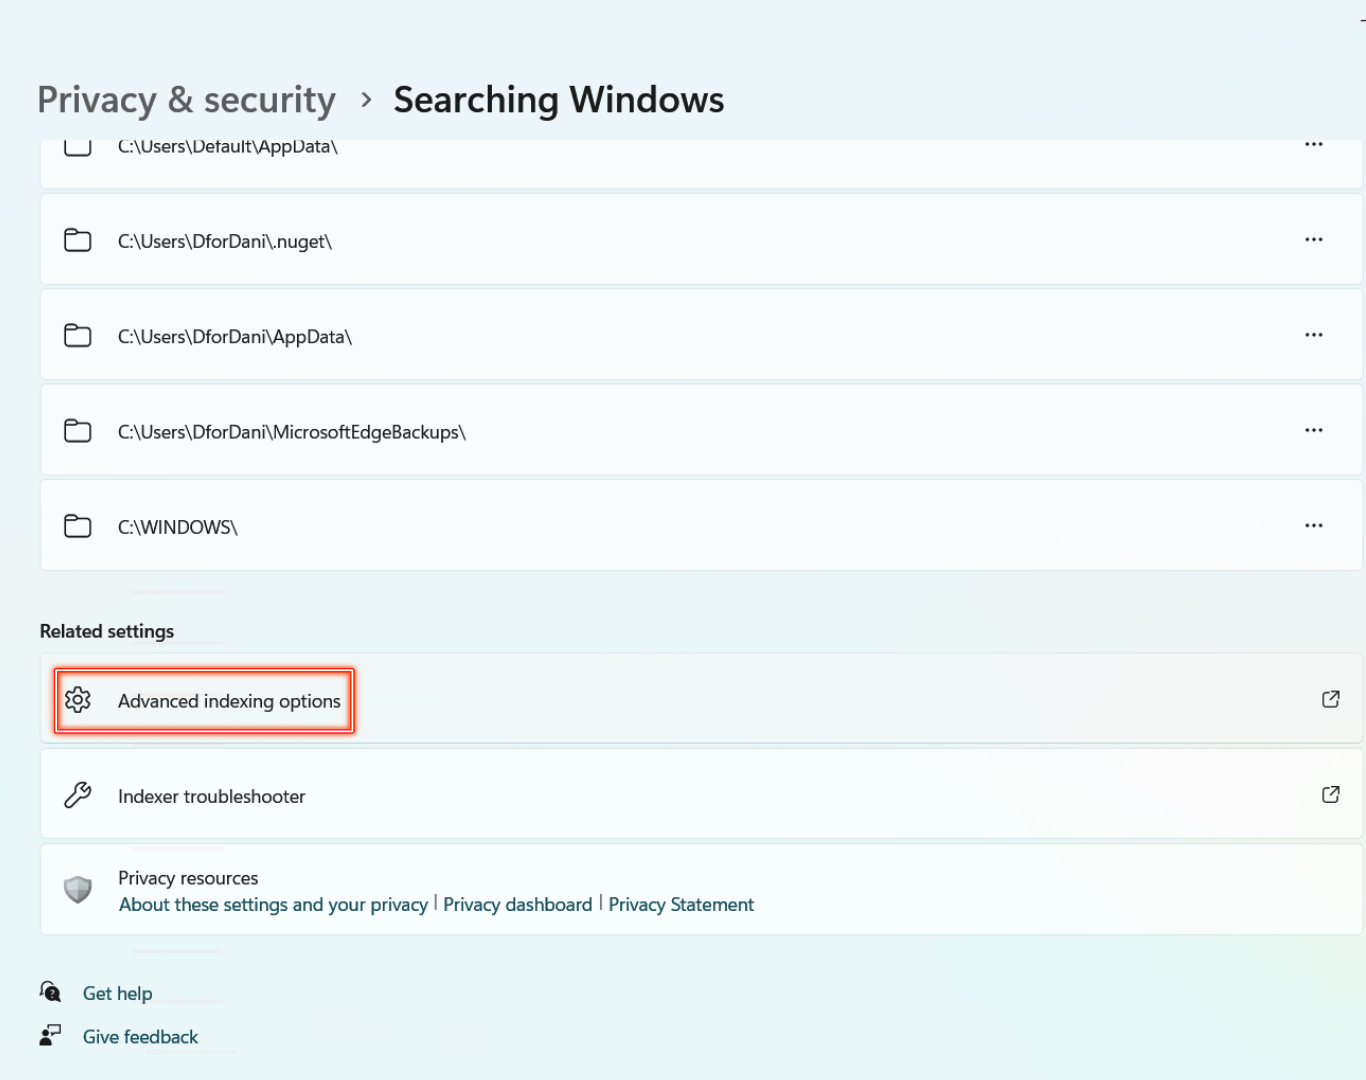
- In the “Related settings” section, click on “Advanced indexing options.”
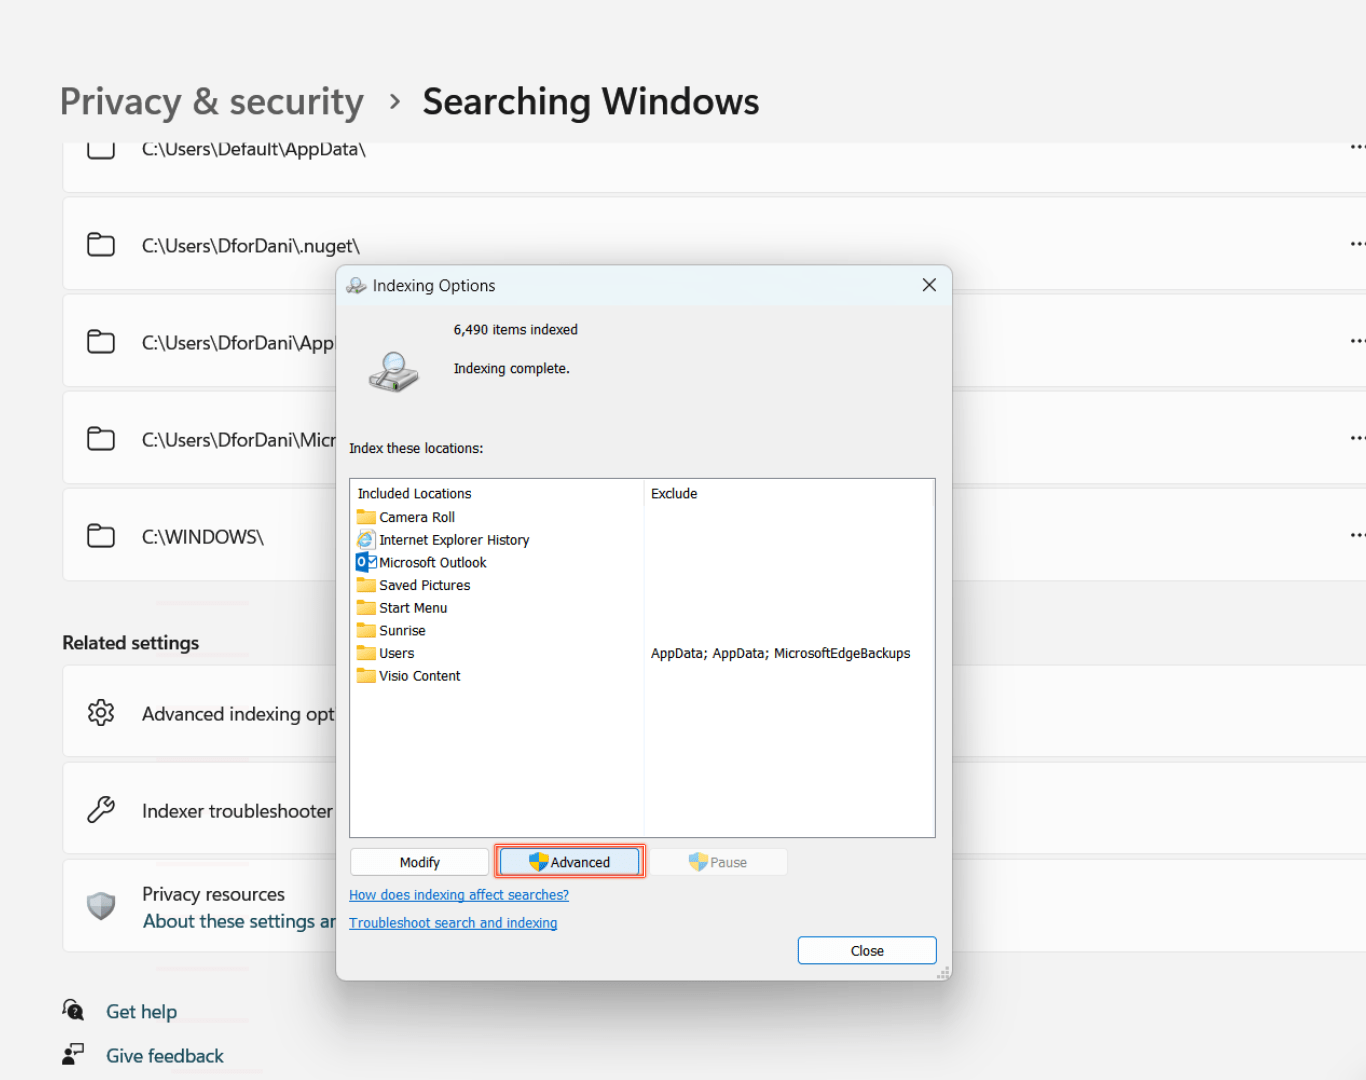
- Now Click the Advanced button.
- Click the Index Settings tab.
- Under the “Troubleshooting” section, click the Rebuild button.
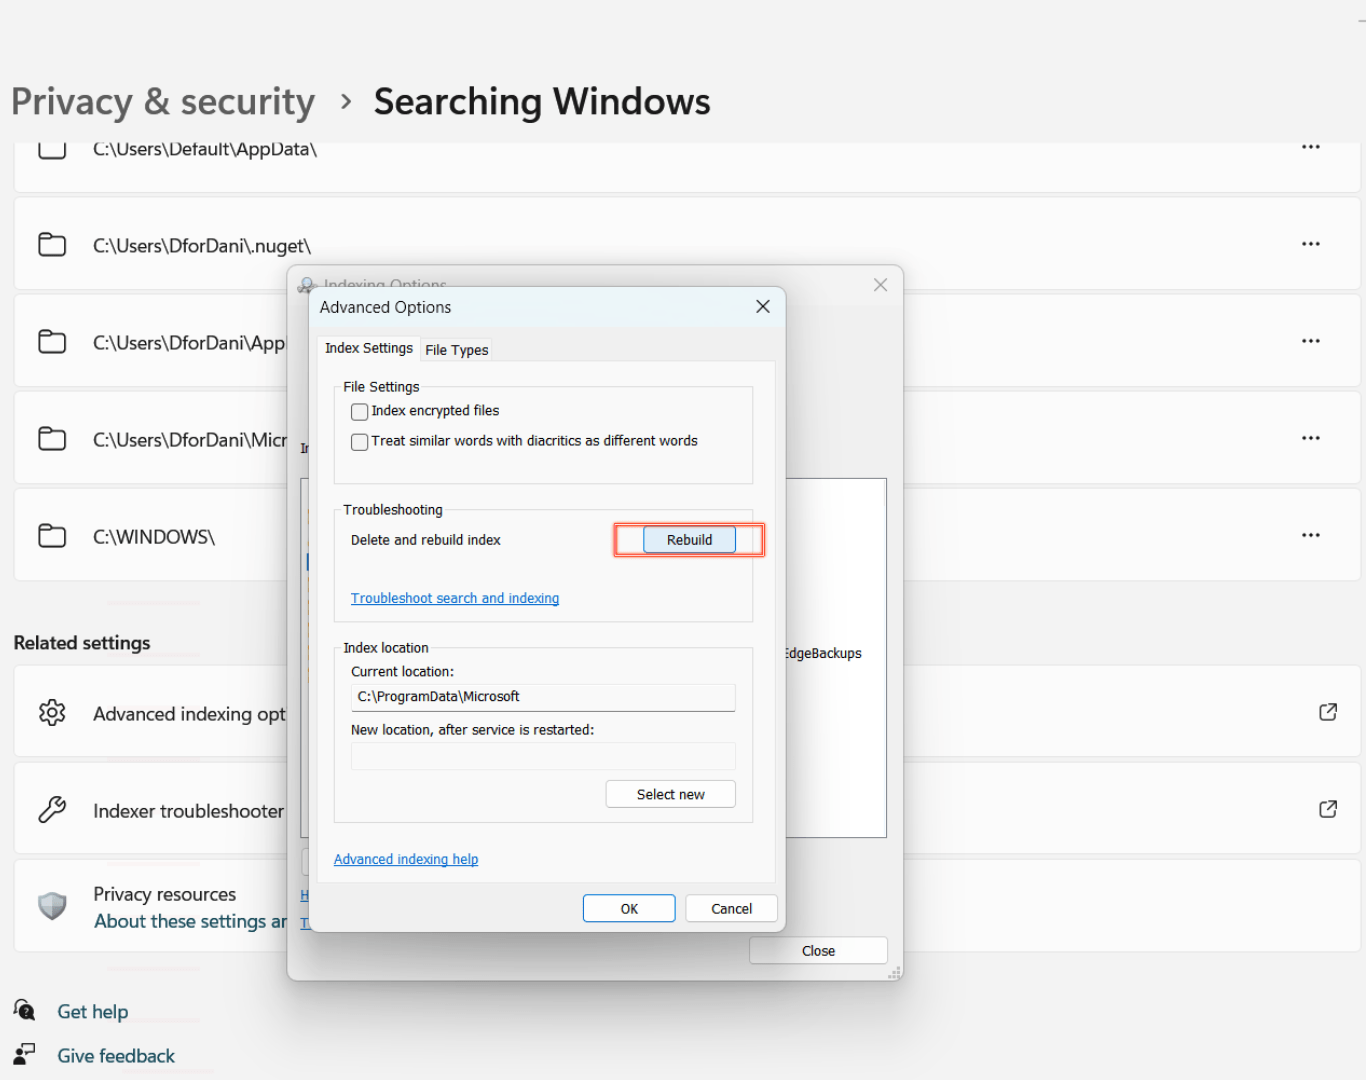
- Click the OK button.
The system will clean up and rebuild the index database for the Windows Search feature once you’ve finished the tasks.
The only potential drawback is that searches during database rebuilding may not be complete until files are indexed once more.
7. Clear Space by Removing Viruses
Malware of all kinds, including viruses, can occasionally consume a significant amount of storage. You can use Microsoft Defender Antivirus to get rid of the virus, enhance speed, and free up space on a machine that is probably infected and low on storage.
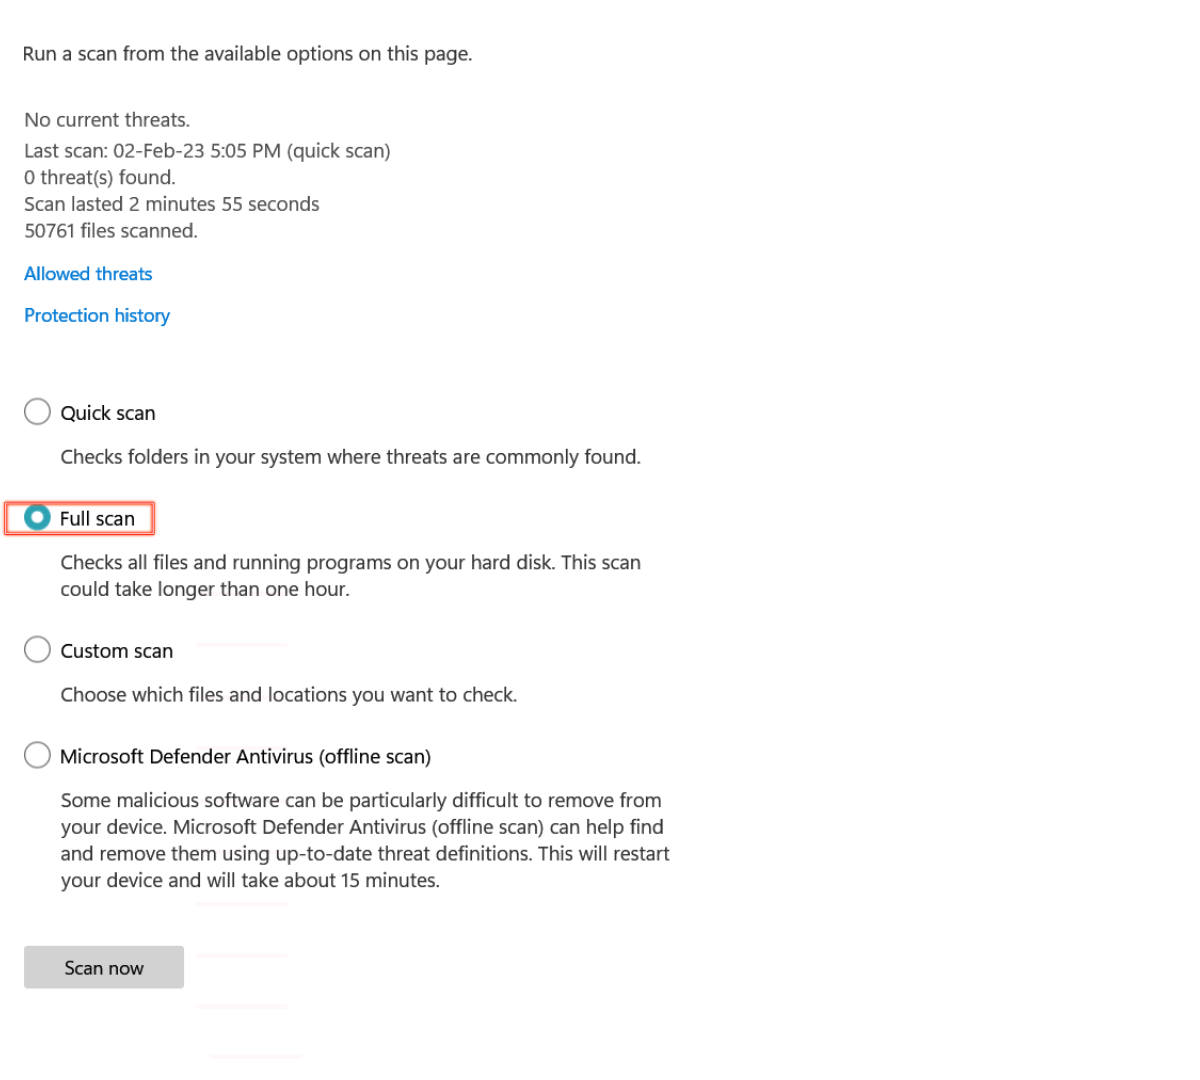
Follow these instructions to run a full virus scan on Windows 11:
- Open Start.
- Search for Windows Security and click the top result to open the app.
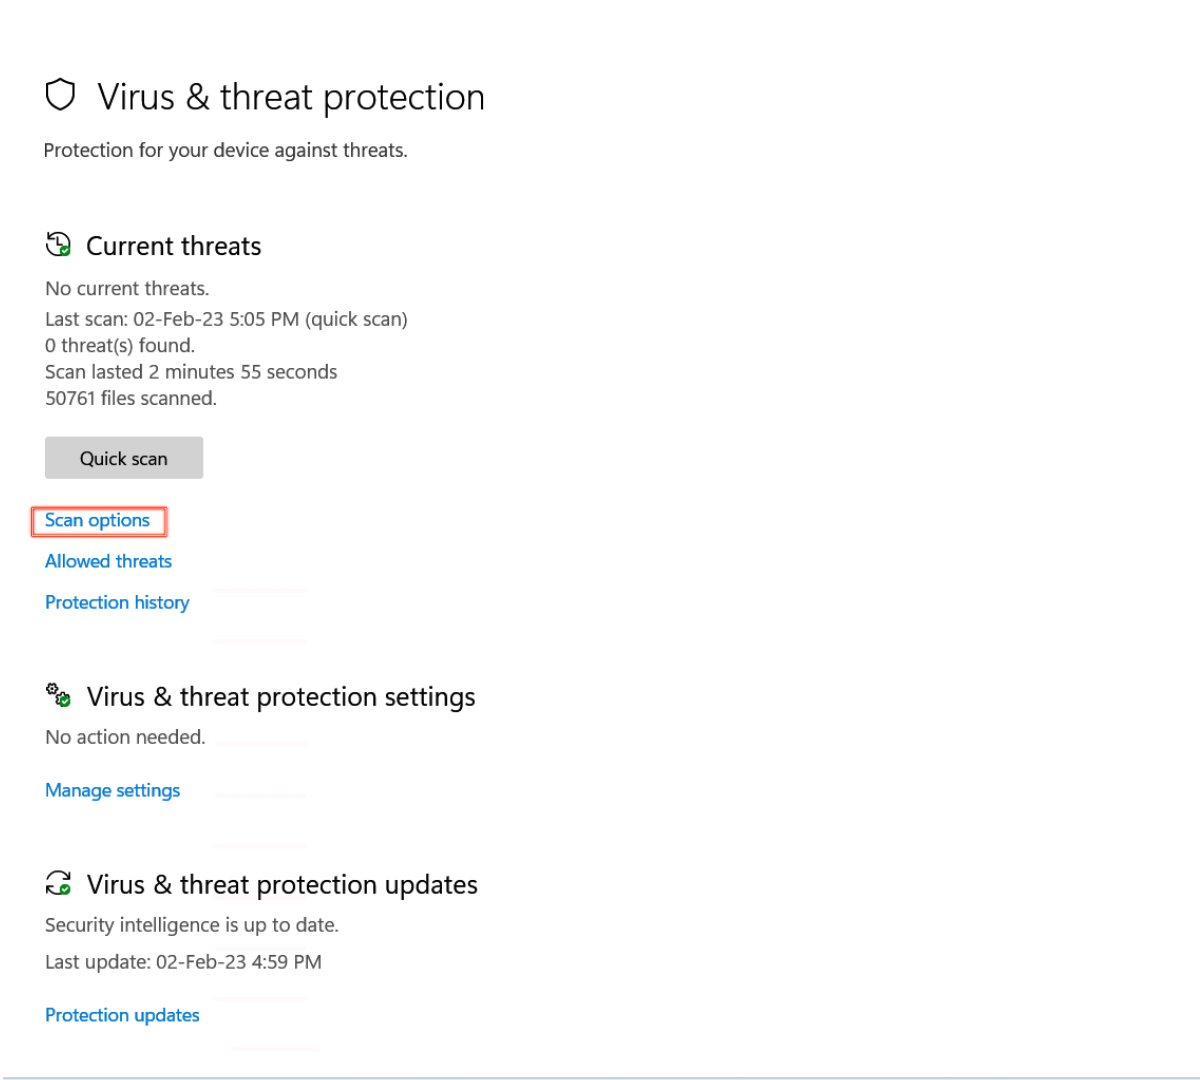
- Click on Virus & threat protection.
- In the “Current threats” section, click on Scan options.
- Select the Full scan option.
- Click the Scan now button.
By using these methods, you should be able to free up some space on your hard drive and improve the performance of your system. It’s also a good idea to regularly clean up your system to prevent low disk space issues in the future.
So, don’t wait any longer, implement these techniques today and enjoy a better computing experience!