Naughty Dog’s highly acclaimed video game, The Last of Us Part 1, was first launched for the PlayStation 3 console in 2013. The game has since garnered immense popularity and critical acclaim. Recently, the game was also made available for PC users on the Steam platform.
However, some PC players have reported an issue where the game’s Building shaders on PC take longer than expected, resulting in hours of load times and performance issues. In this response, we will explore some possible causes and solutions for this problem.
There can be several causes for stuck on Building Shaders issue in The Last of Us Part 1 on PC. Here are some possible reasons:
- Hardware limitations: The game’s graphics are demanding, and if your PC’s hardware does not meet the minimum requirements, it can result in longer shader loading times and overall performance issues.
- Outdated drivers: If your graphics card drivers are outdated or not compatible with the game, it can result in longer shader loading times and other performance issues.
- Antivirus software: Some antivirus software can interfere with the game’s shader loading process, resulting in longer load times.
- Corrupted game files: If some of the game files are corrupted or missing, it can result in longer shader loading times and other performance issues.
- Background processes: Running other programs or background processes while playing the game can also slow down shader loading times and affect overall performance.
Solution 1: Restart the PC
When you experience The Last of Us Part 1 Building Shaders Takes Longer Than Expected issue or any bug in your game, it’s recommended to start by restarting the computer before attempting any other fixes. This is because restarting the computer can resolve any temporary errors caused by outdated cookies and cache or conflicts with other software on your system. Simply restarting the PC

Solution 2: Close Unwanted Programs on PC
If too many programs are running in the background, using too much internet/RAM/Disk can cause The Last of Us Part 1 Loading shaders to take longer than expected on Windows 11.
Closing unwanted programs will help you eliminate the Shadders issue on your PC.
So, let’s close unwanted programs:
- Press Ctrl + Shift + ESC keys to open Task Manager
- Now check which program is using more Network
- Right-click on that program and select End task
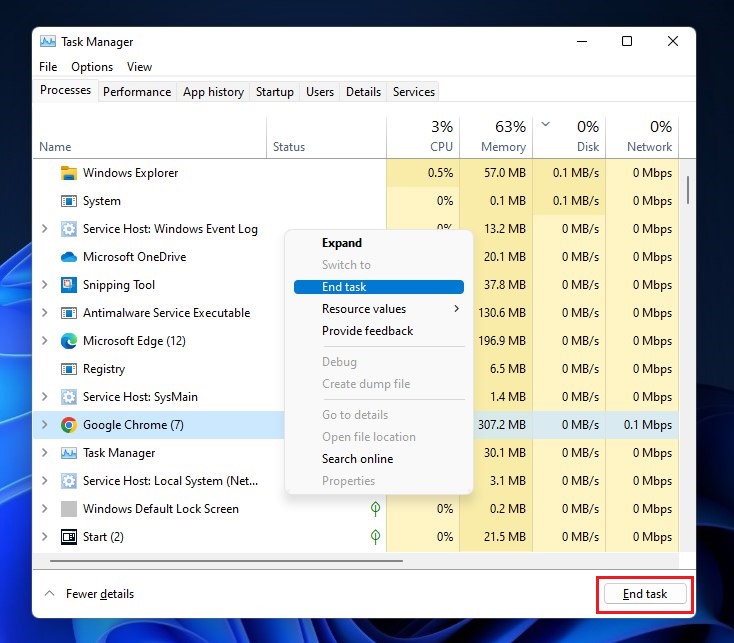
- And check if the crash is solved or not.
Read more: The Last of Us Part I v1.0.1.5 Patch Notes: Performance and Stability Enhancements Rolled Out for PC
Solution 3: Clear the Shader Cache And Try Again
If you’re experiencing longer-than-expected loading times for shaders when playing The Last of Us Part 1 on PC, clearing the shader cache can be an effective solution.
The shader cache is a storage location that holds pre-compiled shader code, which is used to render graphics in games and other applications. Over time, this cache can become cluttered with outdated or corrupted files, leading to performance issues and errors.
Here is how you can clear the shadders cache on your PC.
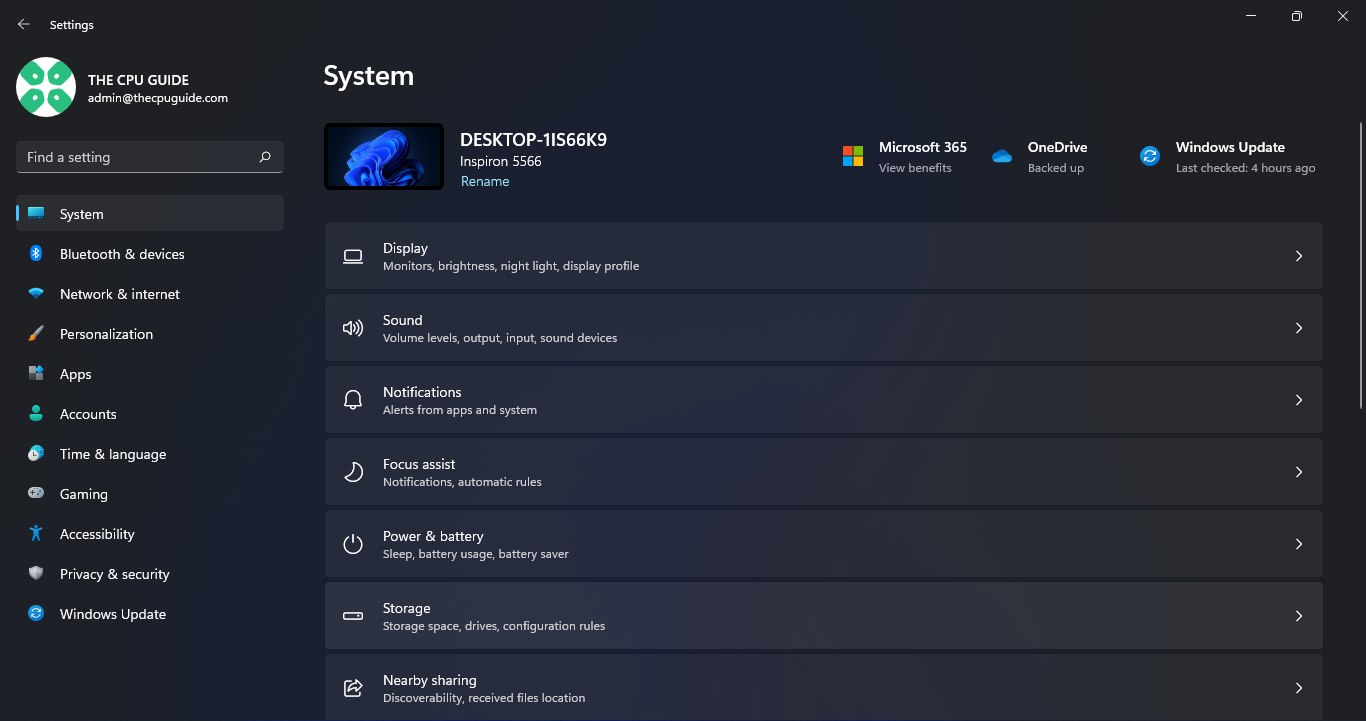
- Press the Windows button + I
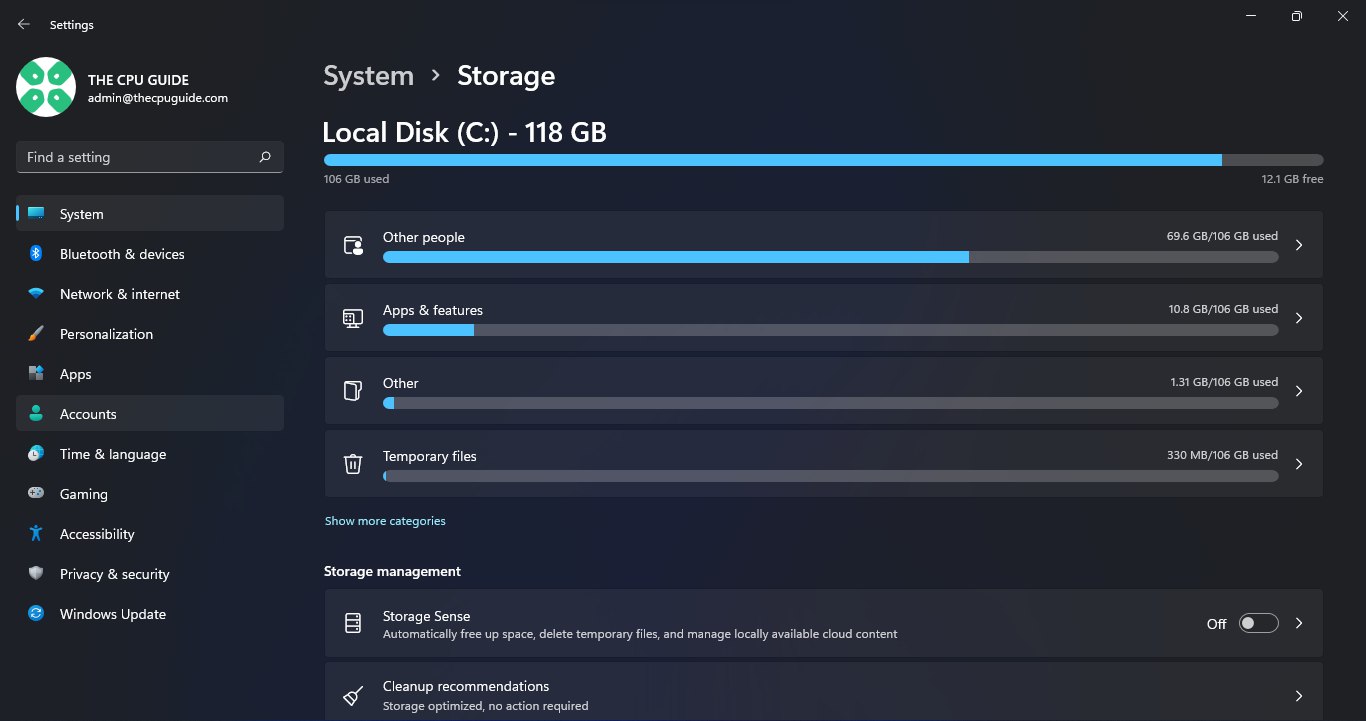
- Select System from the left side menu then select Storage option from the right side menu
- Go to Temporary files
- Now uncheck all option
- And check the DirectX Shader Cache
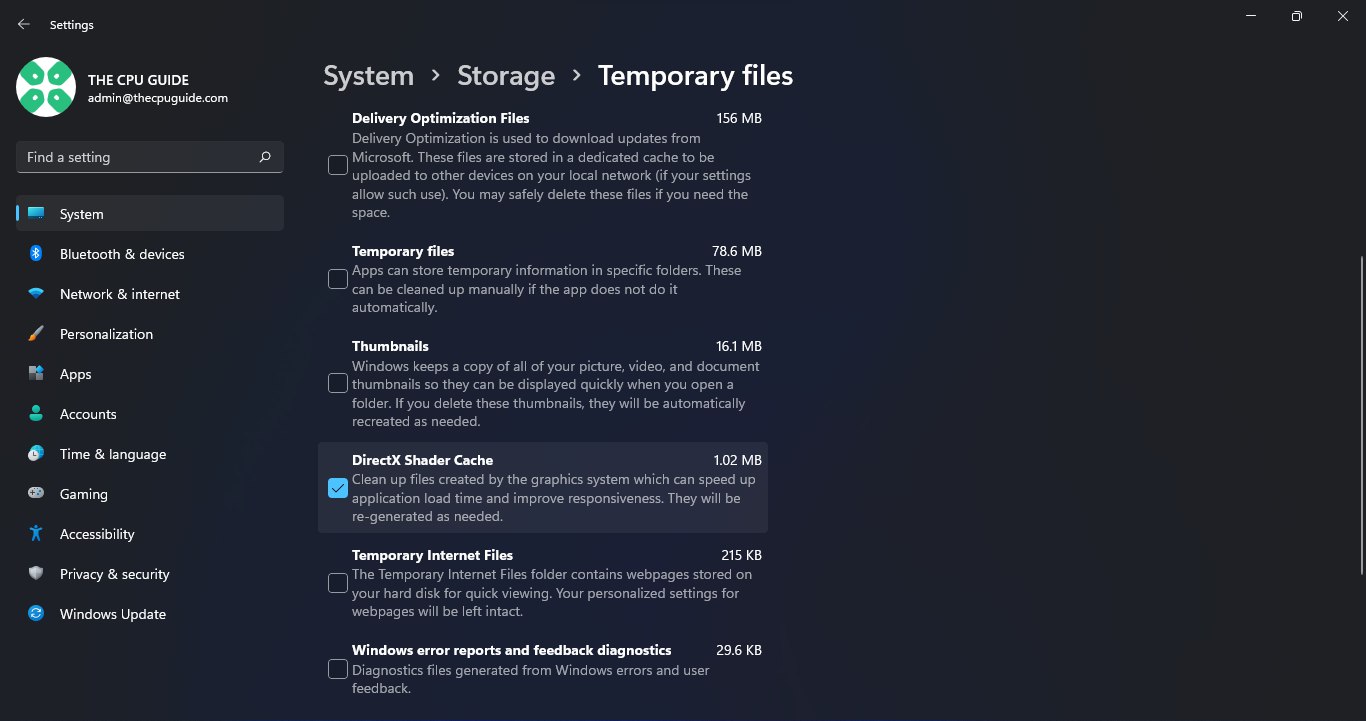
- Click on the Remove files
If this issue persists then proceed to the next solution.
Solution 4: Lower VRAM Usage in The Last Of Us Part 1 PC
The Last of Us Part 1 is a visually stunning game that requires a lot of resources to run smoothly on PC. One of the biggest resources it uses is VRAM, which is the memory that stores graphics-related data such as textures and shaders. If you’re playing the game on a PC with limited VRAM, you might experience The Last of Us Building Shaders Stuck at 31%
Fortunately, there are ways to lower the VRAM usage in The Last of Us Part 1 on PC without sacrificing too much in terms of graphics quality.
Here Is how you can adjust the VRAM in The Last of Us Part 1 PC:
- Launch The Last Of Us Part 1 on your PC
- Go to Options
- Now select the Graphic Settings
- Select the Graphic Preset
- Now lower Graphical Preset to decrease the usage of VRAM
if still face issues then proceed to the next solution.
Solution 5: Power Cycle Your Router
If you’re still experiencing The Last of Us Part 1 Building Shaders Stuck at 31% issue on your PC after trying the previous solutions, power cycling your router could help you establish a better internet connection and potentially solve the problem.
Here’s how to do it:
- Completely turn off your router by disconnecting the power cable from the power switch.
- Leave it turned off for 5 to 10 minutes before plugging it back in.
- Check if the Wi-Fi network is visible and properly connected to your devices.
It’s important to note that you should restart all devices affected by the power cycling process to ensure an accurate fix. By power cycling your router, you may be able to reset its internal memory and establish a fresh connection with your devices, which could potentially resolve any connectivity issues causing the game to crash.
Read more: The Last of Us Part 1 PC Gets Bombed with Negative Reviews
Solution 6: Disable DLSS in The Last of Us Part 1
Some players claim that turning off the DLSS feature in the game can help alleviate graphical problems.
So here is how you can disable DLSS Nvidia in The Last Of US Part 1:
- While playing the game press the ESC button on the option menu
- Select the “Options”
- An options menu will open now select the “Display” option
- Find Resolution Scaling Heading
- Under this heading go to the Scaling option
- Now click on the drop-down menu and select the “Default” option
- The Nvidia DLSS option is successfully disabled in your game.
Now play the game and check Shadder issue & Graphics Bugs persist or not.
Solution 7: Update Graphics Card Driver Via Windows Update
Updating your graphics card driver is an important step in ensuring your computer is running smoothly and efficiently. With the latest driver updates, you can improve your system’s performance, fix any bugs, and enjoy new features. In this solution, we will be showing you how to update your graphics card driver using Windows Update, a simple method for keeping your drivers up to date. So, let’s get started!
Here is how you can update drivers via optional updates on Windows 11:
- Click on the Windows icon
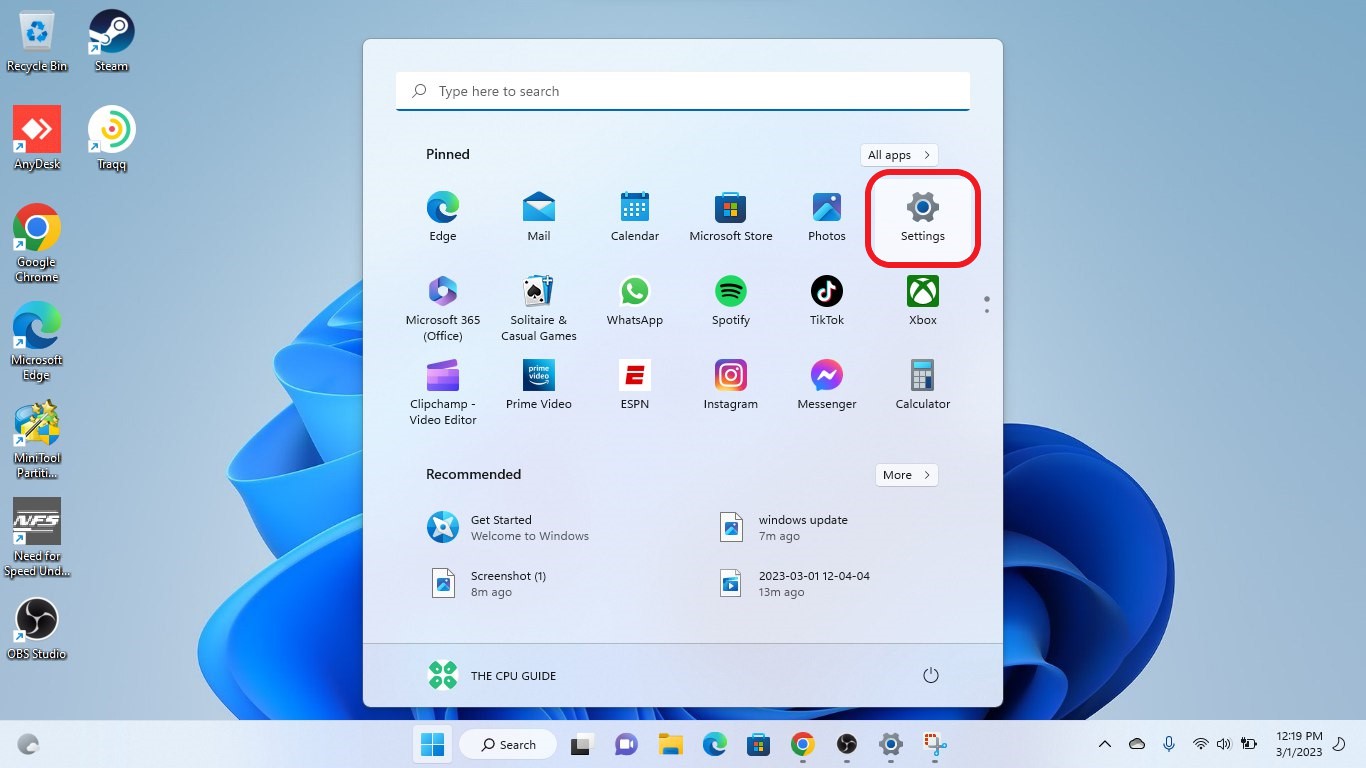
- Click on the Settings icon
- A new window will pop up
- Select Windows Update from the left menu
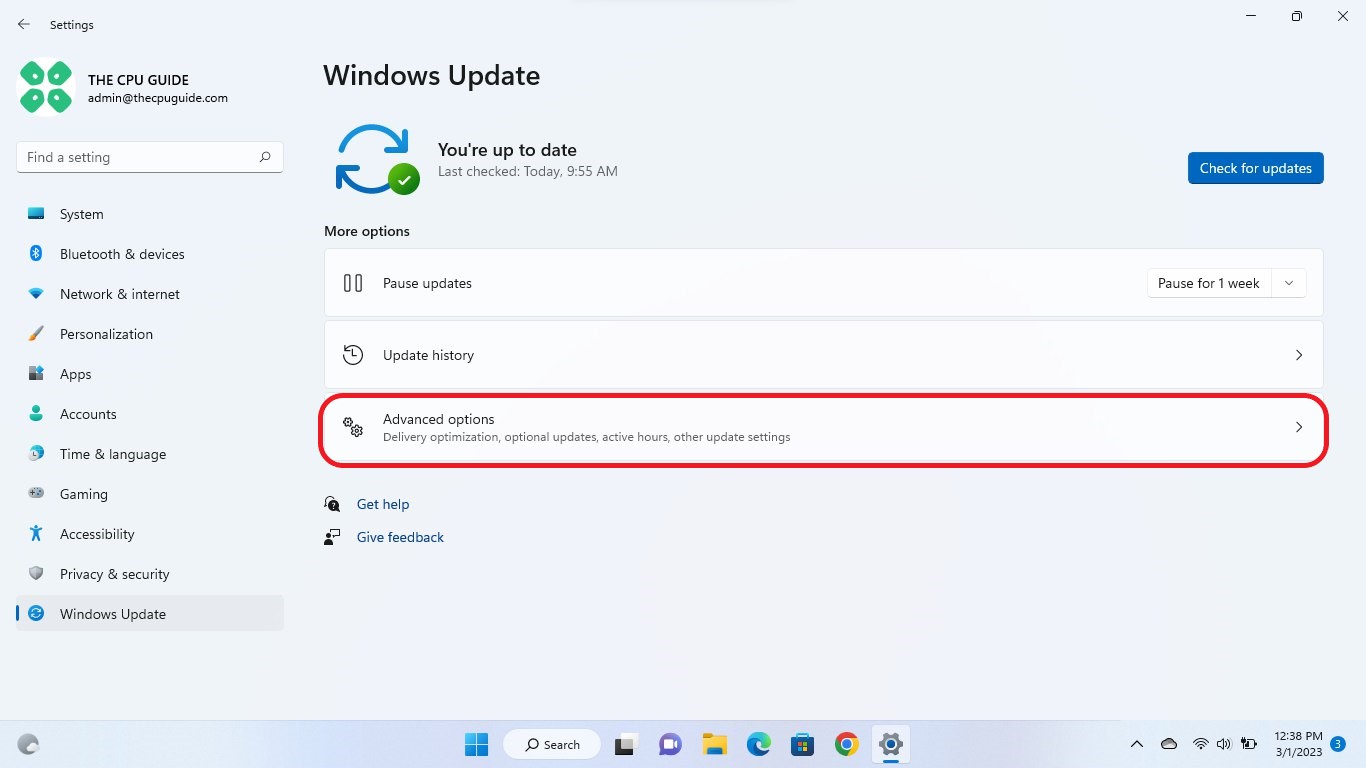
- The new window will pop up
- Now select Advanced options
- Click on Optional updates
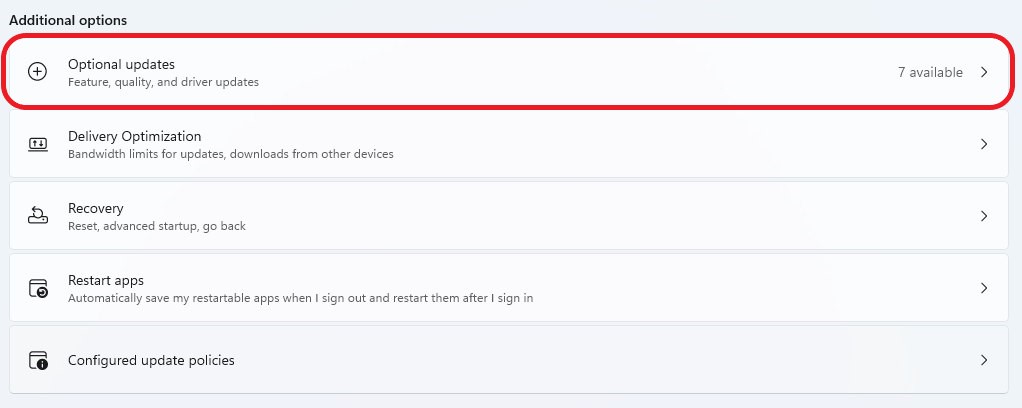
- A new window will open
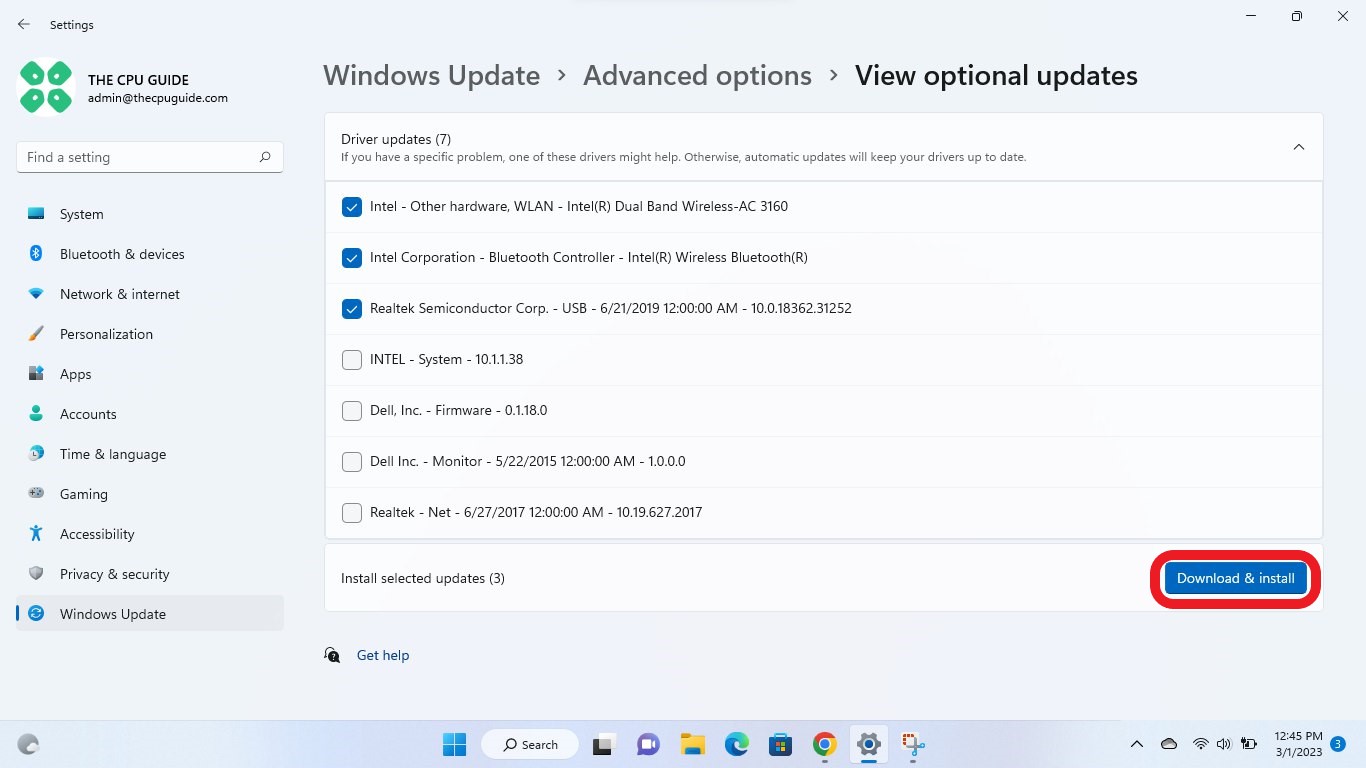
- Click on the drop-down button for Driver updates
- Now, select your desired drivers
- Now press the Download & Install button
If you cannot update your drivers through Windows Update, then you can try updating the Graphics Drivers through Device Manager to fix The Last of Us Part 1 Loading Shaders Taking hours issue on PC.
Read More: FIX: The Last of Us Part 1 PC Black Screen After Startup
Solution 8: Update Graphic Drivers Via Device Manager
Updating your graphics card driver is essential for ensuring optimal performance and compatibility with the latest software and games. Updating your graphics card driver can be done via the Device Manager in Windows and is a straightforward process that can be completed in just a few steps.
Here is how you can update drivers through Device Manager:
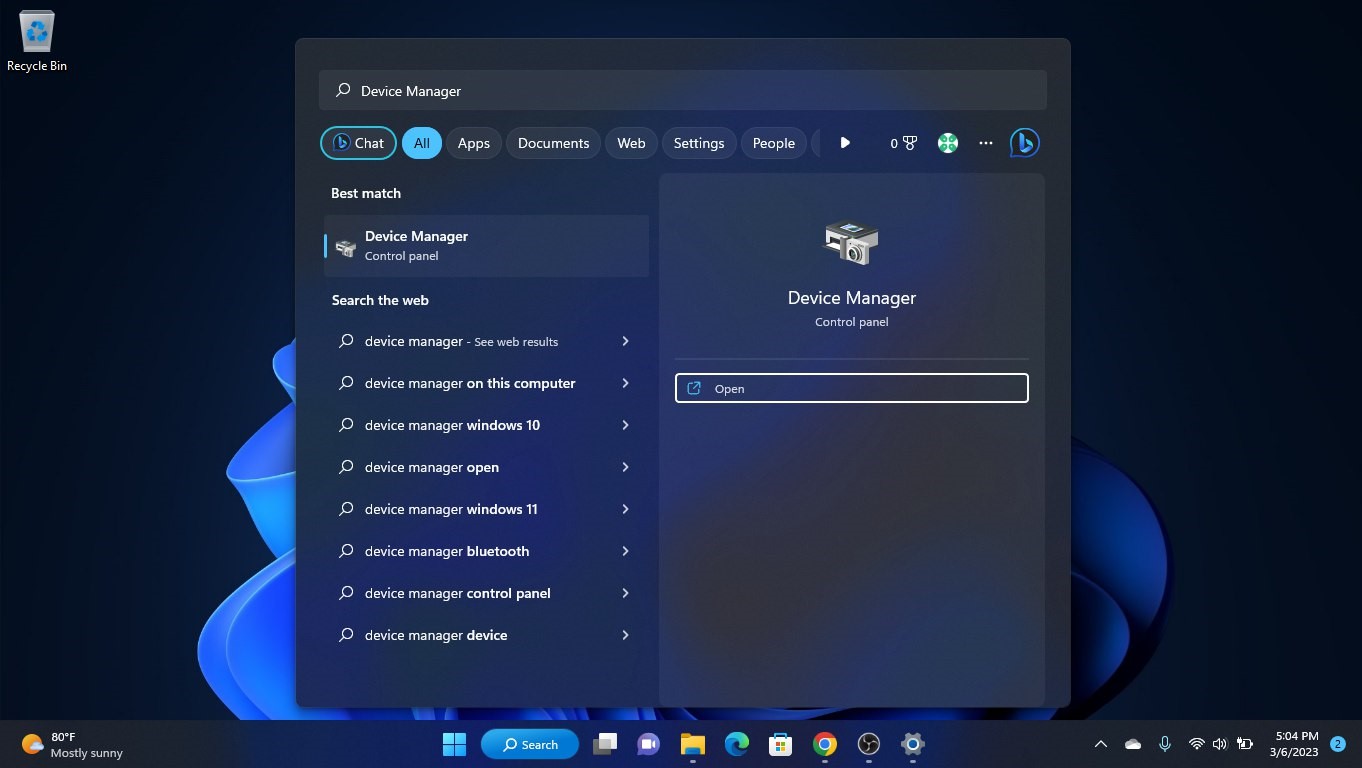
- Click on the Search icon
- Type Device Manager
- Click to open Device Manager
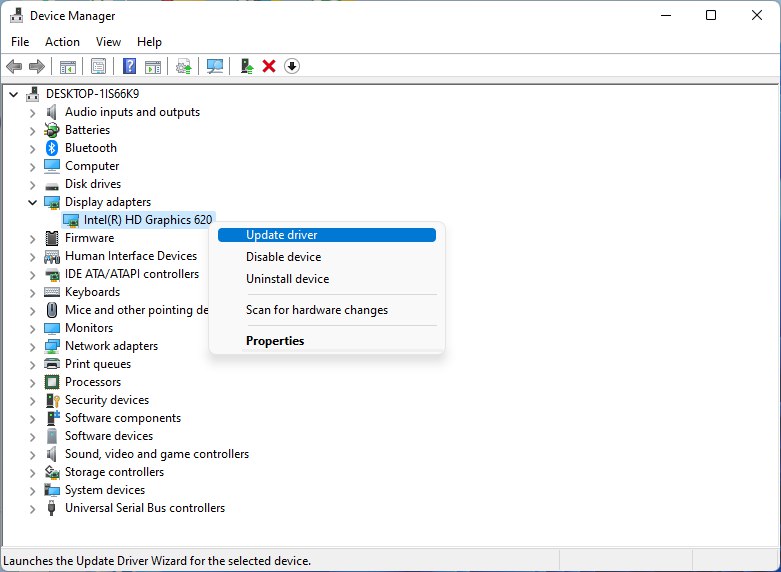
- Then select the Display adapters
- A further menu will open
- Right-click on the graphic card name
- Click on the Update driver
Solution 9: Check for Driver’s Updates of GPU/Video Cards of Different Company
The Last of Us Part 1 building shaders issue can be due to outdated GPU drivers. When the video card drivers are not up to date, the GPU cannot keep up with modern gaming and may cause crashes. To resolve this, we suggest updating the video card drivers. Direct links to the main GPU manufacturers can be found below.


If the above solution didn’t work out for you, then try the next solution.
Solution 10: Verify the Game Files On Steam
Sometimes the game file will get corrupted or get deleted, which eventually causes a Shadders issue on The Last of Us Part 1 on PC.
Verify the Game File in Steam
Follow the steps to verify the game file on steam software:
- Launch the Steam Software
- Now login in the steam
- Navigate to the library
- Select the game and right-click on the game
- Now select properties
- Now click on the “Local file” Option
- A further menu will open
- Click on the “Verify Integrity of the Game Cache“
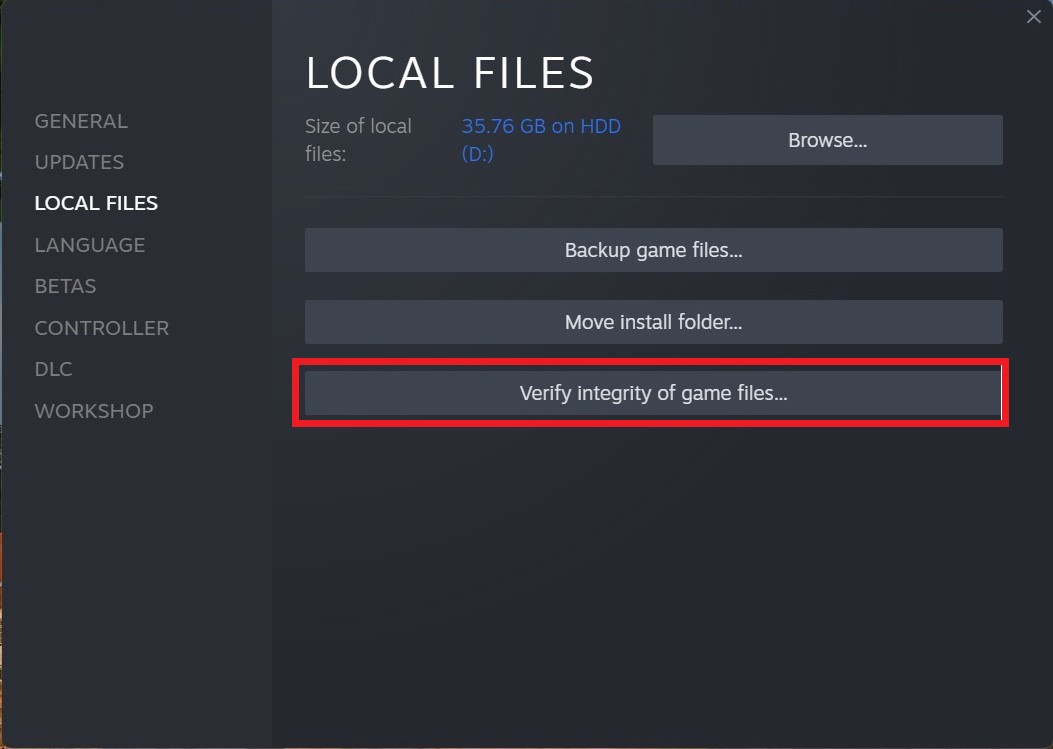
- Now the software is verifying the files, and this will take some time.
Sometimes the game file will get corrupted or get deleted that eventually causing a Shadders issue on steam.
If you still have any queries or suggestions, share your experience with us in the comments section below.