You just started live streaming and you couldn’t stop it in OBS Studio because your Stream Deck stopped working with OBS Studio?
We know that you will be really worried but you are not the only one having this issue

So, it’s time to release all your stress!
Because we have the best fixes for you and after trying all the solutions given below you will be able to start and stop live streaming whenever you want with OBS.
Why isn’t my Stream Deck not working?
Your Stream Deck isn’t working due to the following reasons:
- Your internet connection might be slow.
- The router may be far from your Stream Deck.
- The Stream Deck software might be outdated.
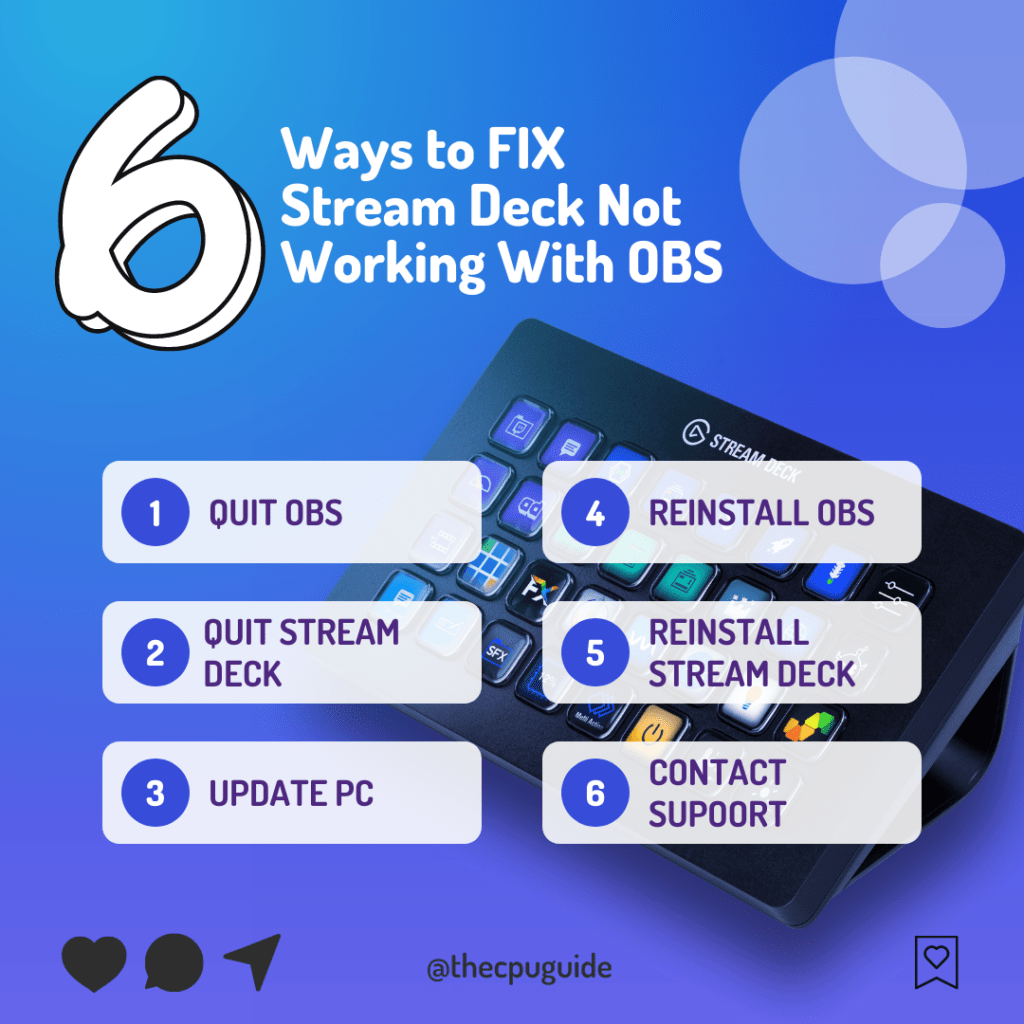
Solution 1: Quit OBS Studio
If your Stream Deck not working with OBS then the first thing you need to do is try quitting OBS and then launch it again.
Follow the steps below to quit OBS Studio in Windows 11:
- Click on the Show hidden icon located in the taskbar
- Right-click on the OBS Studio icon and then select Exit.
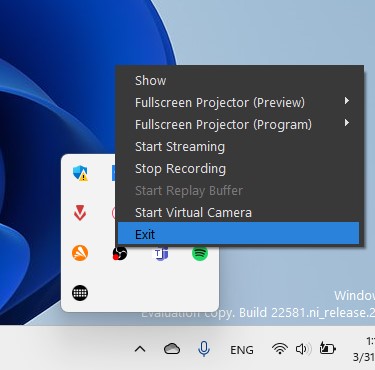
- Now launch OBS again and see if your Stream Deck not working with OBS is fixed.
And if you are still facing the same error then continue to the next solution.
Solution 2: Quit Stream Deck App
The second thing you can do to fix Stream Deck not working with OBS is try quitting Stream Deck app and launching it again.
Just follow the steps to quit the Stream Deck app:
- Click on the Show hidden icon located in the taskbar
- Right-click on the Stream Deck App icon and then select Exit.
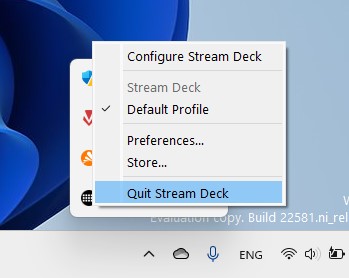
- Now launch Stream Deck again and see if your Stream Deck not working with OBS is fixed.
If you are still having Stream Deck won’t connect with OBS then try updating your PC.
Solution 3: Keep Your PC Updated
Sometimes your outdated PC can be the main cause of this error.
Outdated drivers in your PC or your current Windows version are not able to support the new version of Stream Deck or OBS Studio.
As you update your Windows, all the drivers are updated too and this will fix the Stream Deck not working with OBS.
So, here is how you can do update your PC:
- Click on the Windows icon
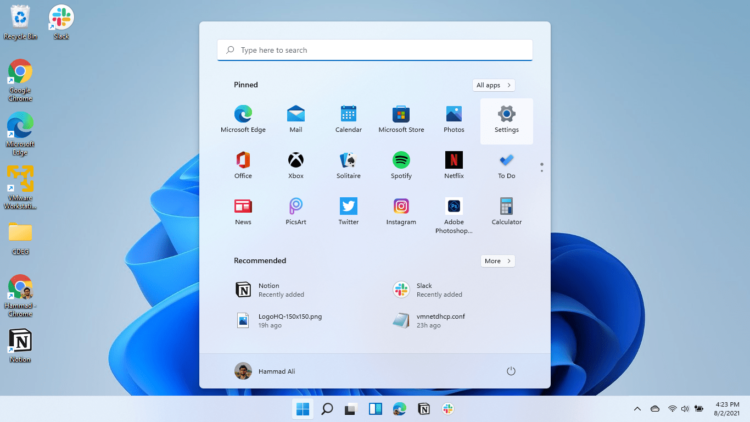
- Click on the Settings icon
- A new window will pop up
- Select Windows Update from the left menu
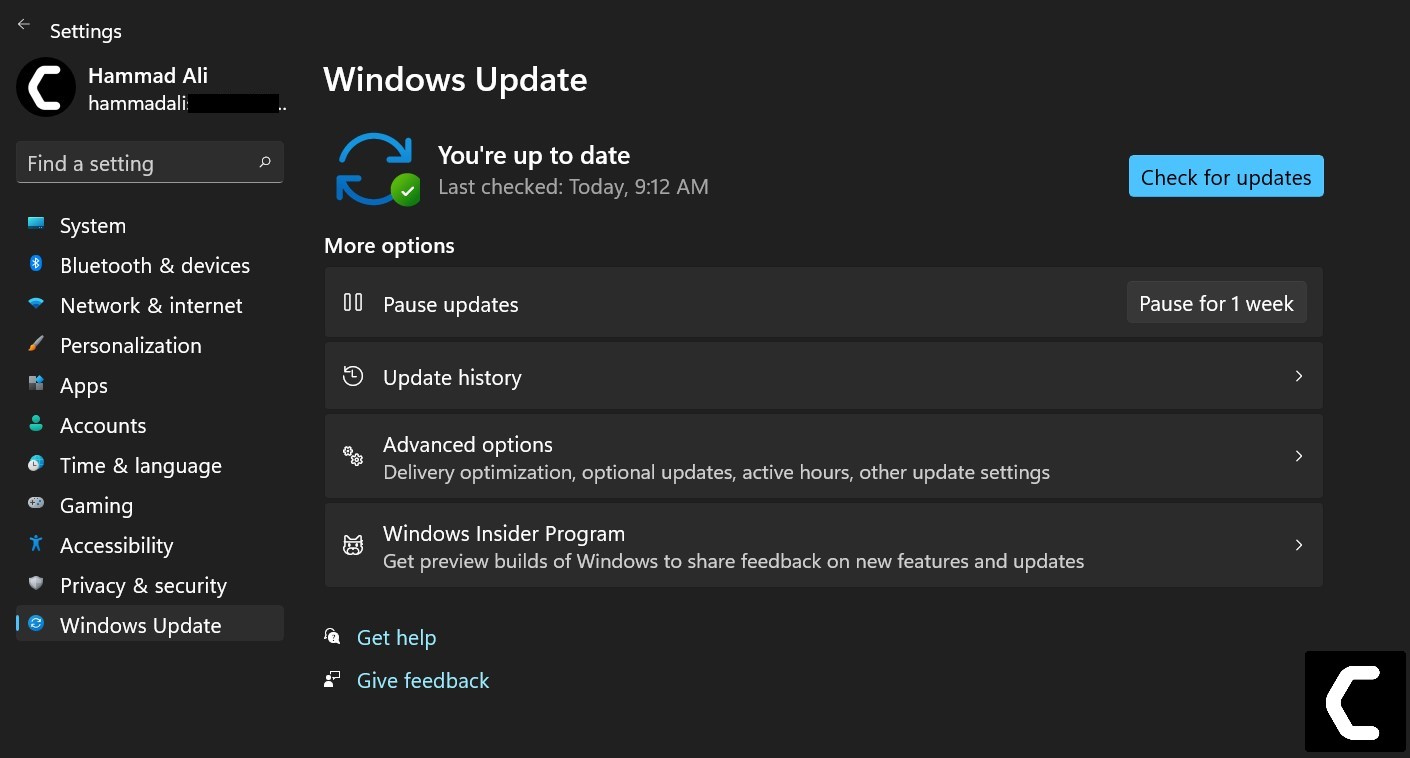
- The new window will pop up
- Then click on Check for updates
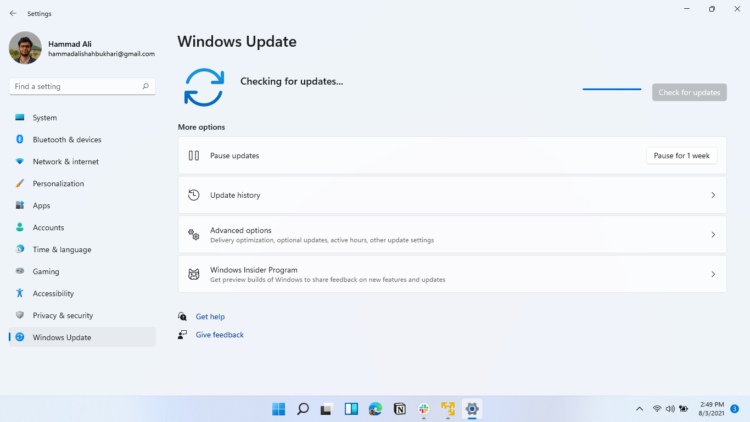
- If there is any update, it will start updating the PC
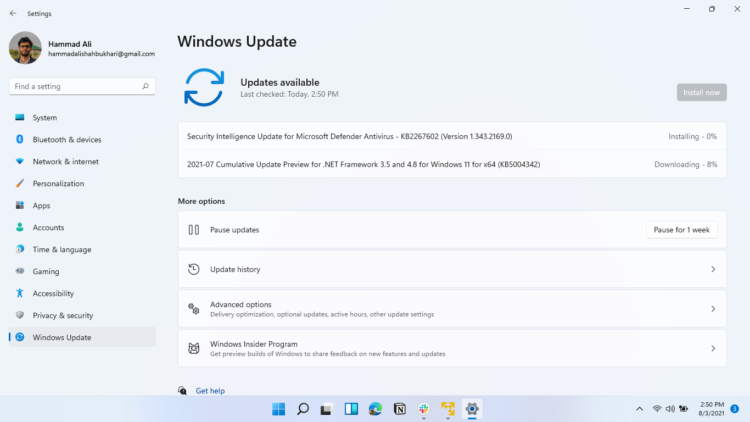
- After the updating is done check if the Stream Deck not working with OBS studio is fixed or not.
If you are still facing Stream Deck not working with OBS then continue to the next solution.
Solution 4: Reinstall OBS on Windows 11
If OBS is installed on 2 different drives or partitions for example (Drive: C and Drive D) then you should reinstall it only in default drive C.
Just follow the steps below to fix Stream Deck not working with OBS:
- Click on the Search icon
- Type “Control Panel”
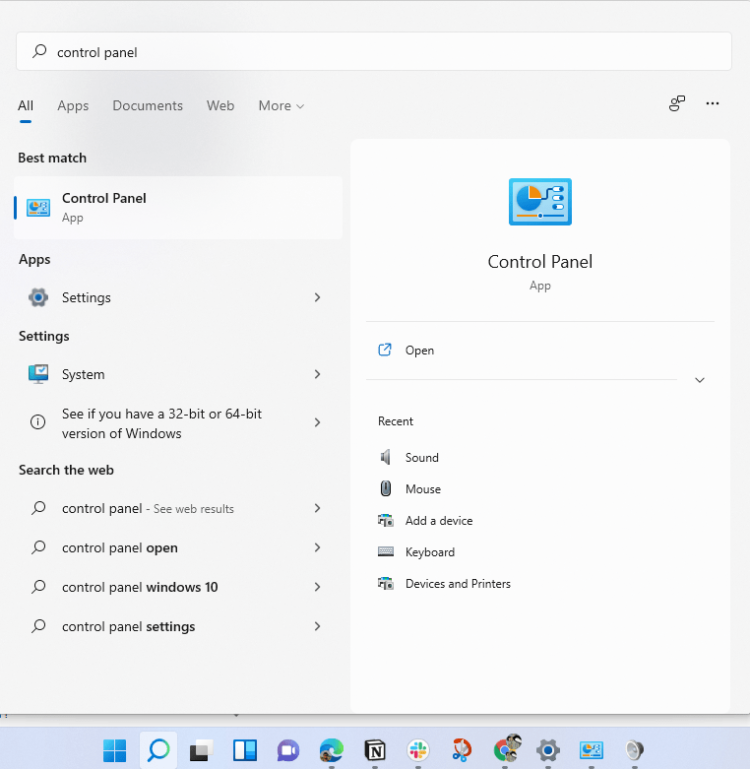
- Then click on the Control Panel icon
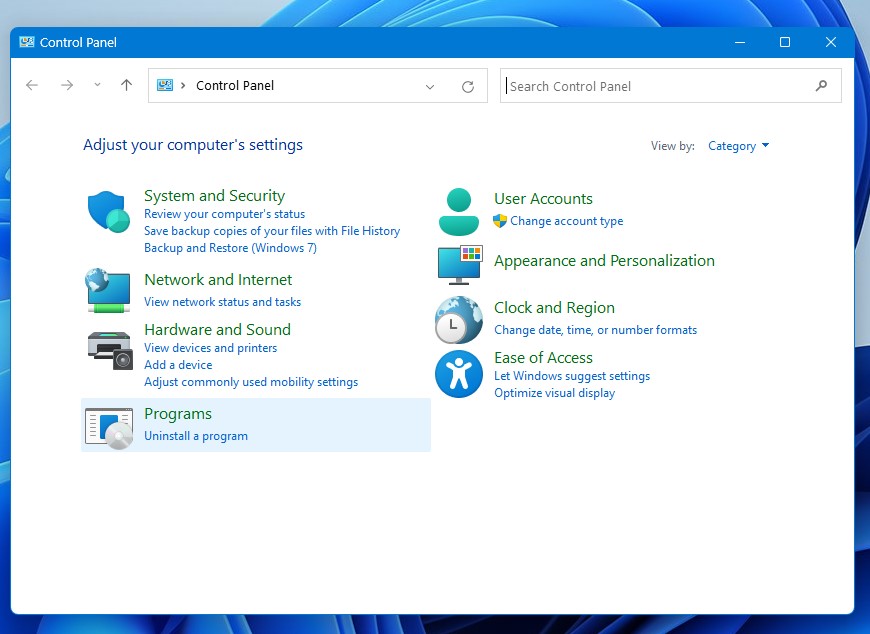
- The control panel will open
- Now click on Programs.
- Look for OBS Studio and right-click on it to Uninstall.
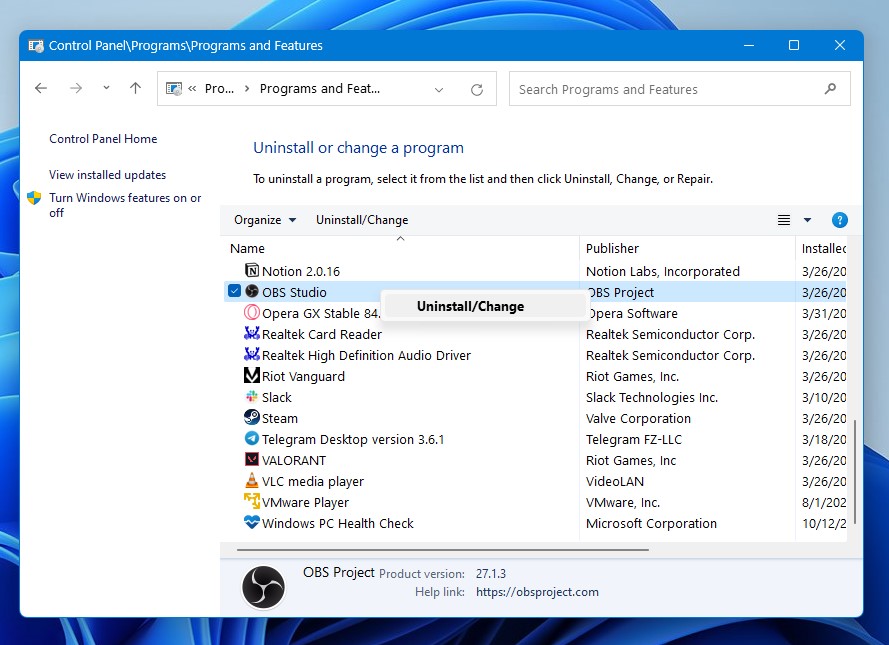
- Follow the on-screen instructions to uninstall OBS Studio on Windows 11.
- Now download the OBS Studio latest version.
- And make sure you select the default location which is Drive: C
- After installing the OBS Studio, launch it to see if it’s working with Stream Deck or not.
And if you are still facing Stream Deck not working with OBS then continue to the next solution.
Solution 5: Reinstall Elgato Stream Deck on Windows 11
The same case is with Stream Deck if it’s installed on a drive other than C so, you need to reinstall it on Drive: C.
Just follow the steps below to fix Stream Deck not working with OBS:
- Click on the Search icon
- Type “Control Panel”
- Then click on the Control Panel icon
- The control panel will open
- Now click on Programs.
- Look for Elgato Stream Deck and right-click on it to Uninstall.
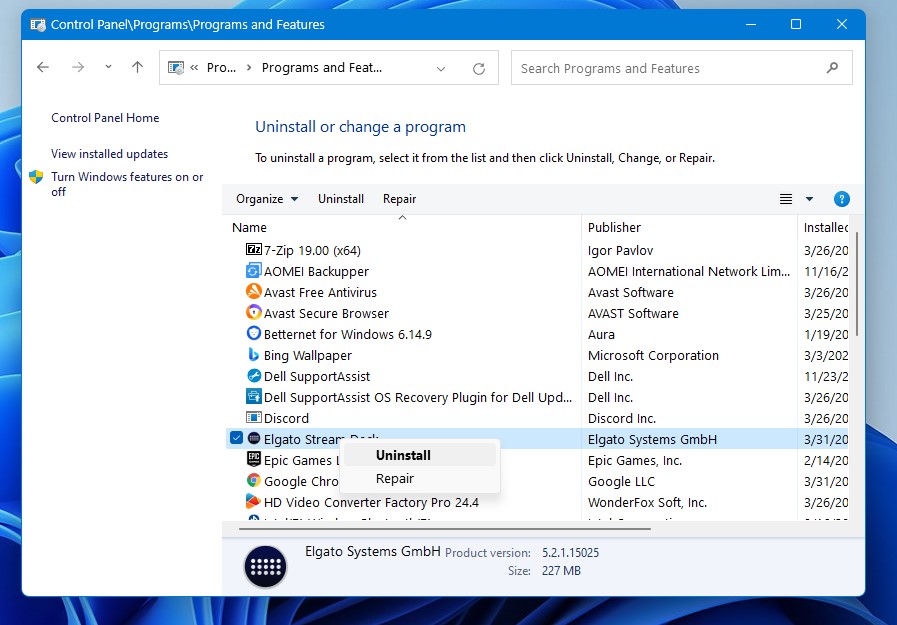
- Follow the on-screen instructions to uninstall Elgato Stream Deck on Windows 11.
- Now download the Elgato Stream Deck latest version.
- And make sure you select the default location which is Drive: C
- After installing the Elgato Stream Deck, launch it to see if it’s working.
The least you can do to fix Stream Deck not working with OBS is contact Stream Deck
Solution 6: Contact Stream Deck
If you cannot get rid of the Stream Deck not working with OBS after restarting both the apps, you should contact Stream Deck and ask them to perform the necessary actions.
Conclusion
We hope you get to fix the Stream Deck not working with OBS. Also, we recommend that you start the troubleshooting by quitting the Stream Deck app and OBS Studio and if you face any hurdles while trying the solutions then do let us know in the comments section below.
We will be happy to assist you!