Recently Destiny 2 players start getting Destiny 2 Error Code bee. This error code happens when there are too many players on the same server or there are connectivity issues from your side.

Most of the players are unaware of Destiny 2 error code bee meaning.
Don’t worry about it!
The CPU Guide brings you the best working solution to solve the Destiny 2 error code bee.
Solution 1: Restart the Game
Whenever you encounter Destiny 2 Error Code Bee and any game bug, you should restart the game before trying any further solutions.
Restarting the game will eliminate any temporary error occurring due to the old cookies and cache or the system’s other software clashing with your gaming software.
All of these errors will be eradicated after a simple restart of the game/PC or any other platform you use.
Read More: Destiny 2 Keeps Crashing? Freezing PC
Destiny 2 Special Tracks- FOR YOU
Solution 2: Check the Server Status
Sometimes the Destiny servers are down for maintenance or having technical issues and this leads to Destiny 2 Error code Bee.
So, it is better to check the server status before applying any further solutions.
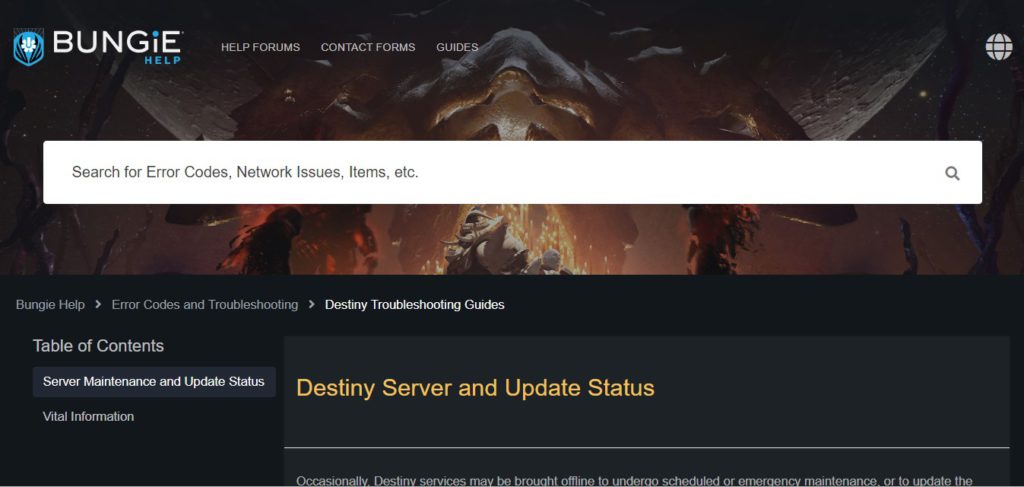
To check the server status of the Destiny 2 game, follow the steps mentioned down below:
- Go to the help.bungie.net
- Here you can check the server status if the server is down for maintenance they will let you know on this page.
- Similarly when the server is down from the technical issue here the server status will be updated.
Now if the Destiny 2 server is working fine then most probably there is an issue from your side.
Follow the upcoming solutions to troubleshoot your PC to Fix the Bungie Bee error.
Read More: Top Games You Should Play If You Like Destiny 2
Solution 3: Close Unwanted Programs on Windows 11/10
If there are too many programs running in the background, using too much internet/RAM/Disk can cause the “Error code Bee Destiny 2” on Windows 11.
Closing unwanted programs will help you eliminate the Destiny 2 Errors.
So, let’s close unwanted programs:
- Press Ctrl + Shift + ESC keys to open Task Manager
- Now check which program is using more Network
- Right-click on that program and select End task
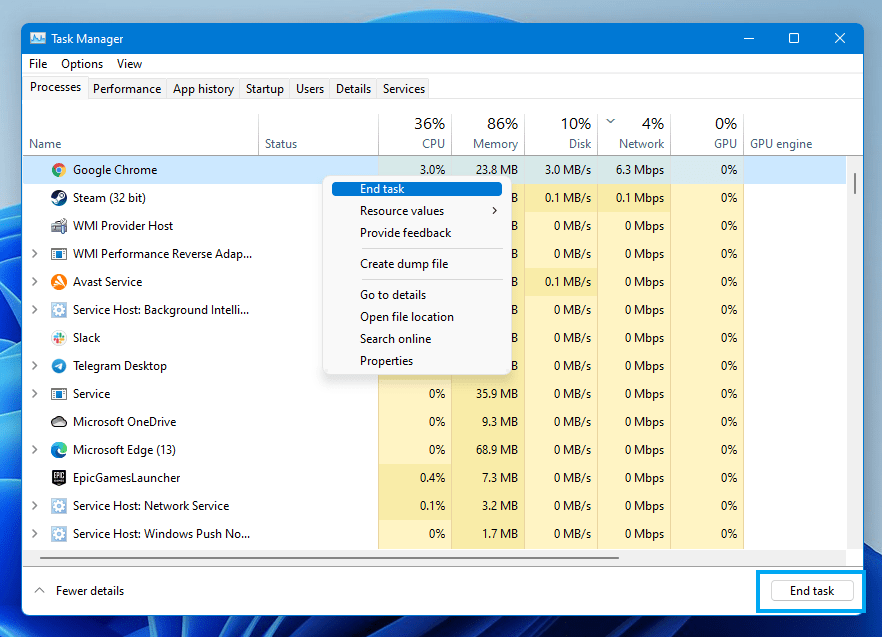
- And check if the “Destiny 2 Error code Bee” is solved or not.
Read More: The Guide to Quick Leveling in Destiny 2
Solution 4: Power Cycle Your Router
If the above solution didn’t work then this solution will work and provide a better internet connection which will help you solve the Destiny 2 Error code bee.
All you need to do is follow these steps:
- Turn off your router completely by taking out the power cable from the power switch.
- Now leave it for 5 to 10 minutes and then plug it back in.
- And check if the Wi-Fi is visible to you or not.
Make sure you restart those devices which are affected in the process for an accurate fix.
Best Routers To Buy
Budget Router
TP-Link WiFi 6 AX3000 Smart WiFi Router

Super Router
TP-Link Archer AX11000 Tri-Band Wi-Fi 6 Router

After power cycling your router it is better to Update your Wi-Fi drivers to avoid any error code Bee Destiny 2.
Solution 5: Update Wi-Fi Drivers through Device Manager
If you use the Wi-Fi Modem and you don’t update the Wi-Fi drivers in a long time then it’s time to update the Wi-FI drivers to have uninterrupted internet to avoid error code Bee Destiny 2.
- Click on the Search icon
- Type Device Manager
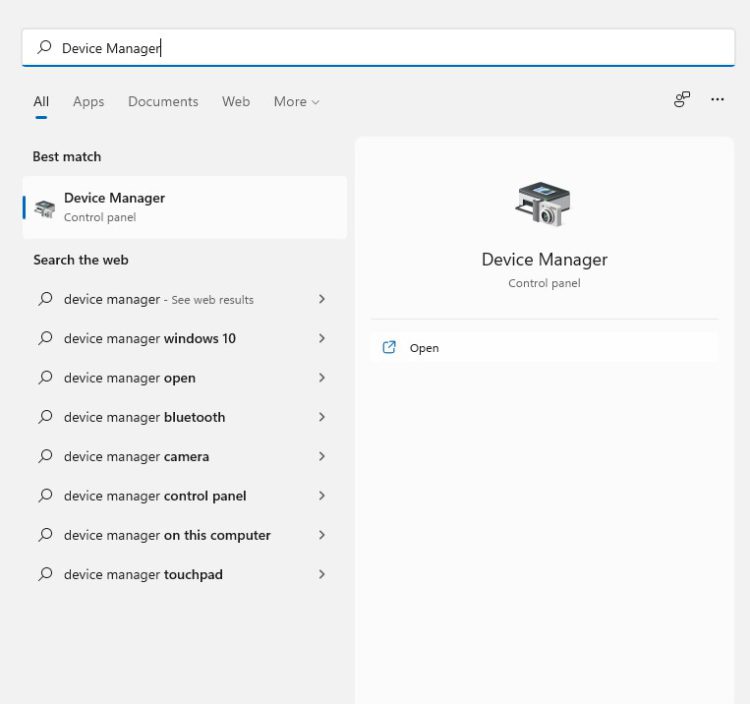
- Click to open the Device manager
- Then select the Network adapter
- A further menu will open
- Find your Wi-Fi drivers
- Click right on the Wi-Fi card name
- Click on the updated driver
- Now a new window will open
- Select “Search automatically for drivers“
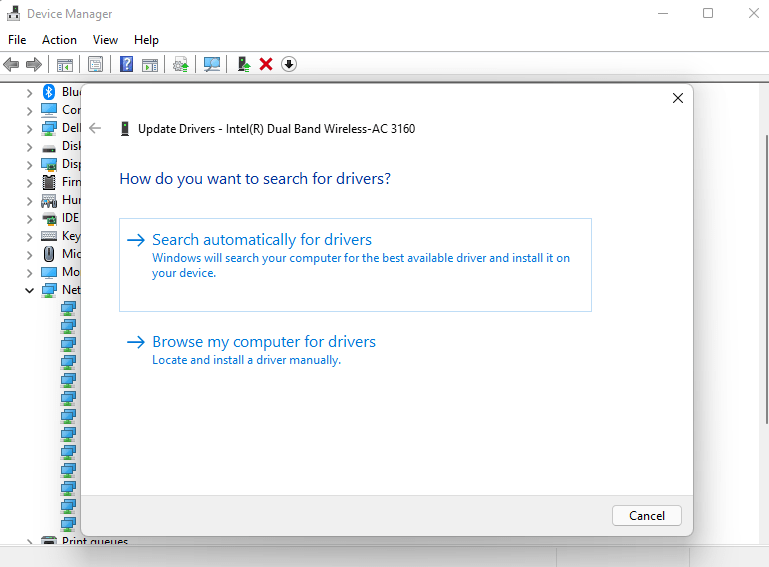
- If you want to install some other driver on your Wi-Fi then
- Select “Browse my computer for drivers“
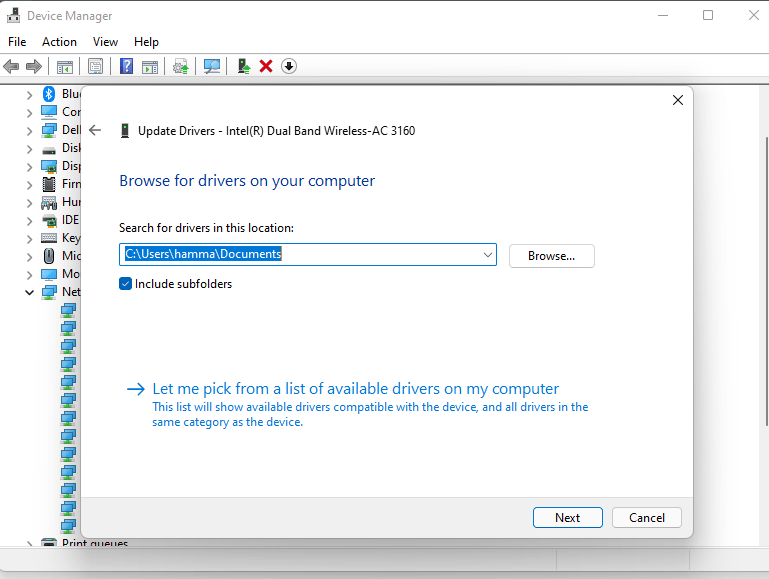
- And then go to the path where you download the new drivers.
After updating the drivers sometimes the inappropriate DNS cache is causing errors while you gaming to fix this follow the next solution.
Solution 6: Clear DNS Cache and Data
Is it OK to clear the DNS cache?
Clearing the DNS cache removes all the entries and forces your computer to repopulate those addresses the next time you try accessing those websites. This won’t affect the performance of Destiny 2 and eliminate Error code Bee Destiny 2.
How do I reset my DNS settings? How do I clear my DNS cache?
- Click on the Windows start icon in the bottom left corner.
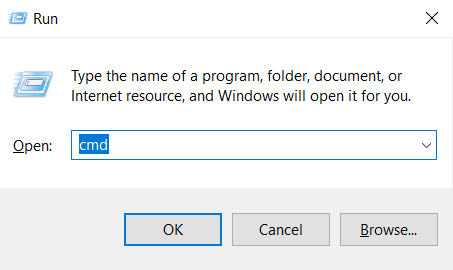
- Then press the Windows key + R.
- The Run box will appear.
- Type cmd.exe, and click on OK.
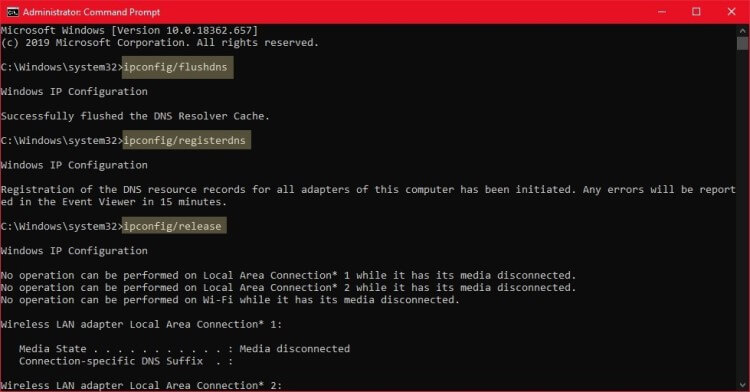
- Then on the cmd window, enter the following commands: (Note: Type the following commands, and hit Enter after every command)
- “ipconfig/flushdns”
- “ipconfig/registerdns”
- “ipconfig/release”
- “ipconfig/renew”
Close the window.
Now after clearing the DNS Cache and Data it’s time to set your DNS settings automatically on your PC/laptop to.
Solution 7: Setting your DNS to Automatic on Windows
To fix “Destiny 2 Error Code Bee”, we suggest setting your DNS automatically.
Here is you can set DNS on Automatic:
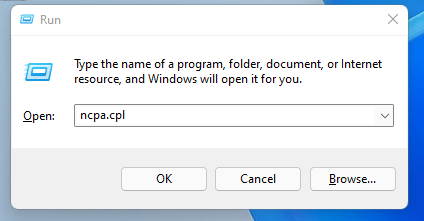
- Press Windows key + R.
- Then type ncpa.cpl and click OK.
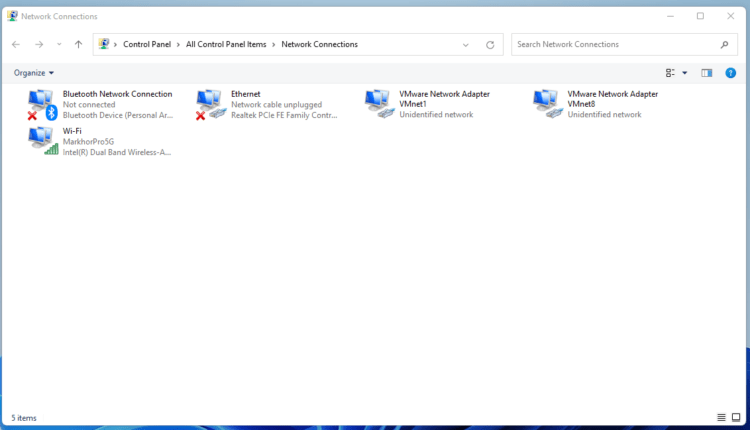
- In the internet connection, right-click on Ethernet and choose properties.
- In the properties window, choose Internet Protocol Version 4 (TCP/IPv4) or Internet Protocol Version 6 (TCP/IPv6)
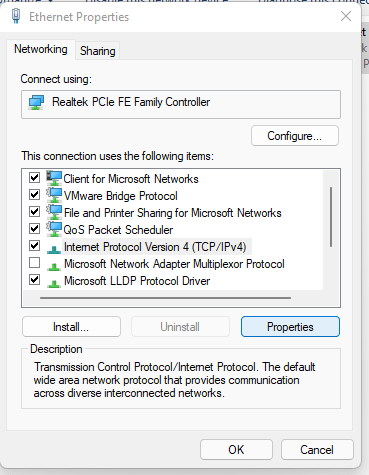
- Click the Properties button
- Now choose the options “Obtain IP address automatically” and “Obtain DNS server automatically”
- Click OK.
If you already using the automatic DNS settings then you should try the Google DNS manually.
Solution 8: Using DNS manually or Google’s DNS
Here is how you can set Google’s DNS in Windows 11:
- Press Windows key + R.
- Then type ncpa.cpl and click OK.
- In an internet connection, right-click on Ethernet and choose properties.
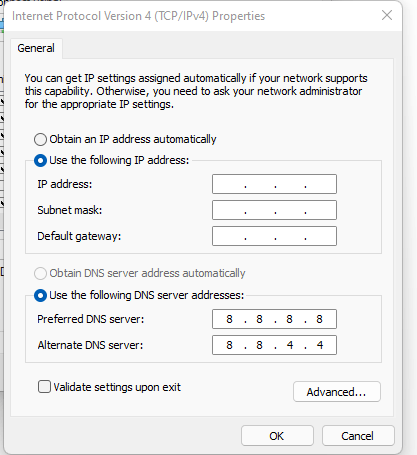
- In the properties, the window chooses Internet Protocol Version 4 (TCP/IPv4) or Internet Protocol Version 6 (TCP/IPv6)
- Click the Properties button.
- Now write 8.8.8.8 in the box next to ‘Preferred DNS server’
- And then write 8.8.4.4 next to the ‘Alternative DNS server
Hope this will help you if not then move on to the next solution.
Solution 9: Switch to a More Reliable VPN
Free VPN did not allow you to stream at full speed they set a limit to the free version which is not a very useful speed for working or gaming.
The premium VPN helps the players to achieve an uninterrupted gaming experience and will not compromise the FPS and ping of the game.
For your convince, I am listing down some most reliable plus they are working with other users without having any Destiny 2 Error code bee.
DISCOUNTED VPNS FOR THE CPU GUIDE READERS


Hope the above Solutions help you to eradicate the Destiny 2 Error code Bee.
If you have any queries or suggestions, feel free to share your experience with us in the comments section down below or you can reach us on our social handles.
FAQs
How do I fix error code bee?
1. Restart Destiny 2
2. Check the Server Status
3. Close Unwanted Programs on Windows 11/10
4. Power Cycle Your Router
5. Update WIFI Drivers through the Device Manager
6. Clear DNS Cache
7. Setting your DNS to Automatic on Windows
8. Use Google’s DNS
9. Switch to a More Reliable VPN


![[Solved] An Unknown Direct X Error has Occurred on League of Legends](https://www.thecpuguide.com/wp-content/uploads/2022/06/An-Unknown-Direct-X-Error-has-Occurred-on-League-of-Legends-tumbnail--768x432.png)